1. Open Google Cloud Console
2. Select Country and click on Agree and Continue button

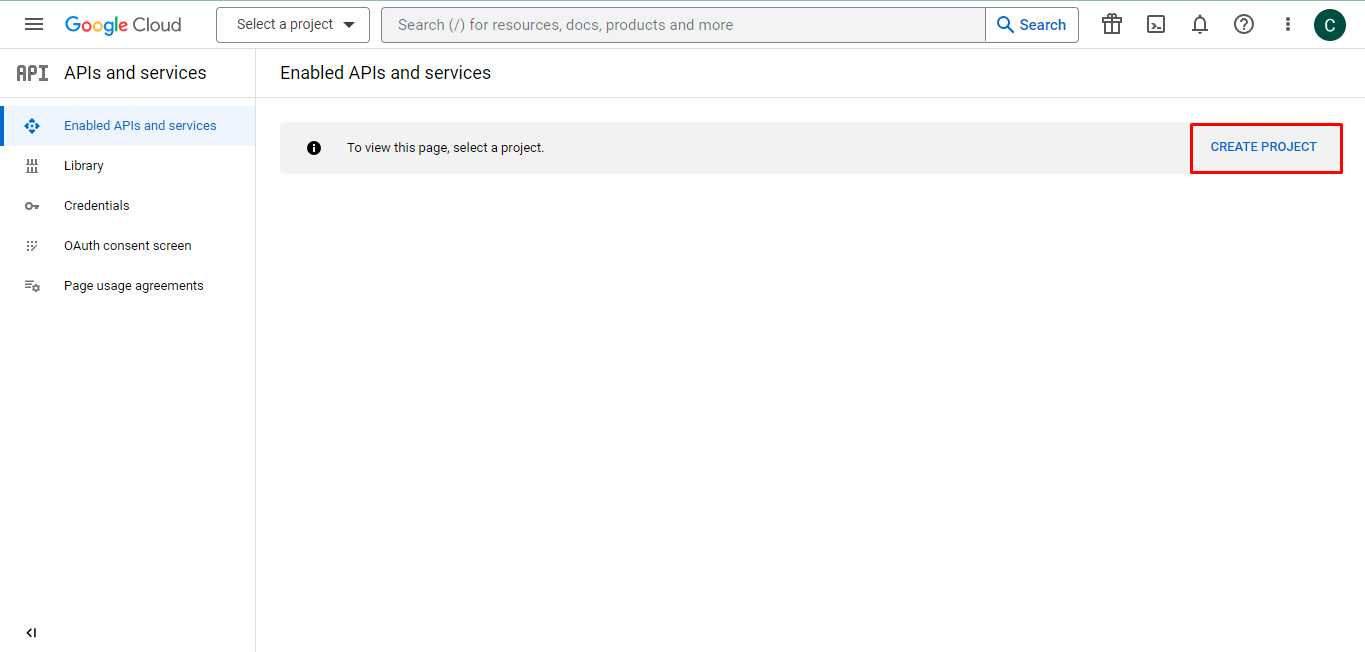
3. Create New Project by clicking on Create Project button.
4. Enter the Project Name and select Organization

5. After that click on Create button and Project will be created.
6. Select Project and click on Finish Account Setup.

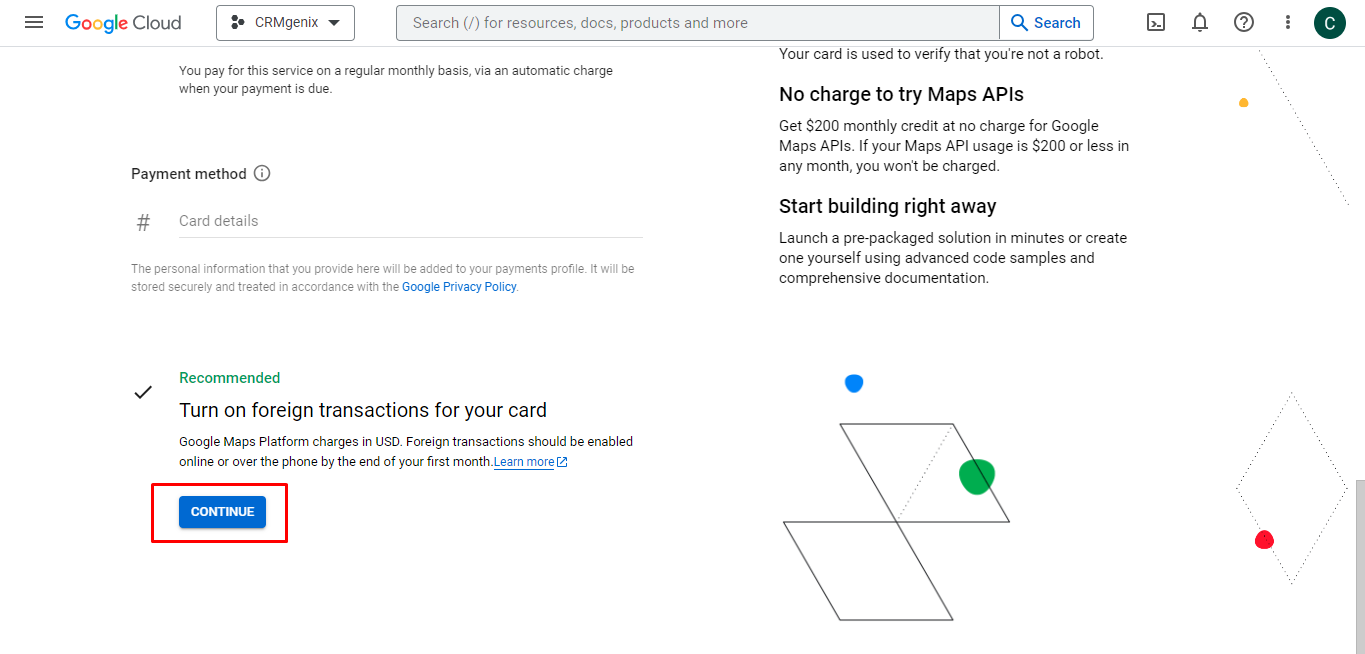
7. Enter all the required details like Name, Address, Payment method and Card Number and click on the continue button.


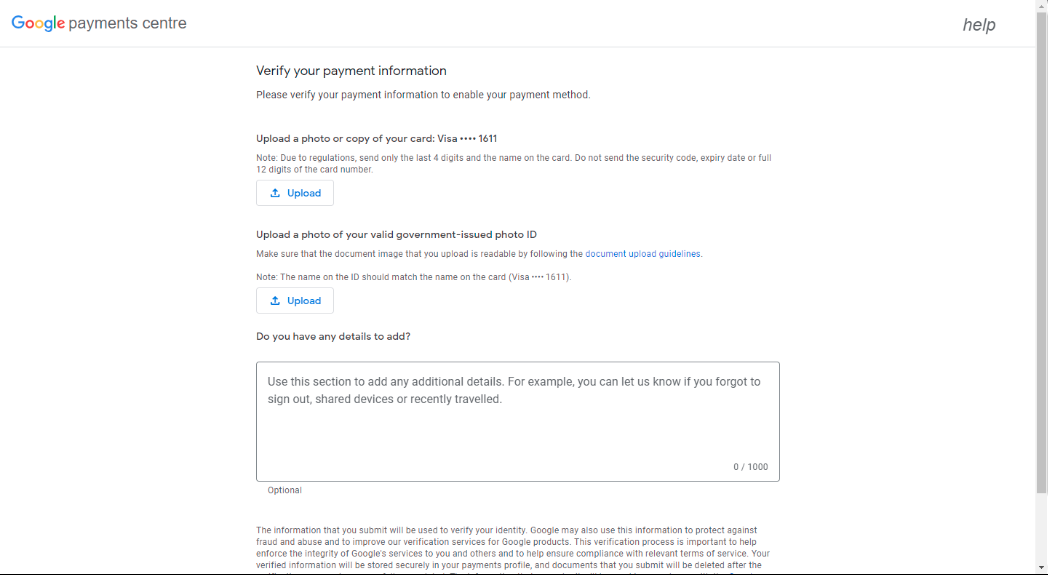
8. Upload all documents which are required like a Photo or Copy of a Card and Government-issued photo ID and then click on submit button.
9. After submitting all the required details and documents, it will display like this.
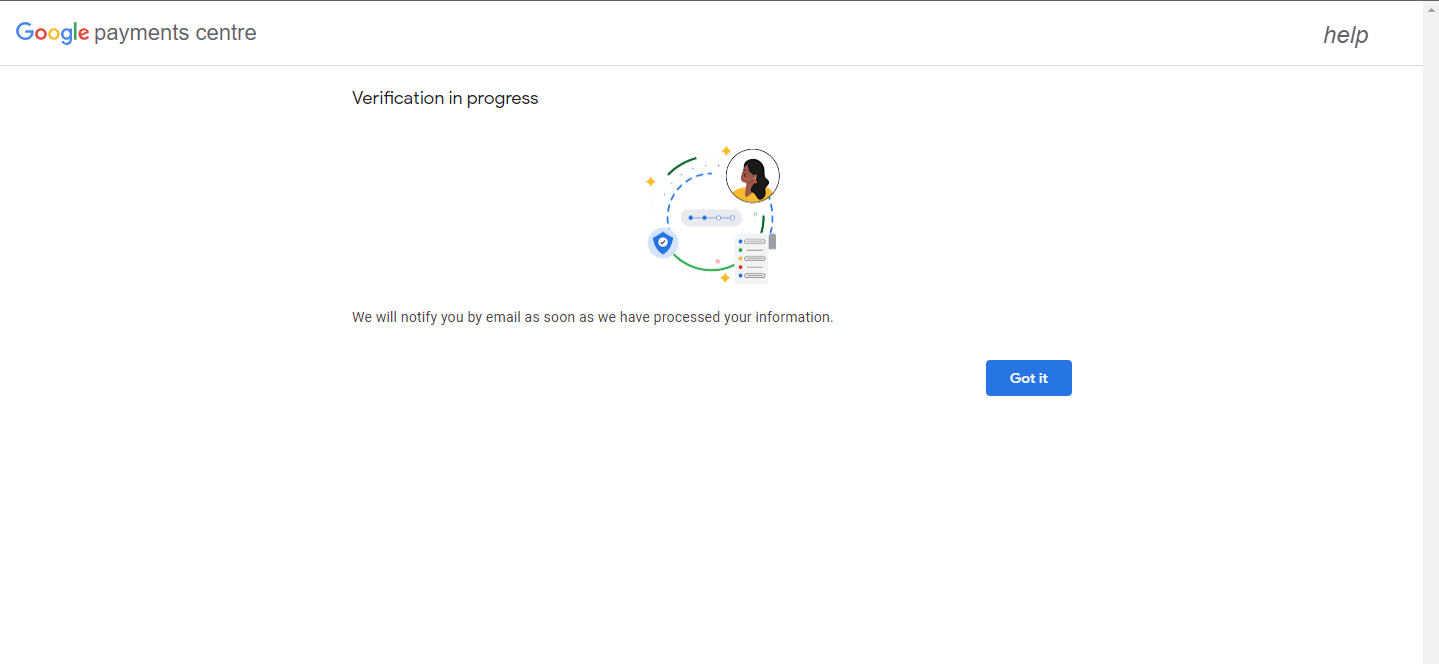
10. Google will verify all the details within 2-3 working days. Once verified, they will send an email.

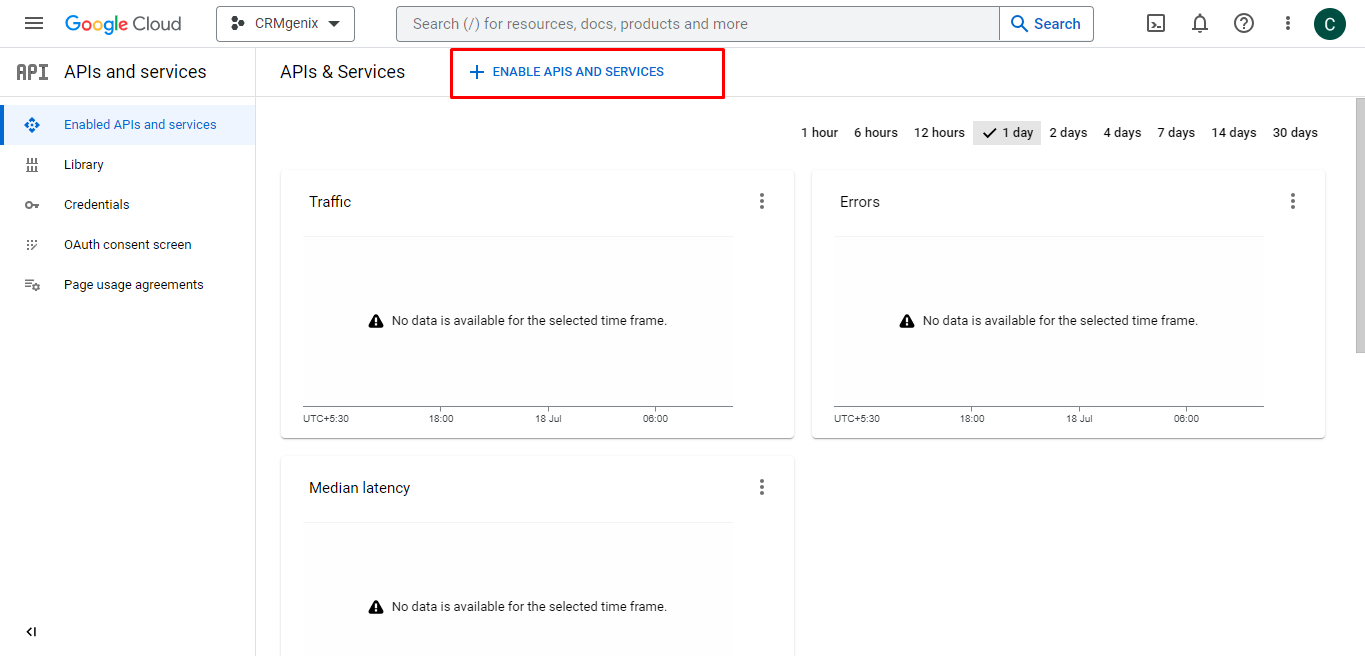
11. Click on Enable APIs & Services

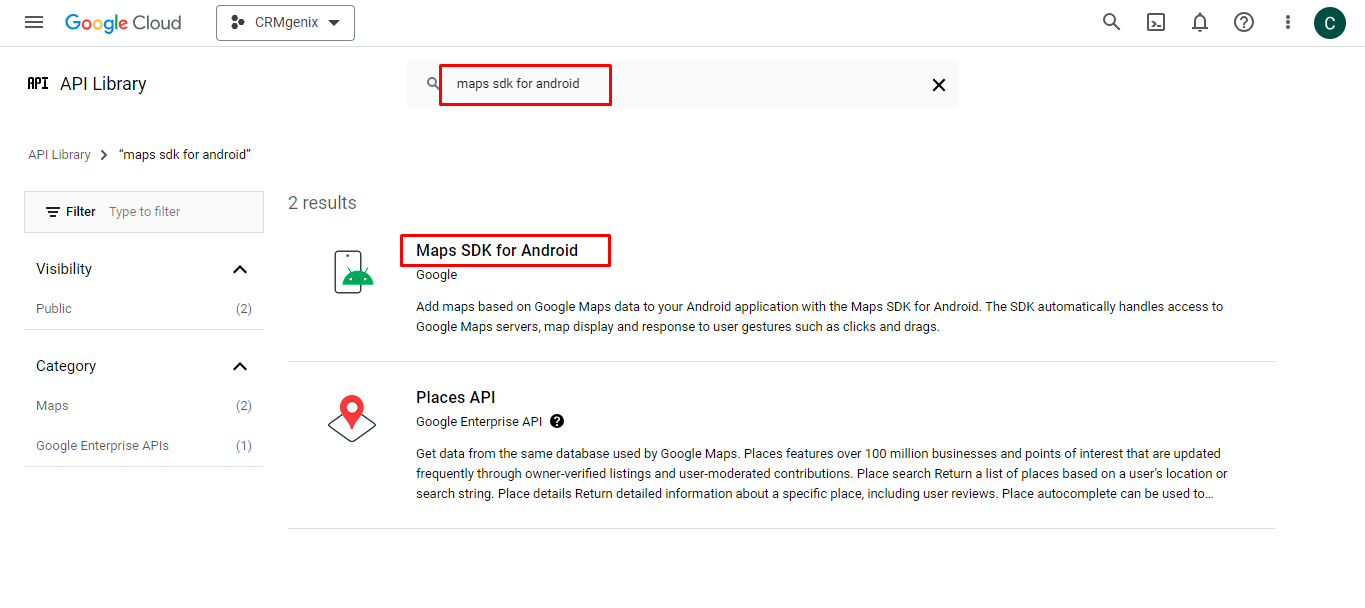

Follow the same steps as step #11 above for the following Maps Related API :
Make sure to search the following keyword for each API to enable.
- Places API
- Maps SDK for Android
- Distance Matrix API
- Geocoding API
- Maps JavaScript API
- Cloud Natural Language API
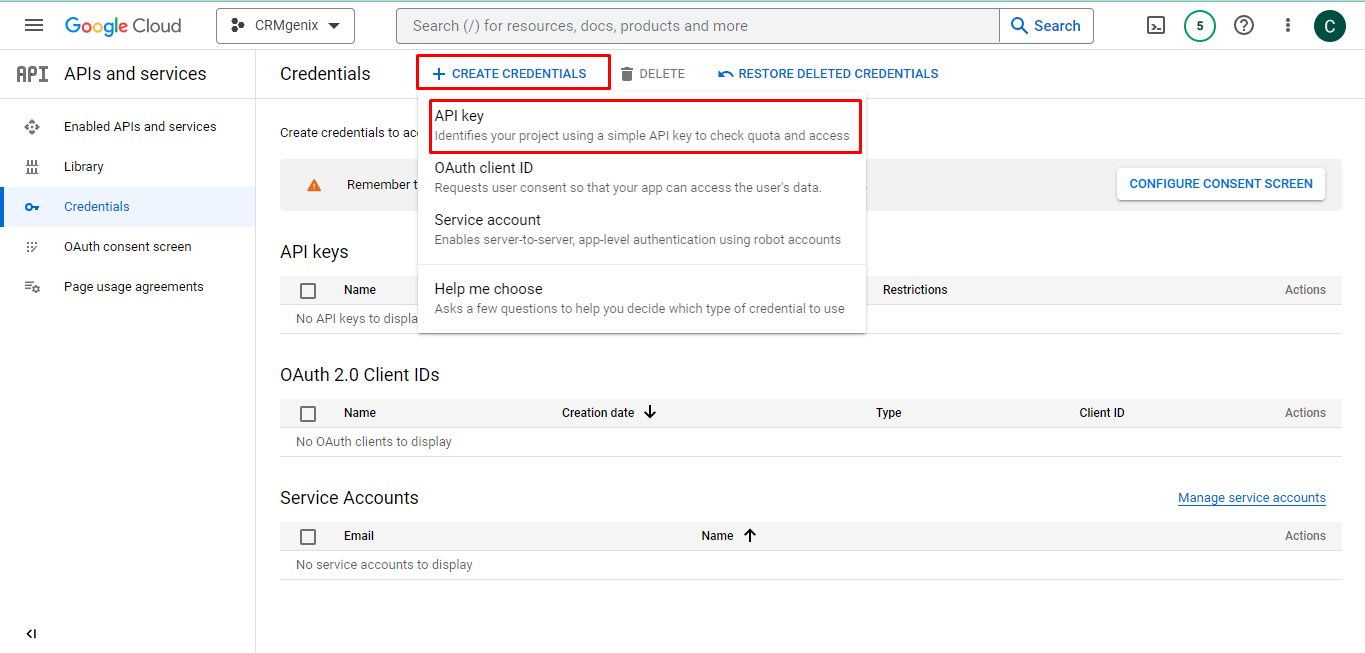
12. Now move to the credentials tab to create API Keys.
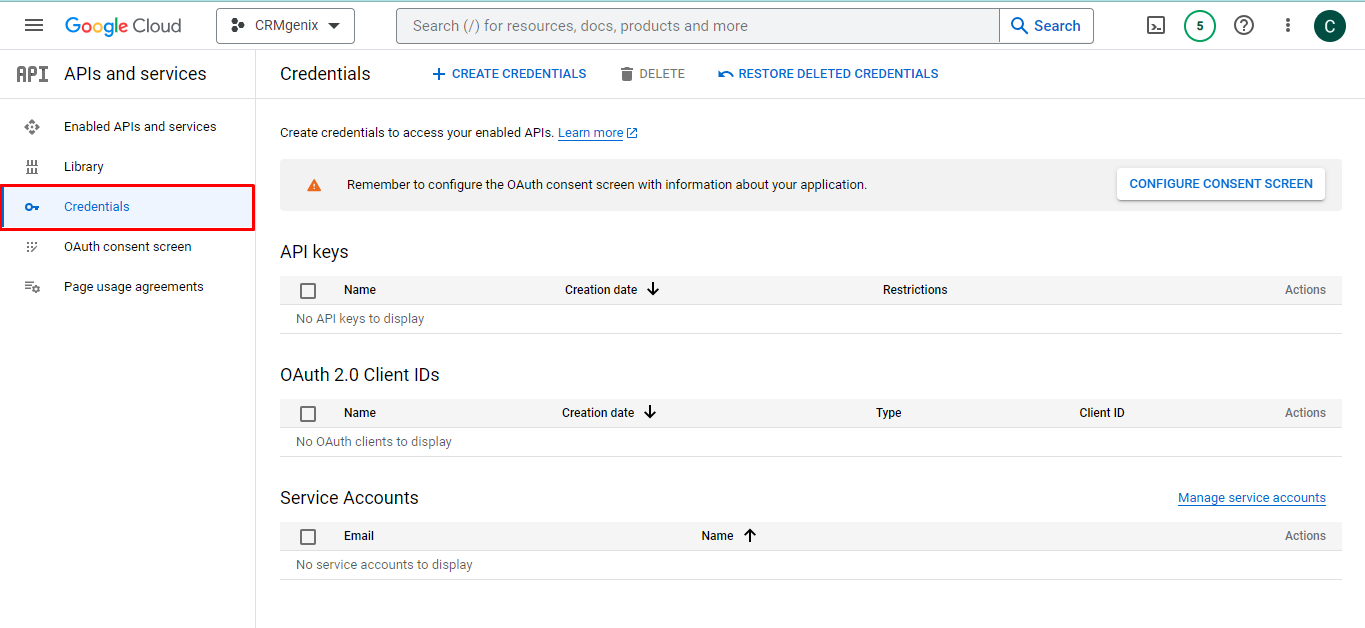
13. Click on Create Credentials button and select API Key as an option.
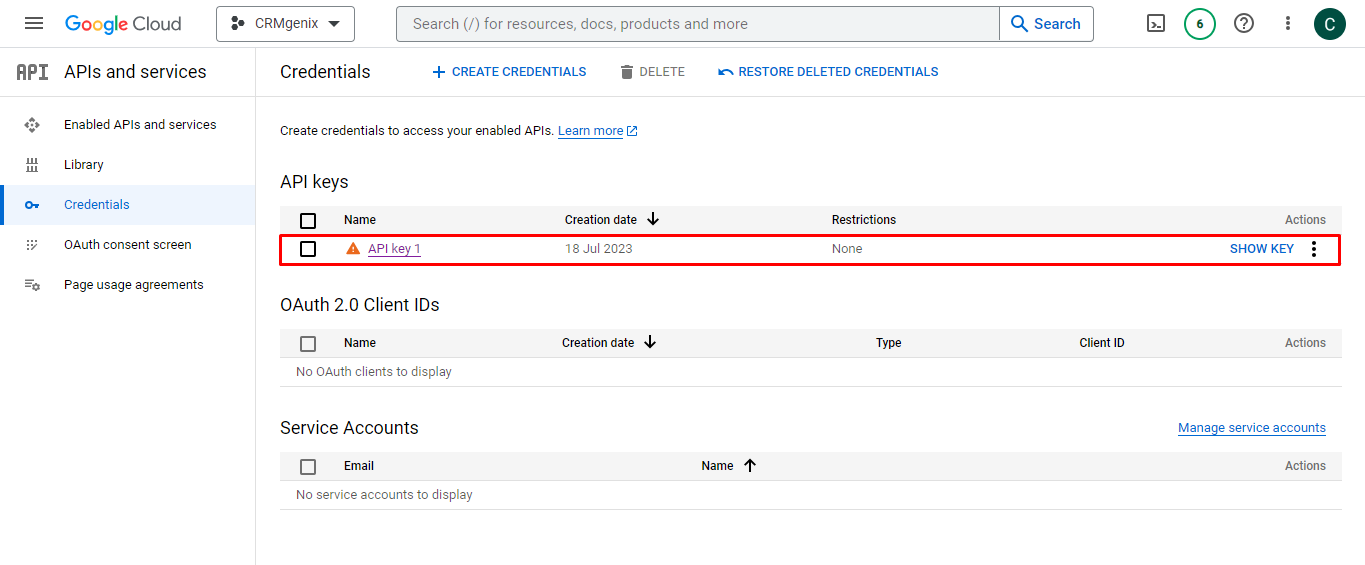
14. Click on the API key will create a new API like the below Screenshot.
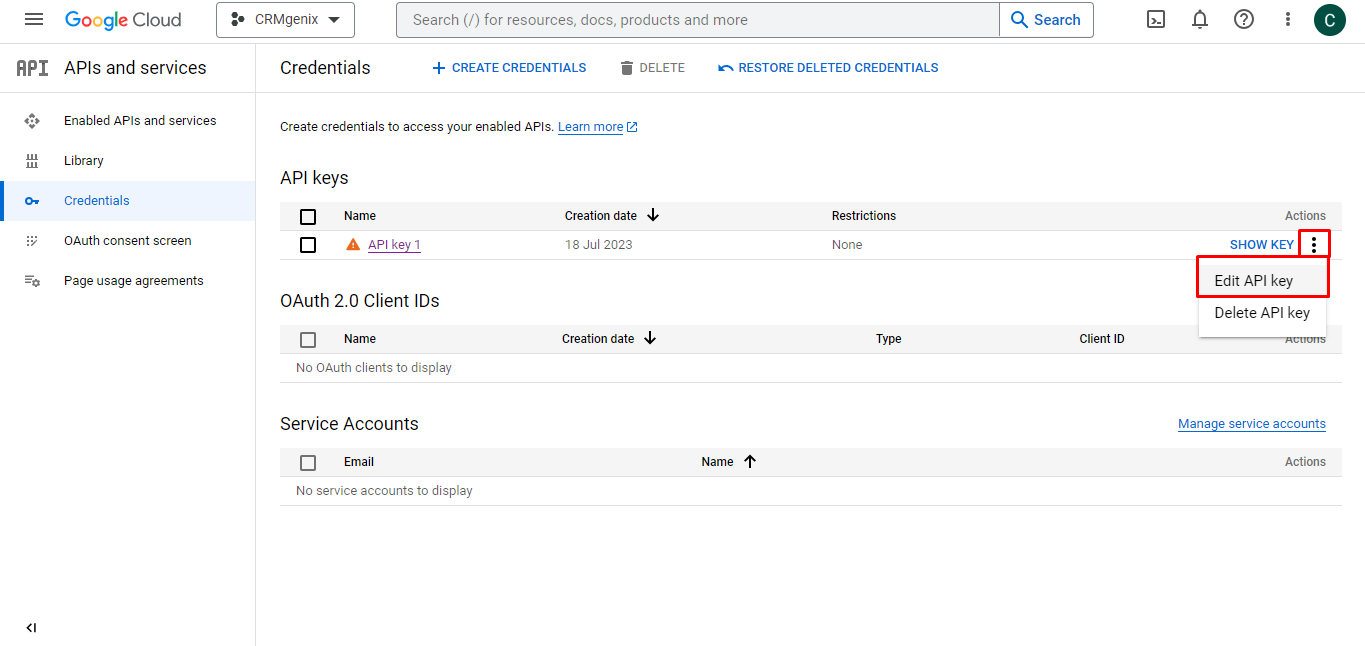
15. Users can restrict the API key to specific Websites, Android apps, iOS Apps or IP Addresses by clicking on the edit icon and entering all required details in it and saving it.

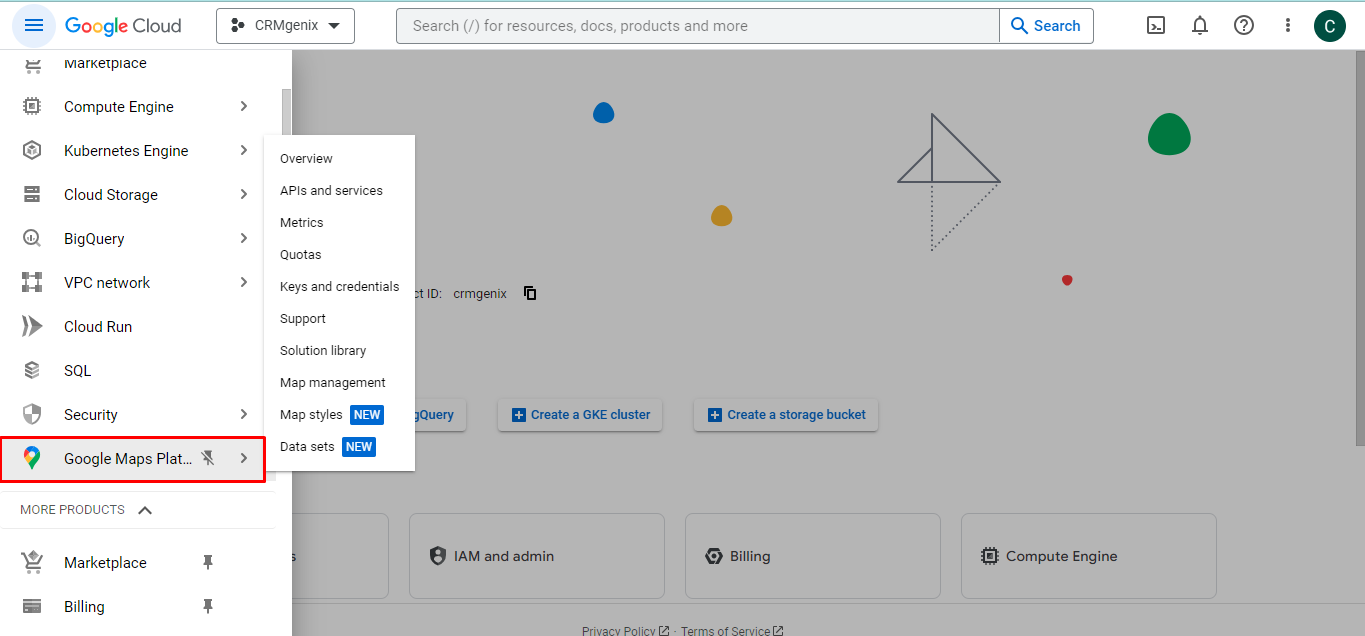
16. You can follow the same steps for Google Maps Platforms which are mentioned above for Google API and Services.
17. Where to enter Google Map API Key in your CRM?
Follow the below steps:
- Open Mobile App Dashboard Settings
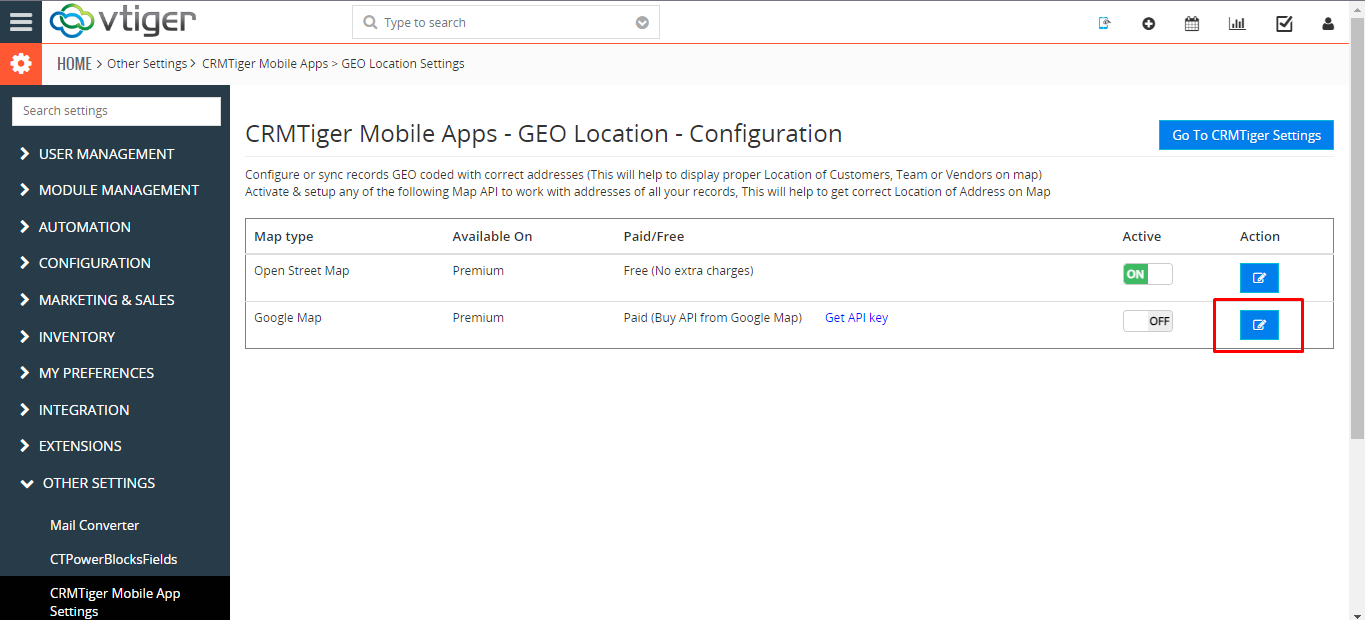
- Click on GEO Location Settings
- Active Google Map API key by clicking on the edit icon
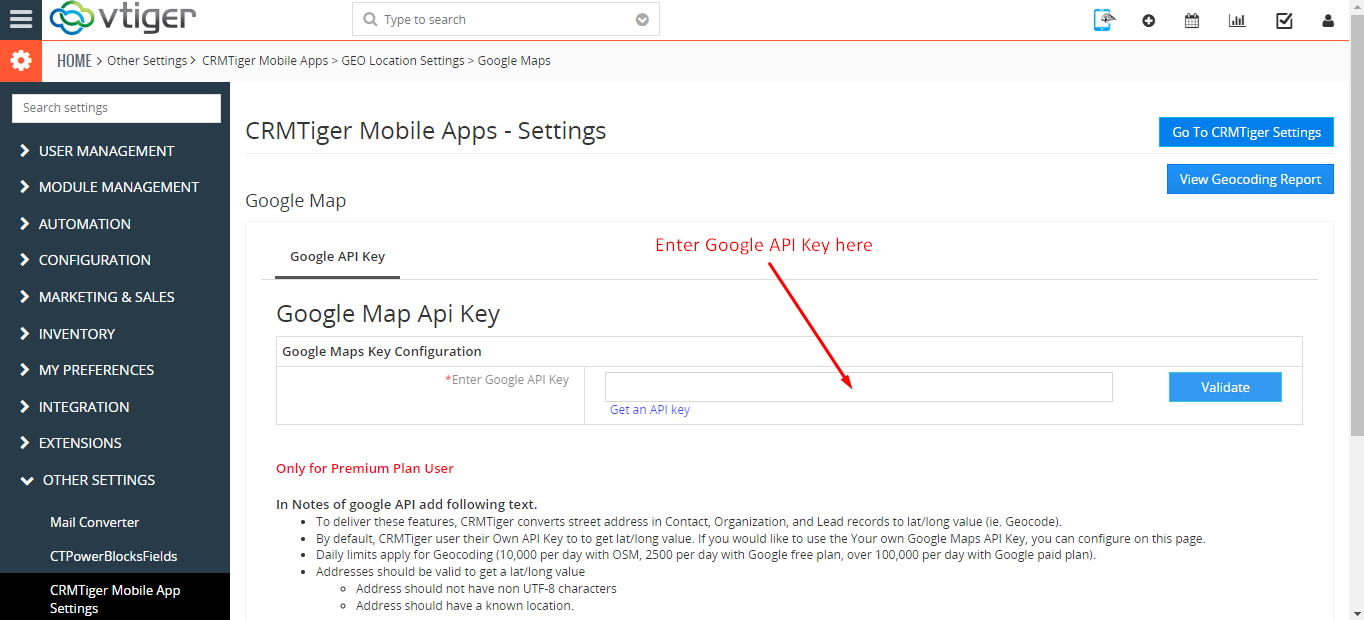
- Enter Google API Key in the text field and validate it and then save it.
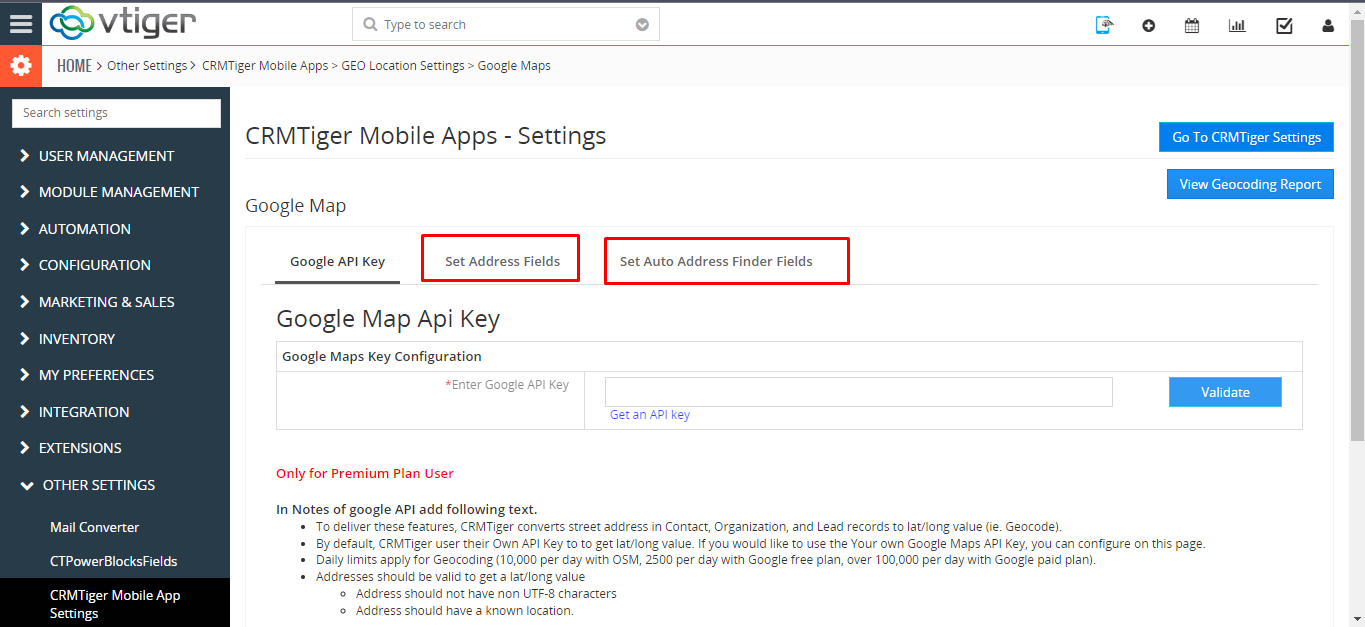
- Once saved, two other options will display like Set Address fields and Set Auto Address Finder fields.
- User can set Address fields by clicking on the Set Address fields tab. This feature finds the latitude and longitude of your customer’s record to display the customer on the map inside your Mobile apps properly.
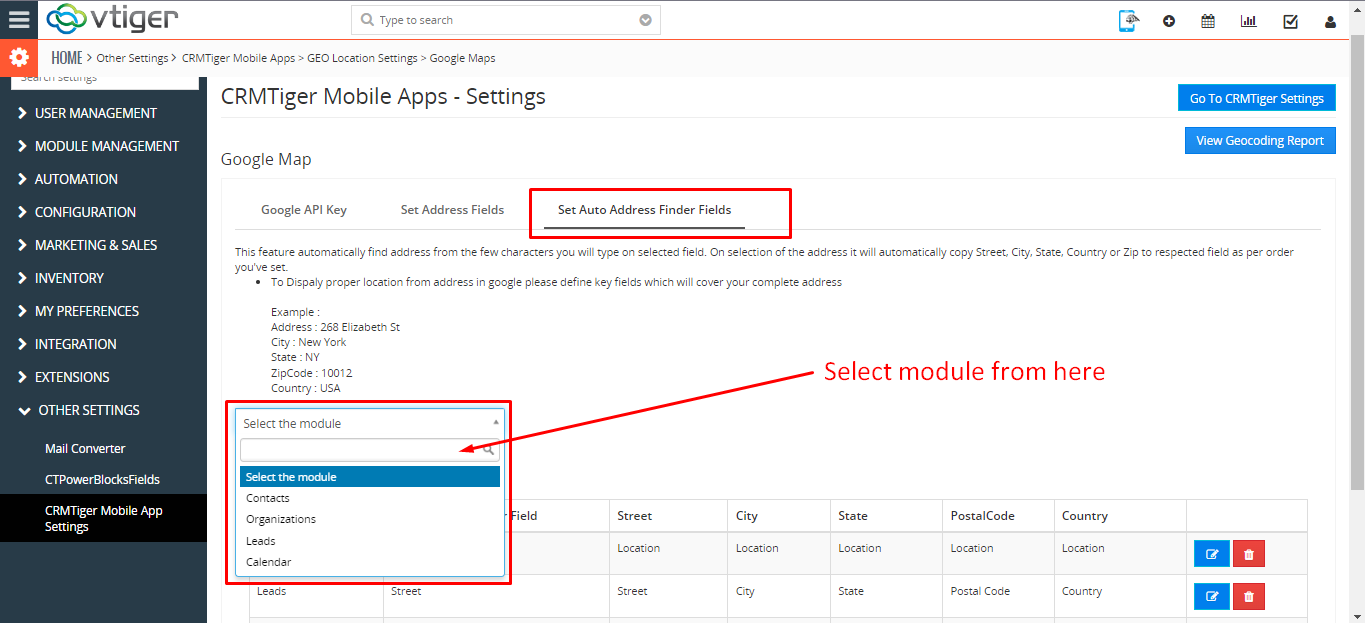
- Users can find address automatically by Set Auto Address Finder. This feature automatically finds the address from the few characters you will type in a selected field. On selection of the address it will automatically copy Street, City, State, Country or Zip to the respected field as per the order you’ve set.
- Users have to select module and set fields for Auto Address Finder and save it.
- It is mandatory to select the same field name for Auto Address Finder Field and Street.