1. Open the below URL in your Browser for Creating Credential for Sync Google Calendar Events to vTiger and Vica Versa in Google.
https://console.cloud.google.com/projectselector2/apis/dashboard?supportedpurview=project
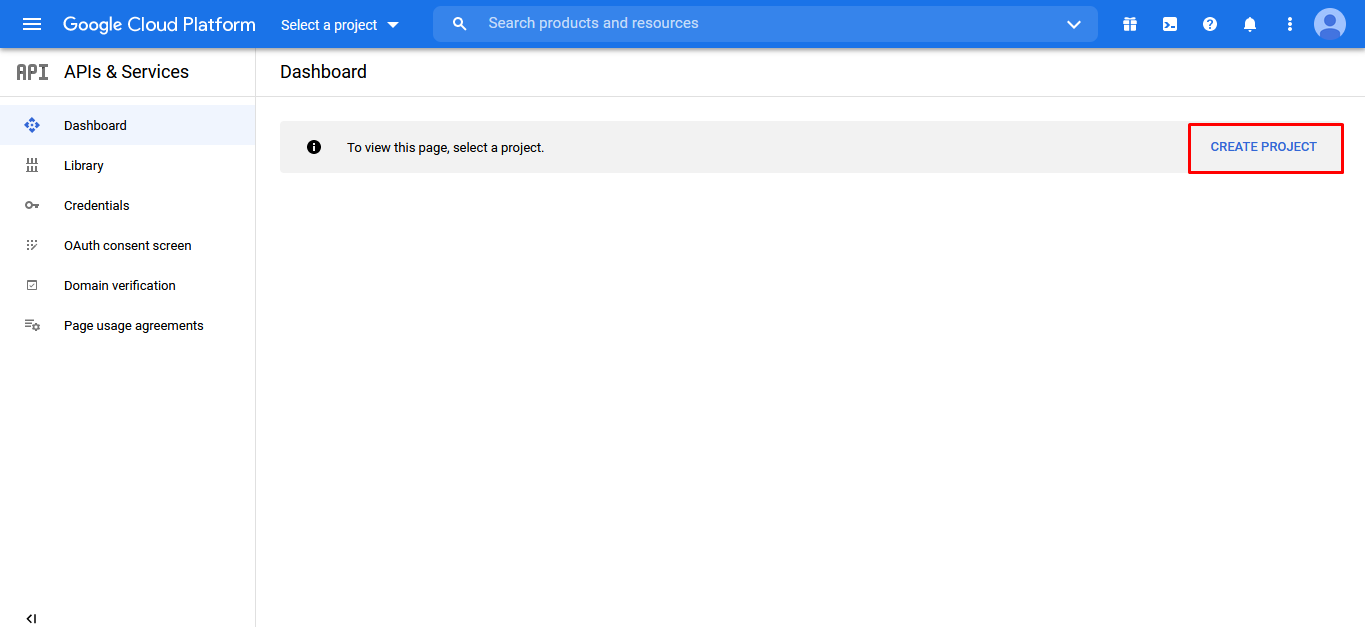
2. After Opening URL, Click on “Create Project” to Create a Project in Google Console.
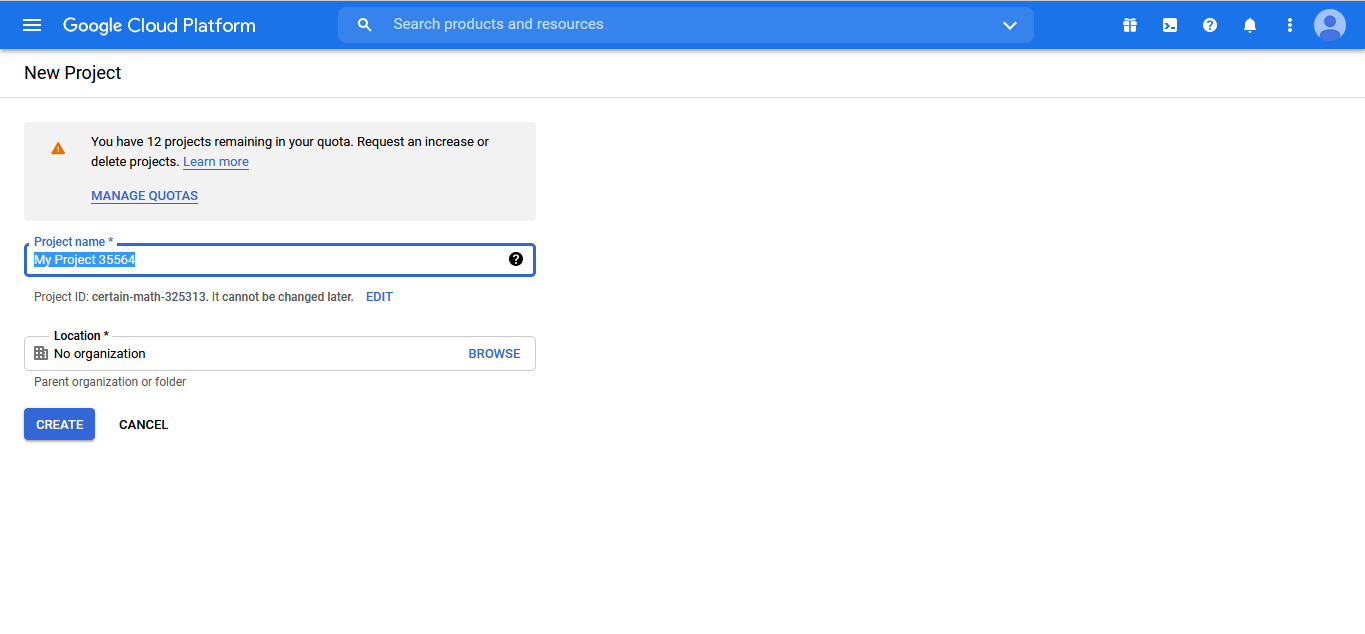
3. Once you click on the “Create Project” button, it will show as below Screenshot.
(Note: Give Proper Name of the Project)
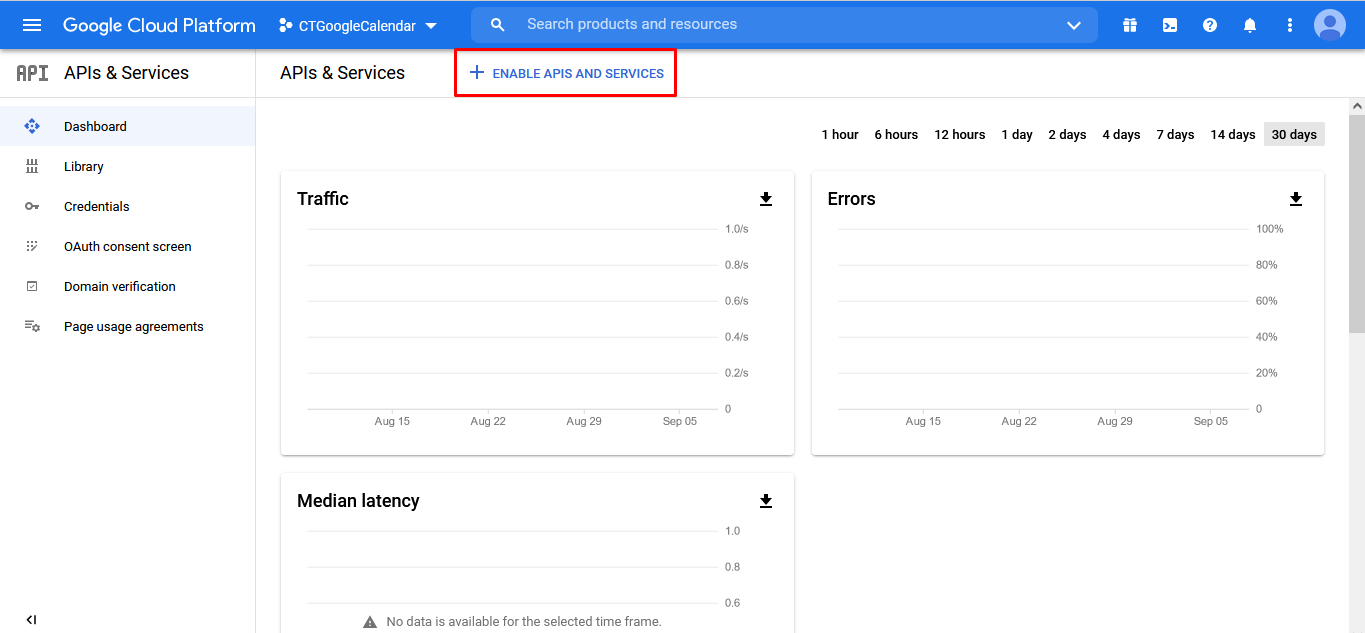
4. Once the Project is Created Successfully, Click on the ENABLE APIS AND SERVICES Button as shown in the below screenshot.
5. After that find “Google Calendar API” if it does not show in API List.
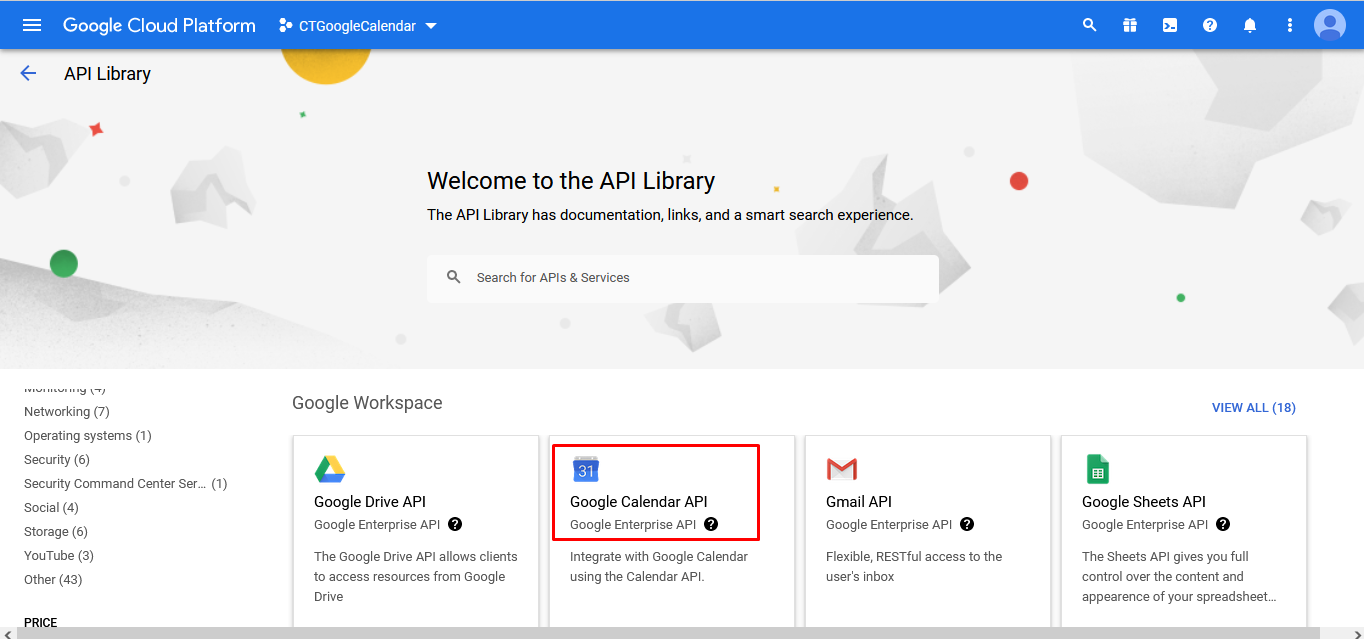
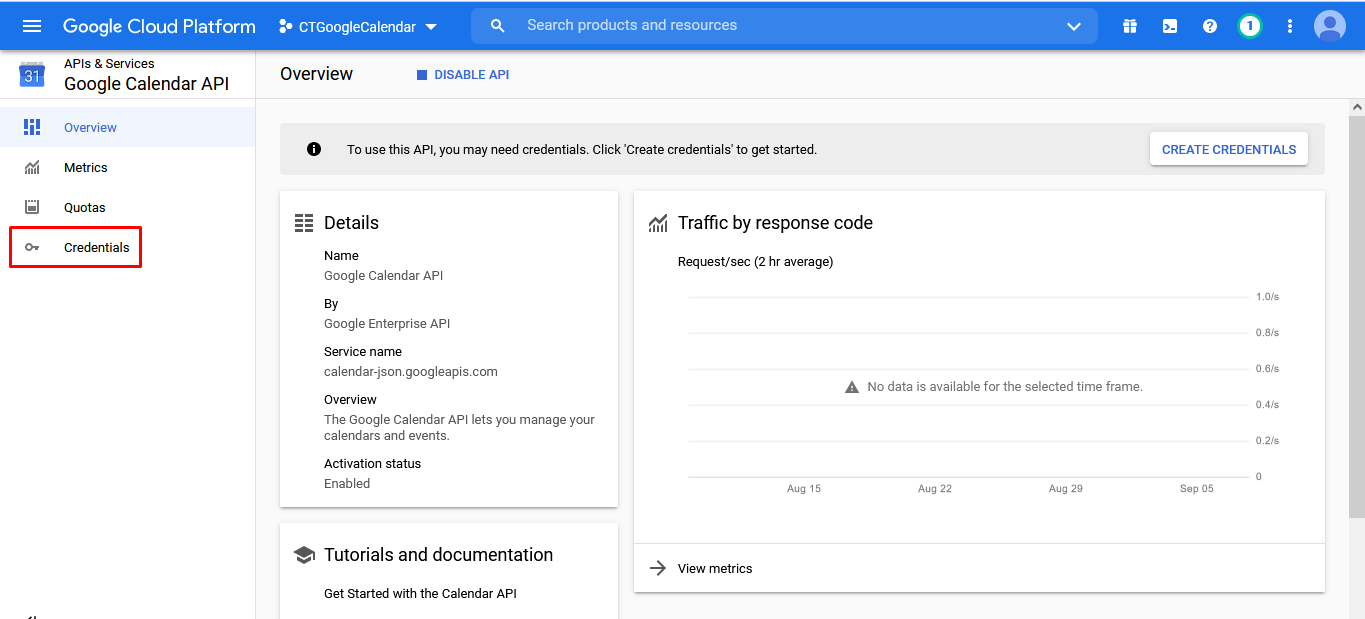
6. After Clicking on “Google Calendar API”, Enable Google Calendar API as shown in the below screenshot.

7. After Enable API, Click on the “Credentials” from the sidebar as shown in the below screenshot.
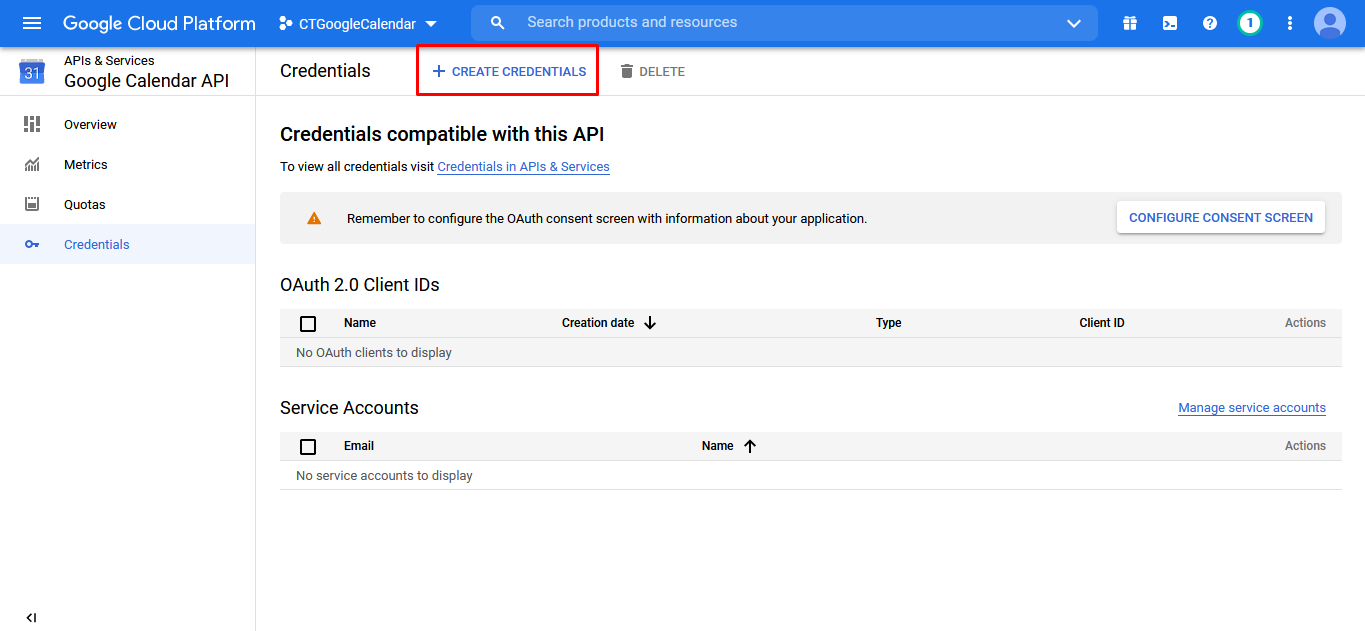
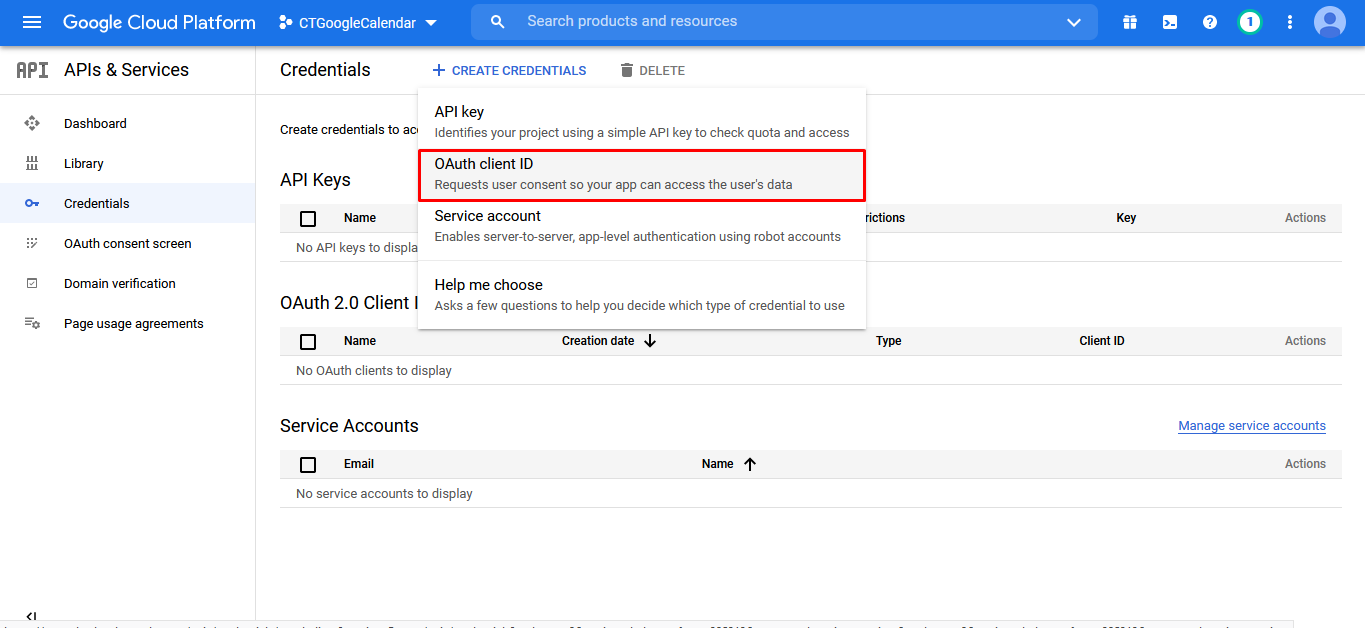
8. After Clicking on the Credentials from the Left Sidebar, Click on “Create Credential” for the Credential which we need to add in the CRM for API Access.
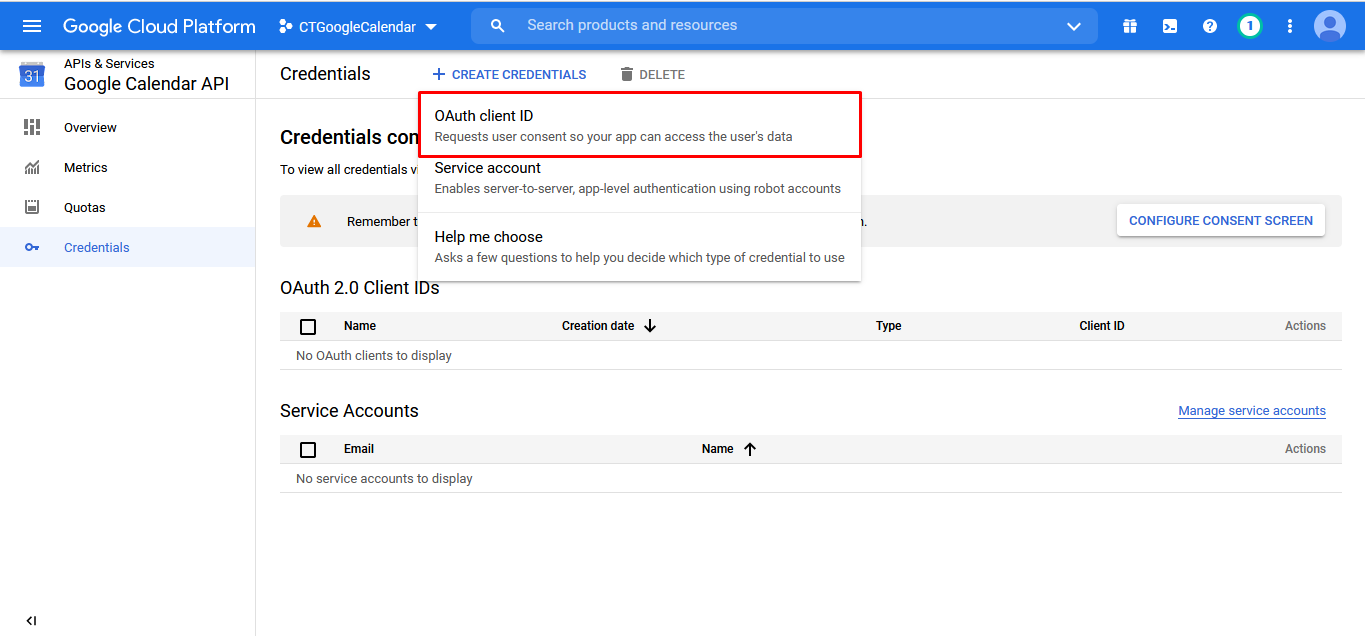
9. Once you click on “Create Credential”, Popup will open as shown in the below screenshot & select “Auth Client ID” from the list.
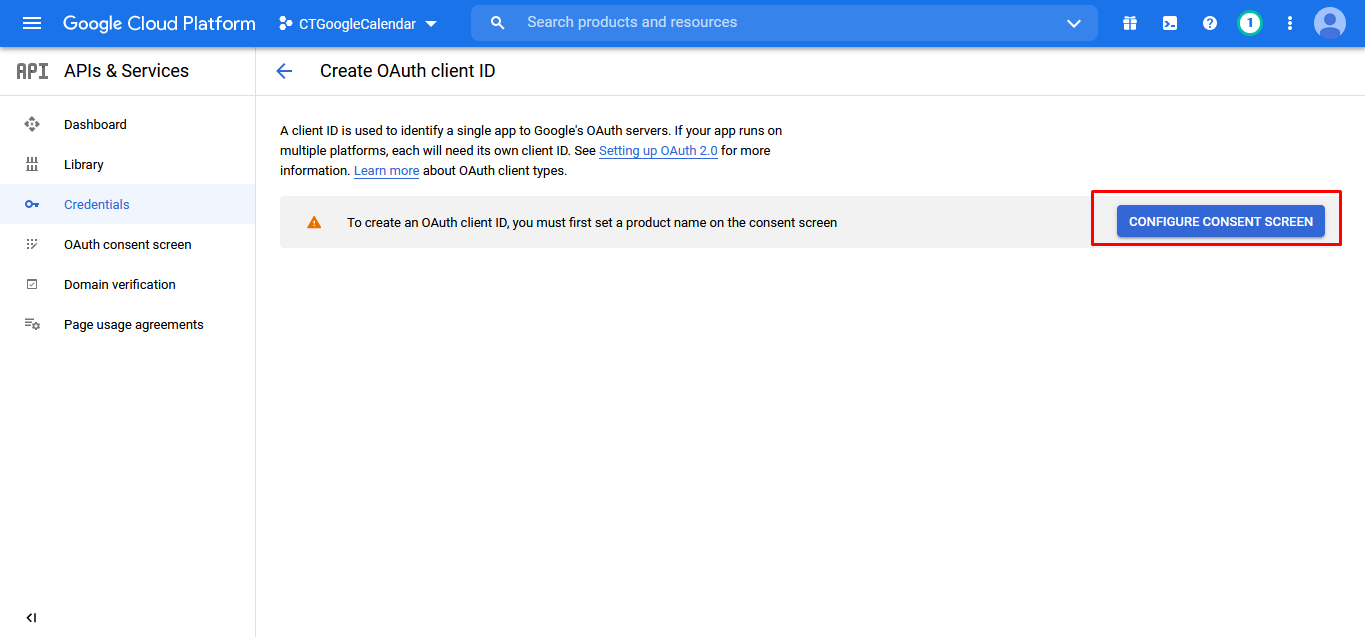
10. Once you select “Auth Client ID”, the screen will look like the screenshot below and from which you need to click on the “Configure Consent Screen” Button.
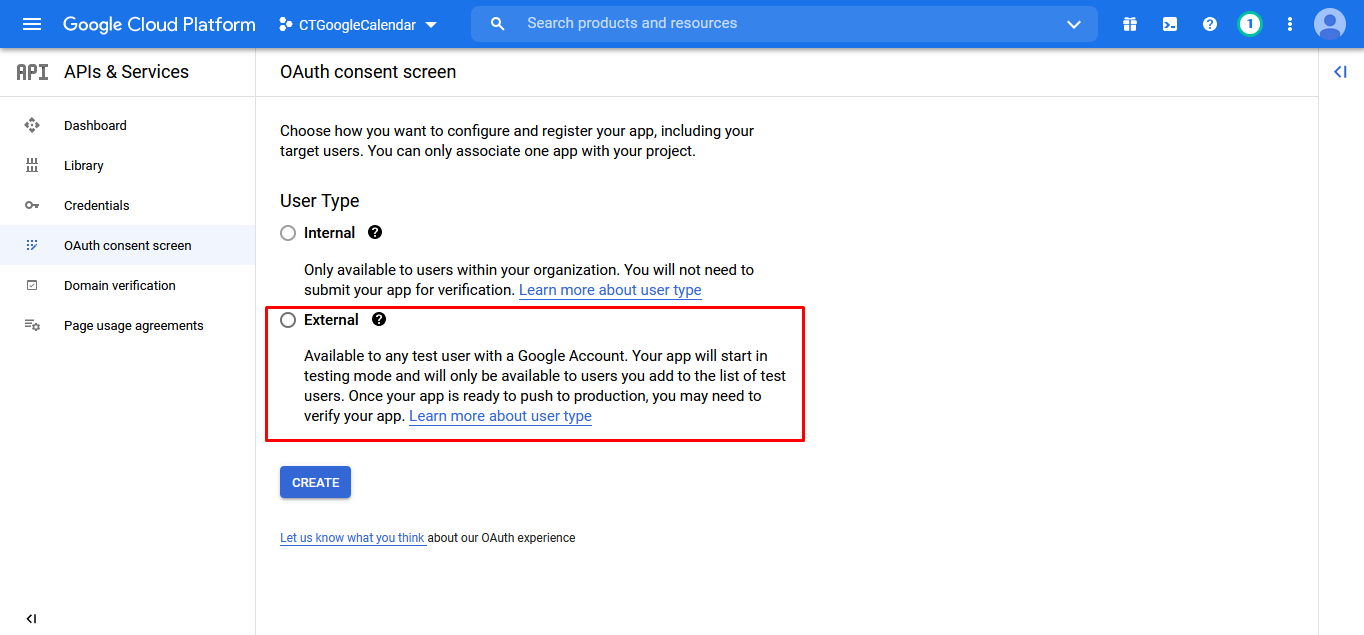
11. From the OAuth consent screen, Choose “External” for Create Credential
12. Once you click on the Create Button after choosing External, the App Information screen will be open as shown in the below screenshot. Give “App name” properly & add your email in “User support email”.

13. Add your email id in the “Developer Contact Information” Section.
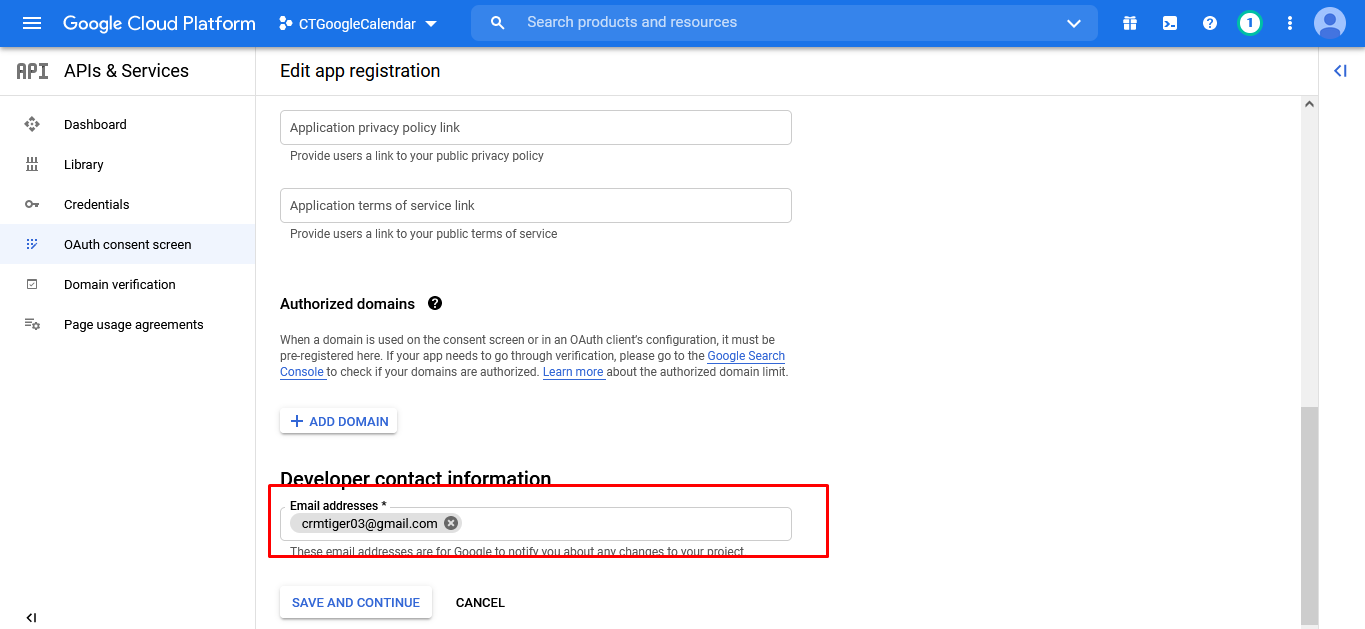
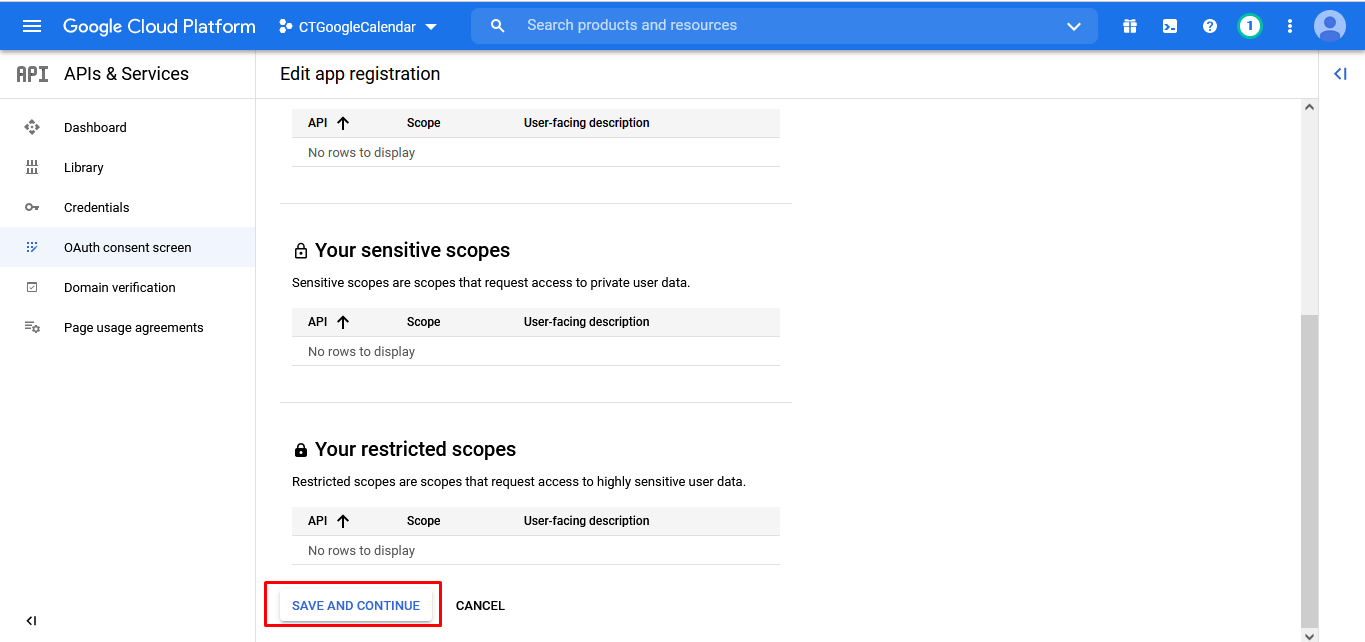
14. After adding all the required information, click on the “Save and Continue” button.
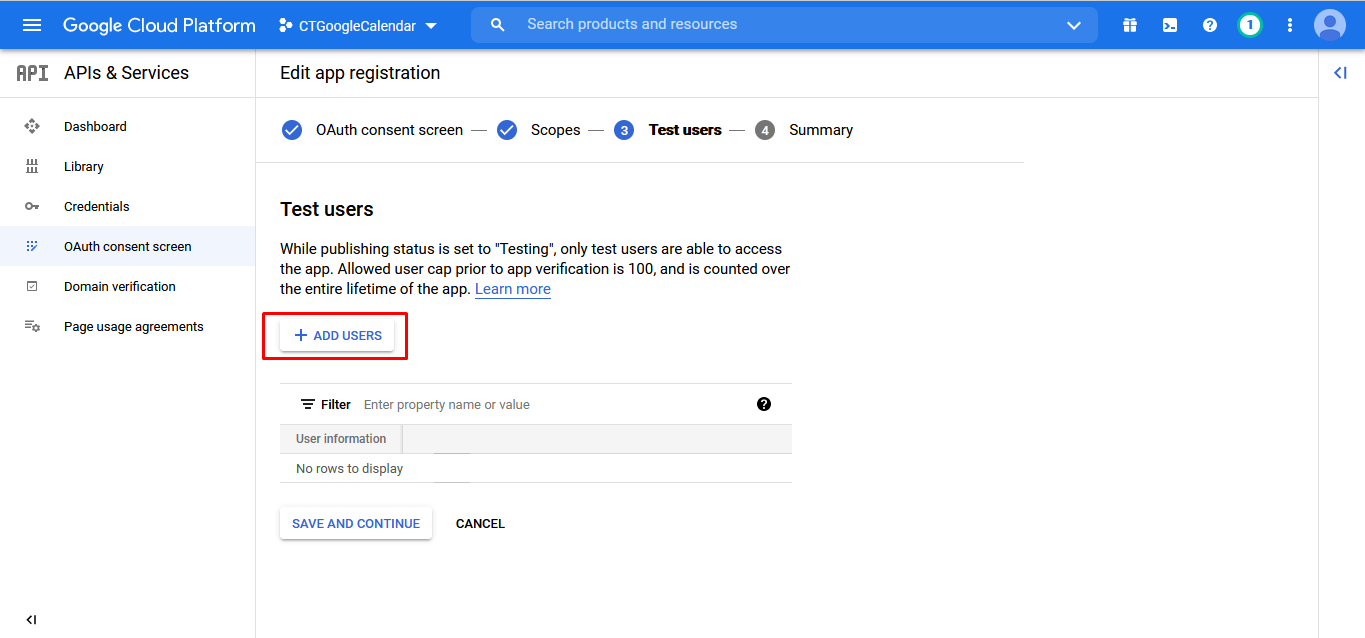
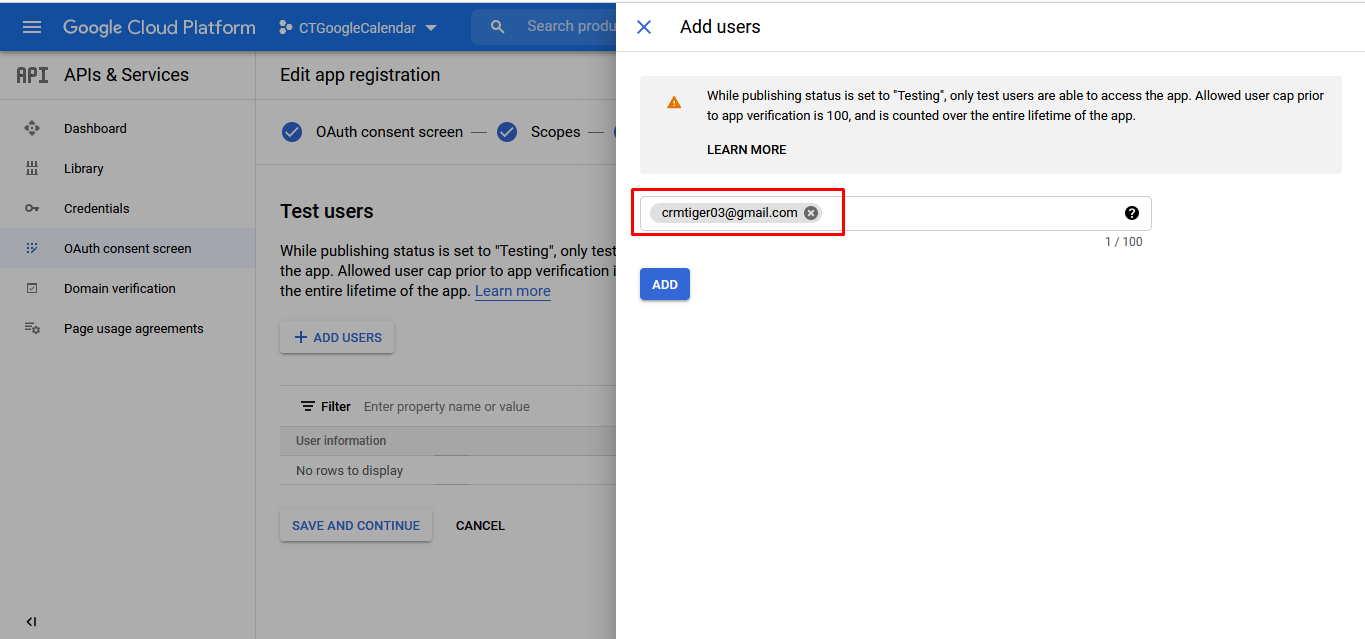
15. In Step – 3 (Test Users), Add your email id to get access to all required permission for sync data.
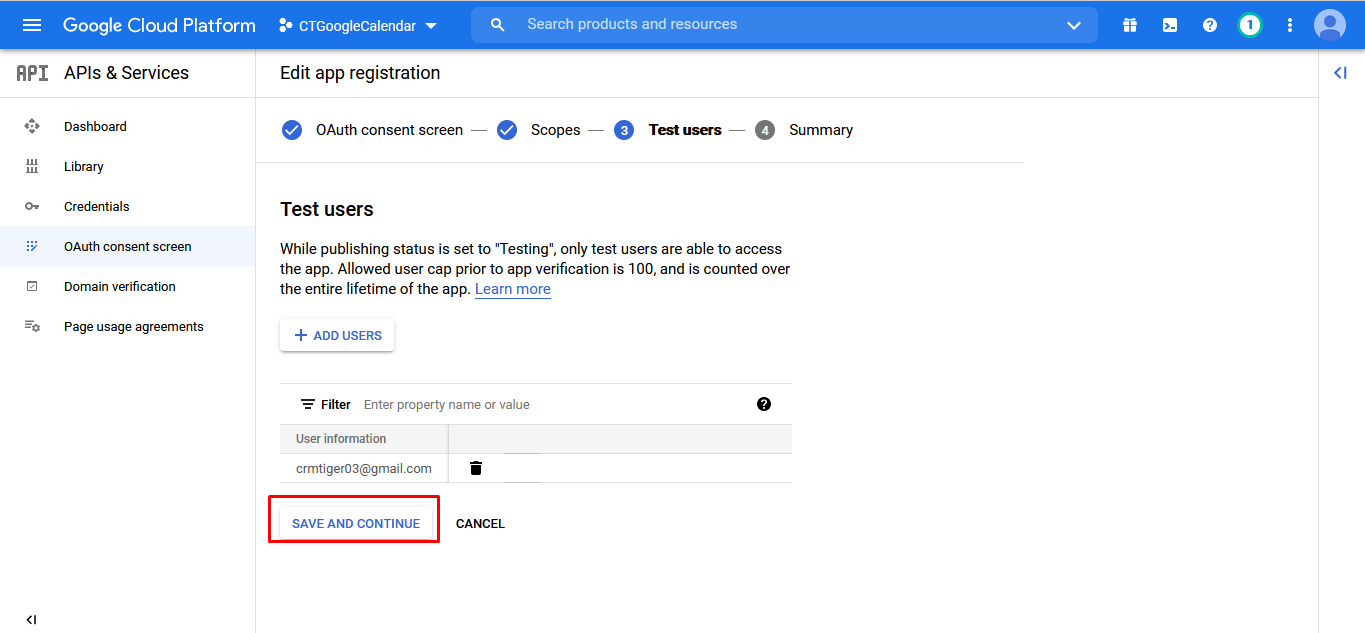
16. After adding your email id in “Test Users”, click on the “Save and Continue” button to complete the process.
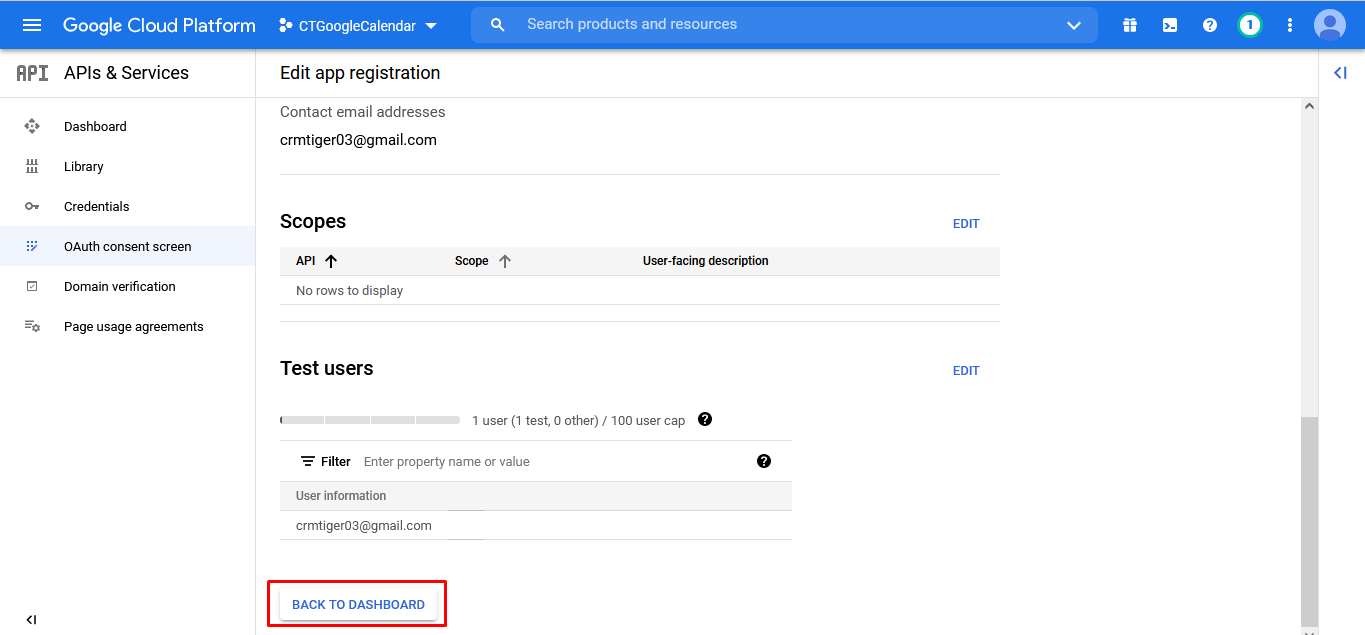
17. After Completing all processes, Click on the “BACK TO DASHBOARD” Button for Creating Credentials.
18. Click on the “Credential” from the Left Side Bar and select “OAuth Client Id” for Credential.
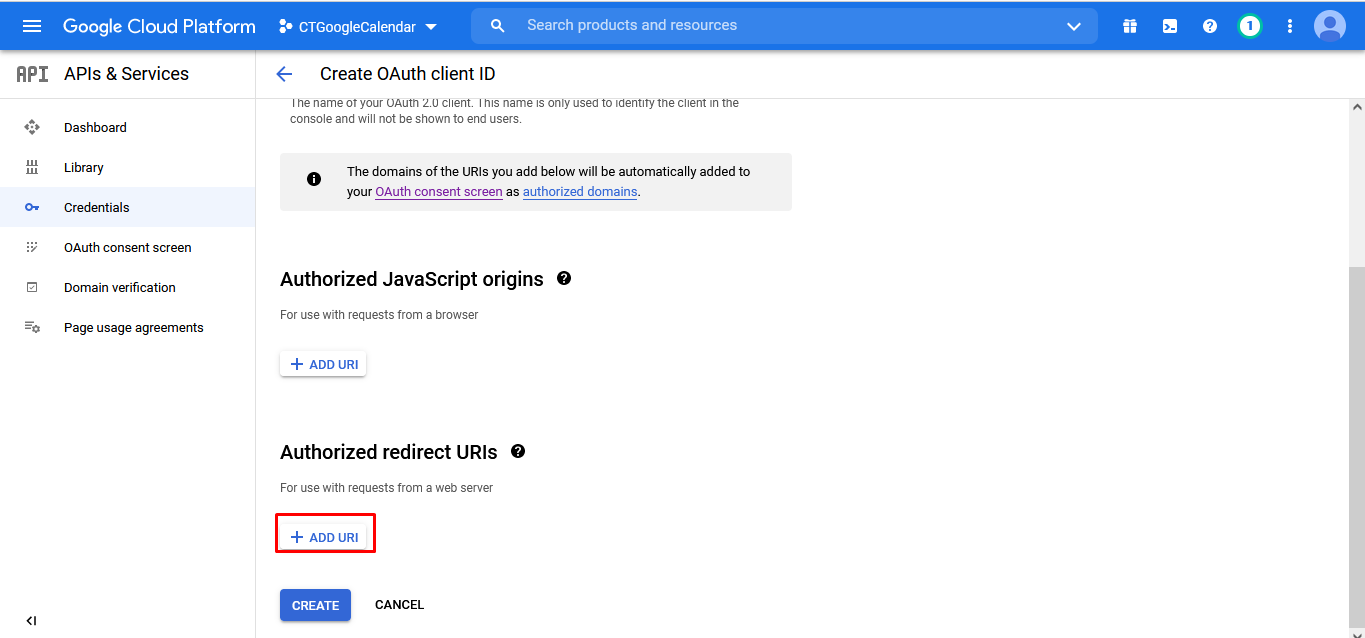
19. After clicking on the “OAuth client ID”, Select “Web application” from Application Type.
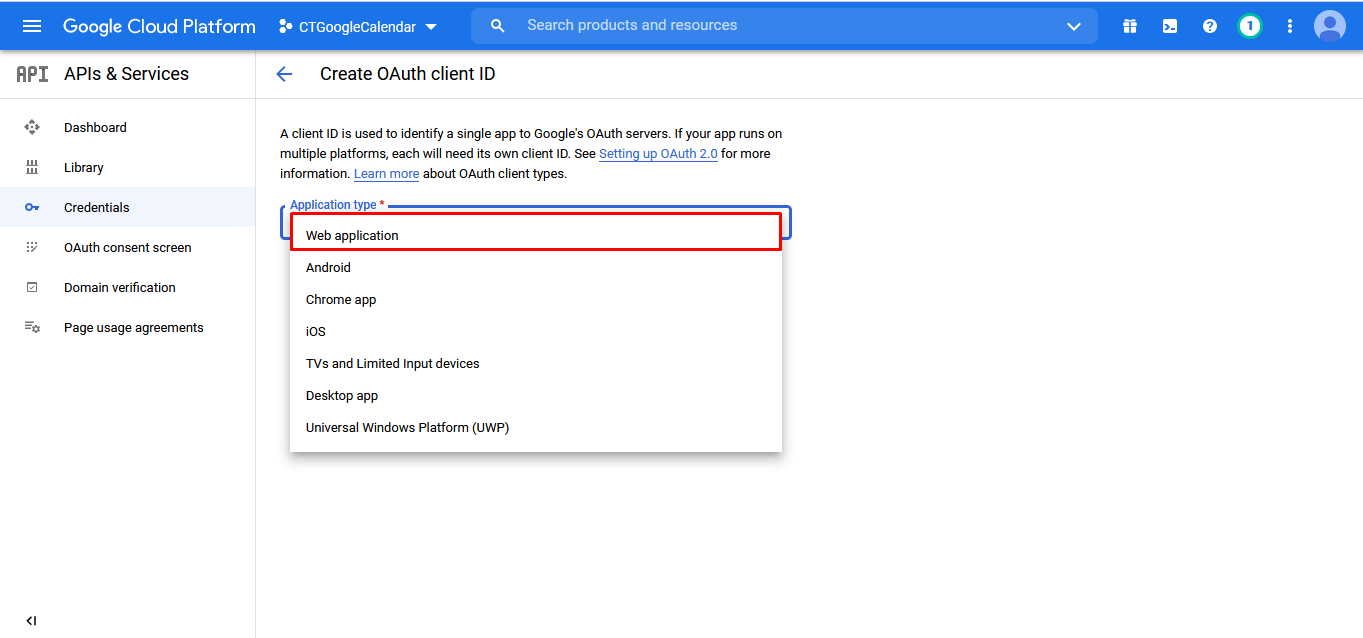
Once you select “Web application”, it’ll look like the screenshot below and add the Redirect URL.
Redirect URL Should be Your Site url/index.php?module=CTGoogleCalendar&view=CTGoogleCalendarTokenAuthorize