
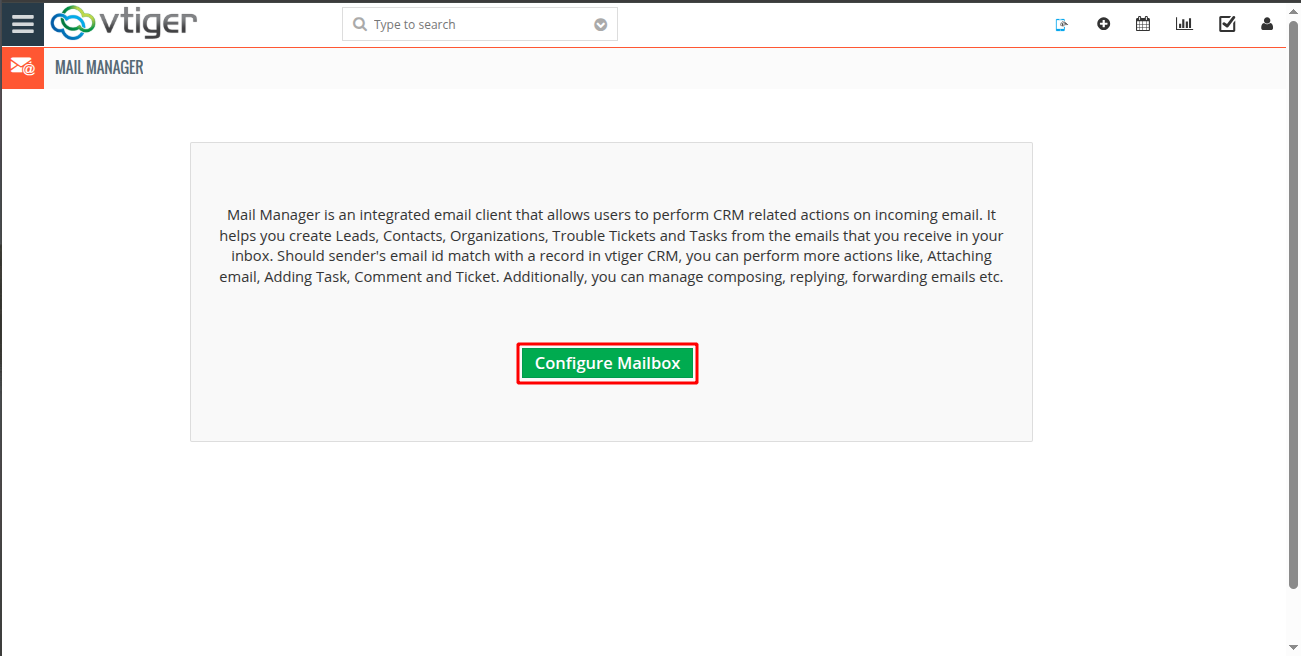
1. After logging into the CRM, navigate to MailManager from the sidebar. To configure MailManager, click on Configure Mailbox.
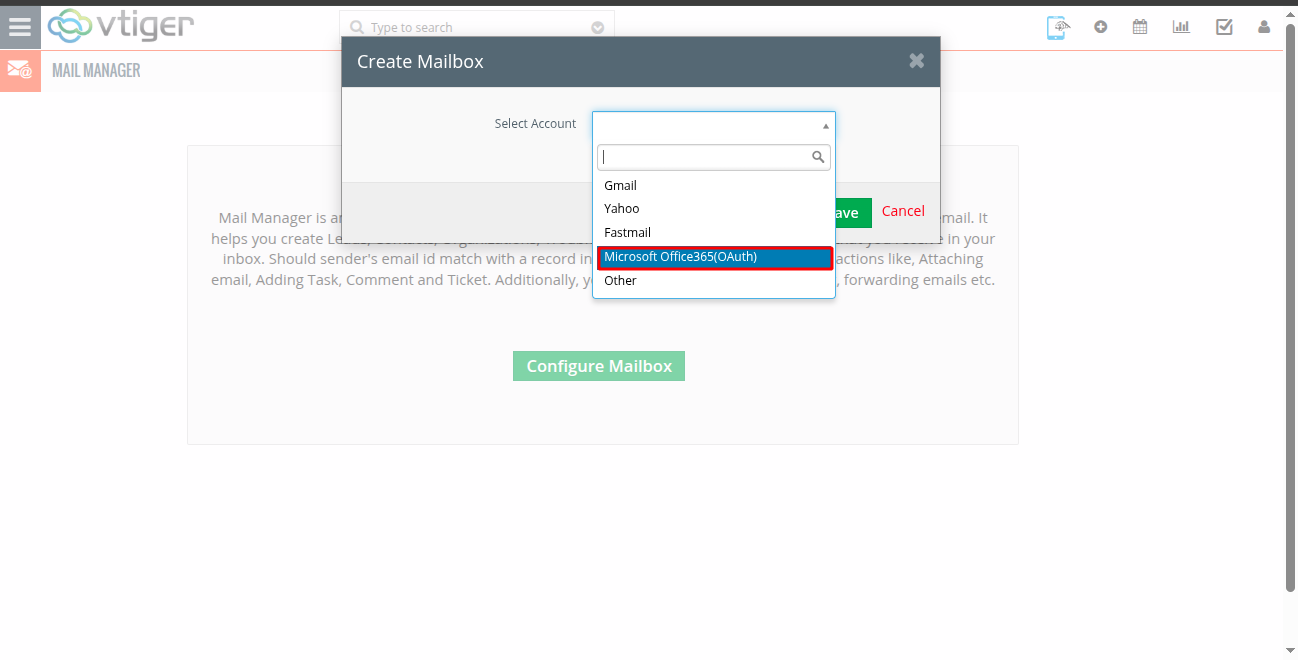
2. Click on Configure Mailbox and select Microsoft Office 365 (OAuth) as the account type.
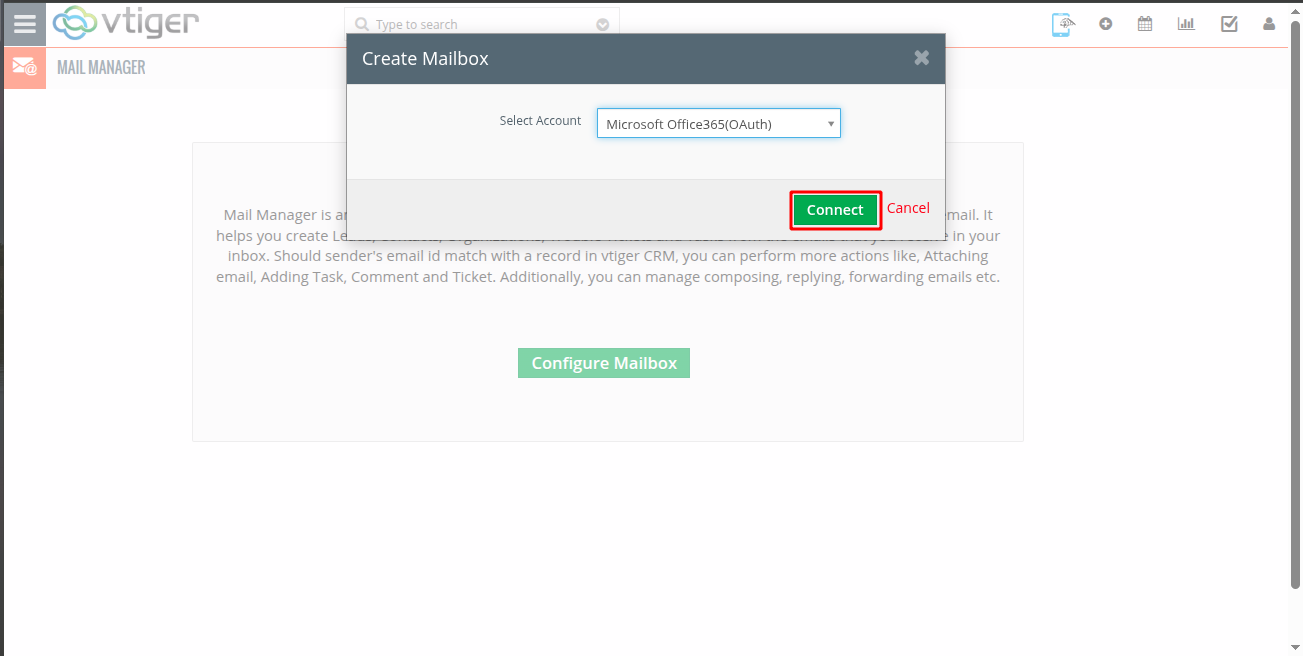
3. Click on Connect to begin configuring the account. You will be redirected to the Microsoft login page to authenticate your credentials.
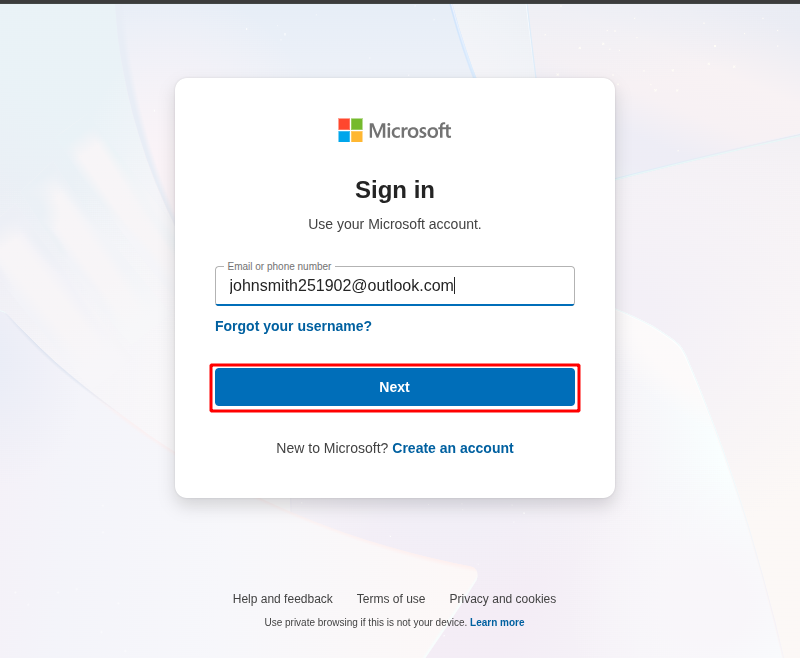
4. Enter your Outlook account username (email address) when requested.
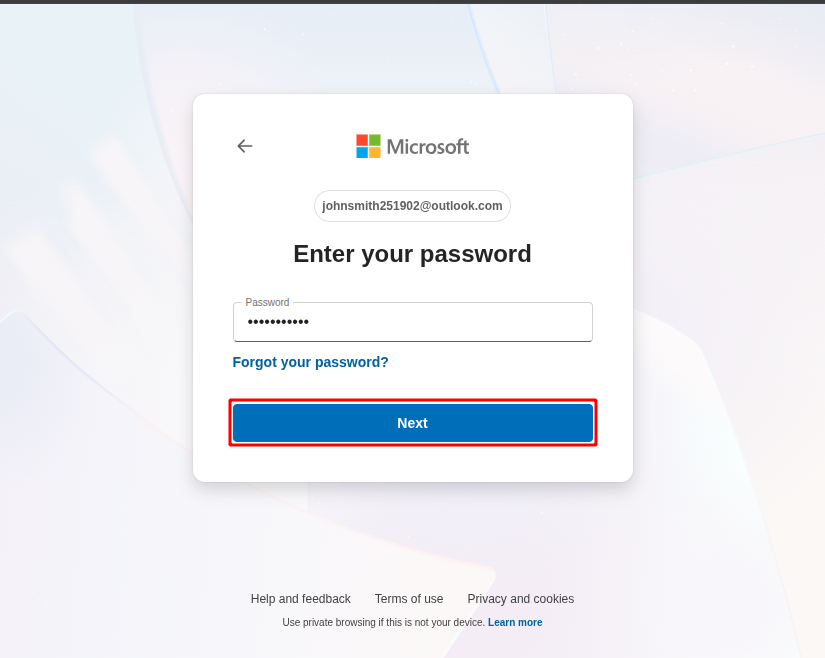
5. Provide the password associated with the Outlook account.
6. Some users or non-admin users may see a message such as “Need admin approval”. In that case, they should contact an admin user to grant the required permissions.
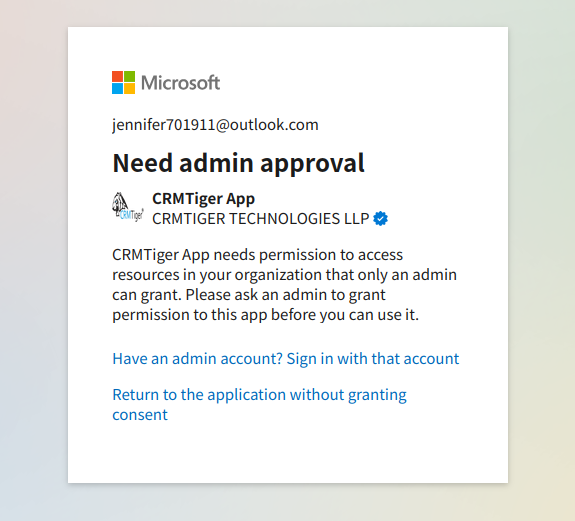
7. If this error occurs, please follow the steps below:
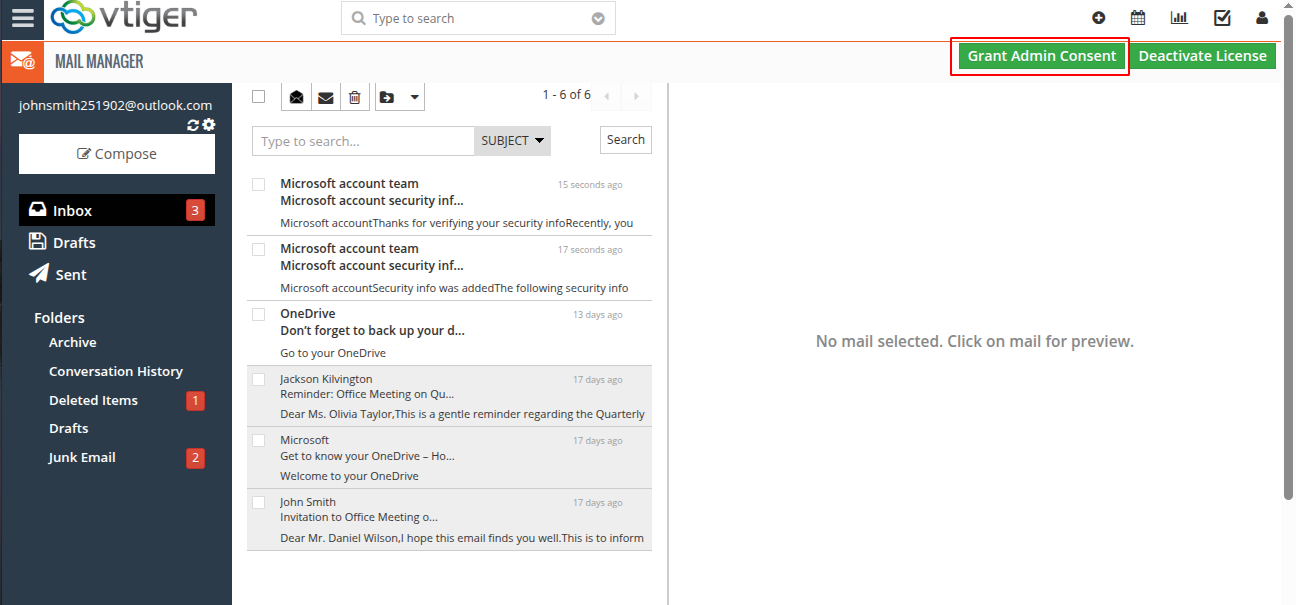
An admin user of the tenant should log in to the CRM as a Admin and Open the Mail Manager, click the Grant Admin Consent button at the top, and complete the login process using an enterprise admin account.
Once consent is granted, the required Outlook permissions will be enabled, allowing non-admin users to log in successfully.
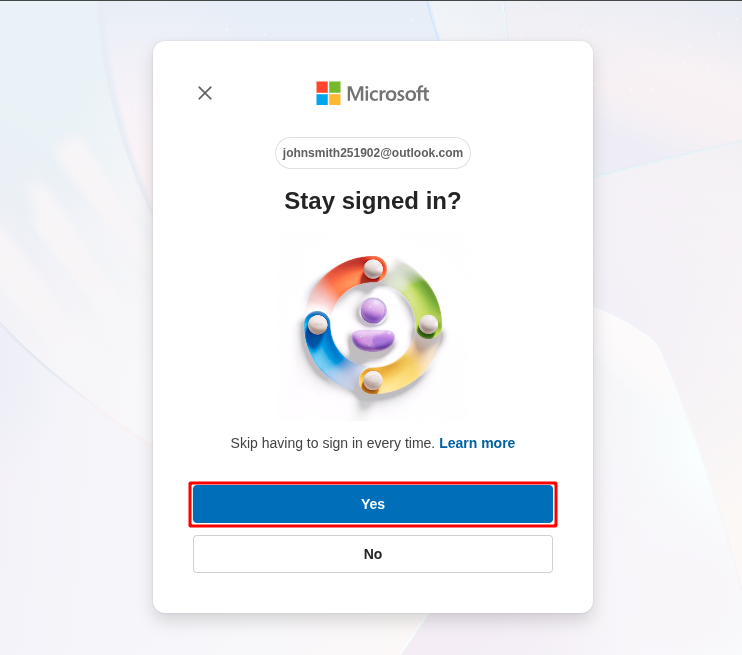
8. Once permission is granted by the admin, the non-admin user should log in again. On the next page, they will be asked whether they want to stay signed in. Click Yes to continue.
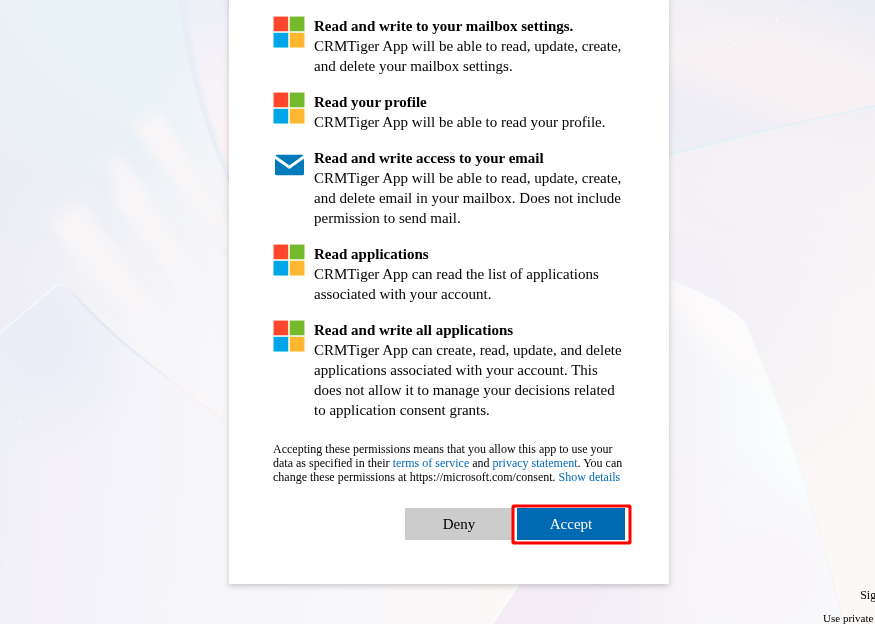
9. The application will request the necessary permissions to read and write emails. Review the permissions and click Accept to proceed.

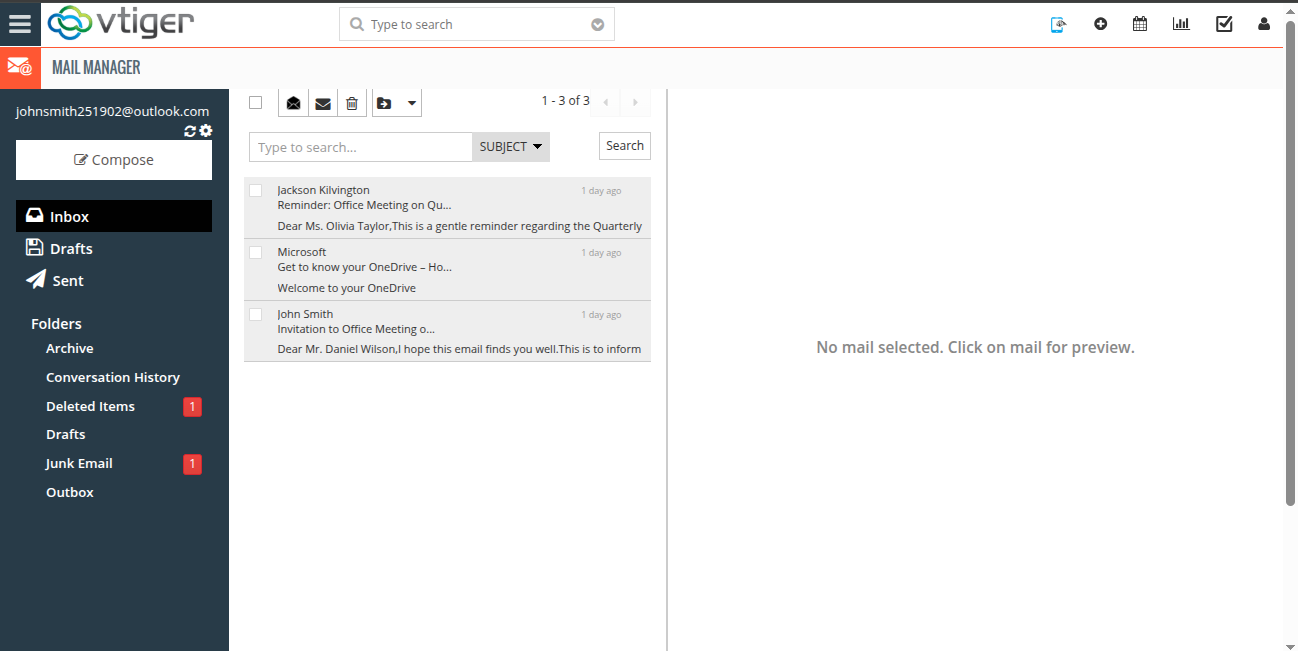
10. After successful authentication, the system redirects back to MailManager. The account is now connected. The account’s folders are displayed on the right side, and the emails within each folder are listed on the left.
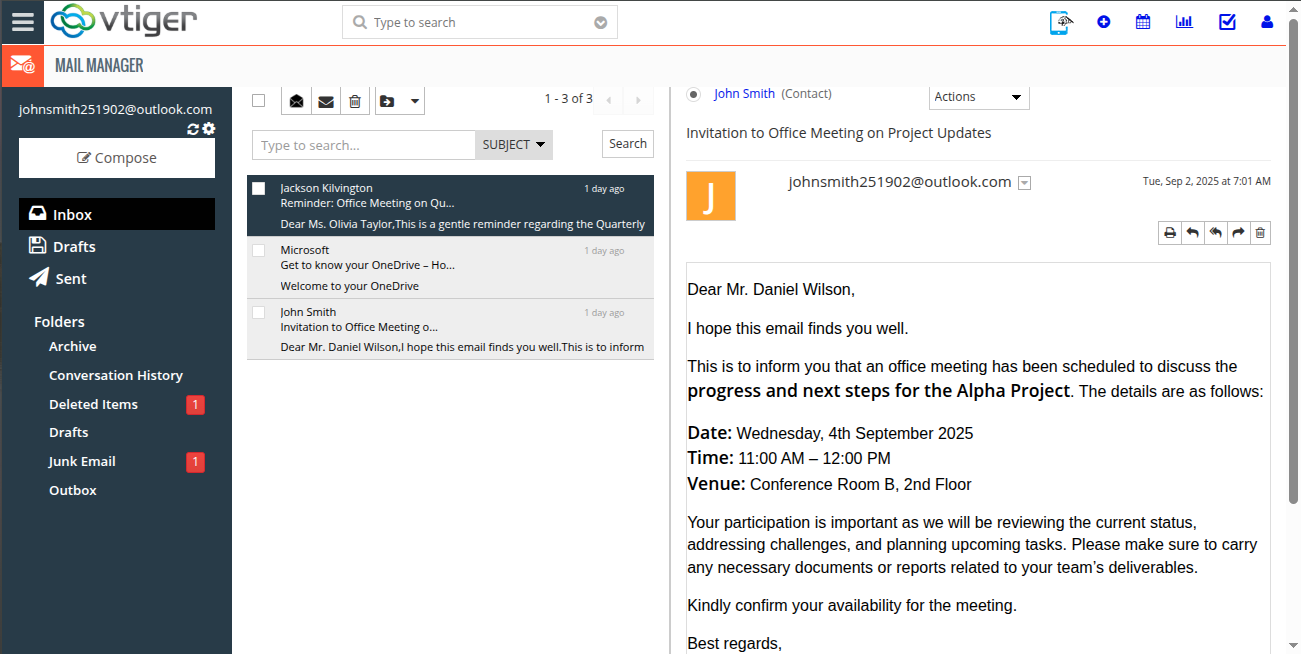
11. Click on any mail from the left panel to open it. The mail body is displayed, along with available actions such as Reply, Reply All, Print, and Forward.
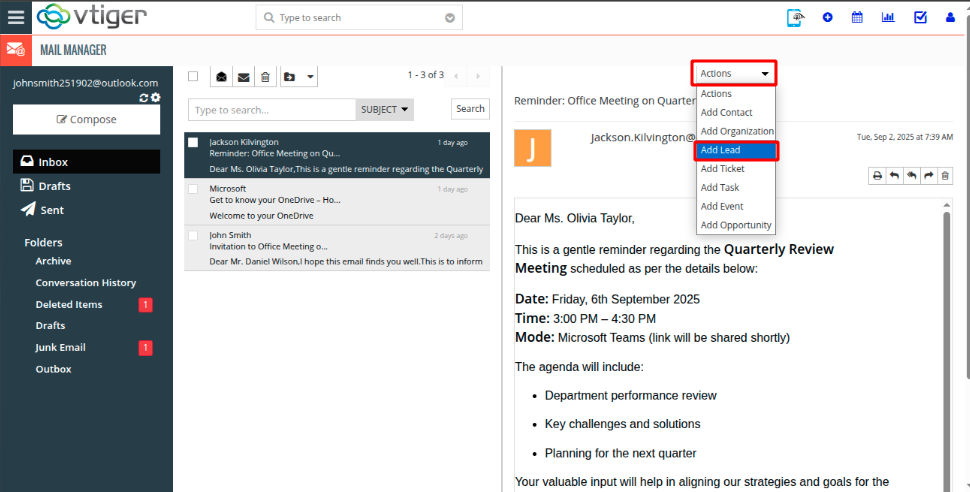
12. At the top, an Actions menu is available. Click on it to view options such as Create Contact, Create Lead, Create Organization, Create Task, and more. Select Lead to create a new lead.
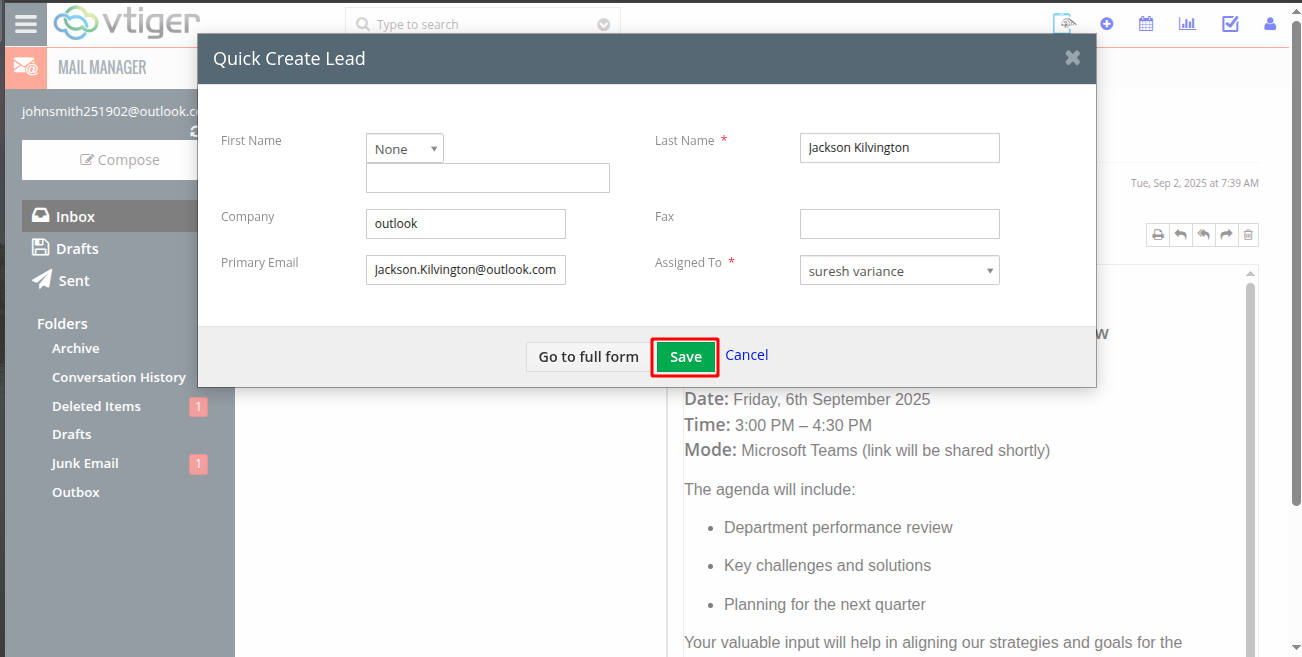
13. A Create Lead popup opens. Fields such as Last Name and Email are automatically filled in, but remain editable. After entering or updating the required information, click the Save button to create the lead
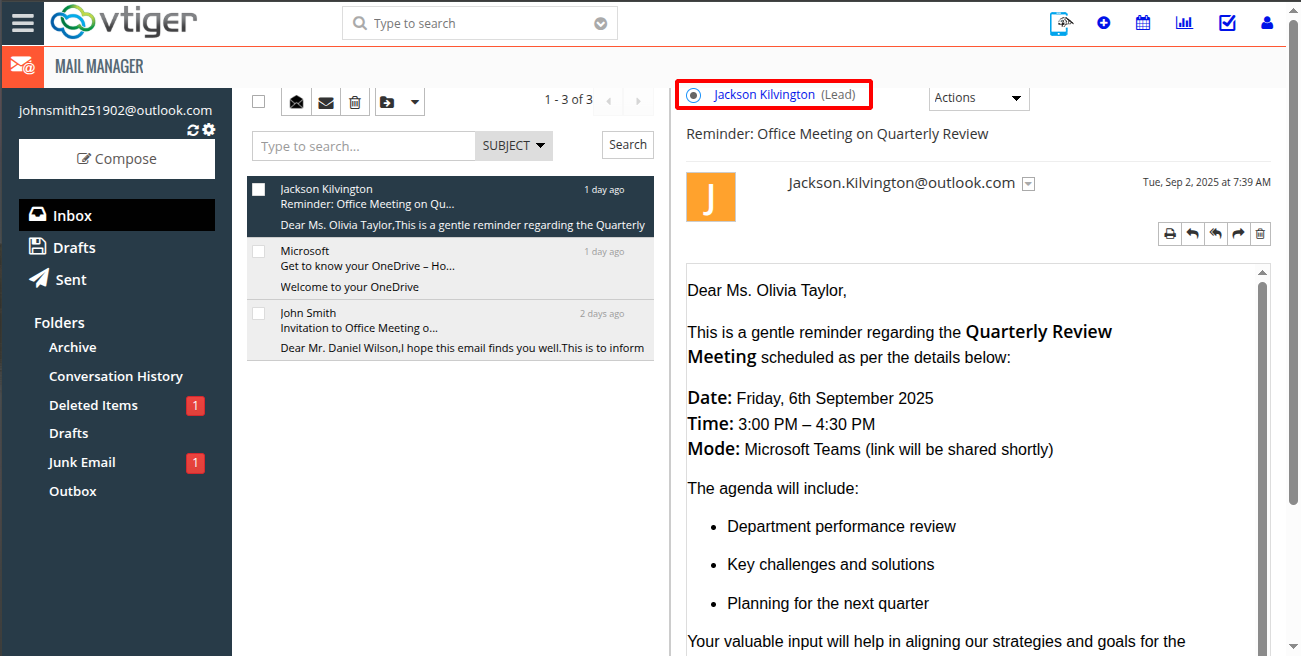
14.The newly created lead is displayed at the top, near the Actions menu.
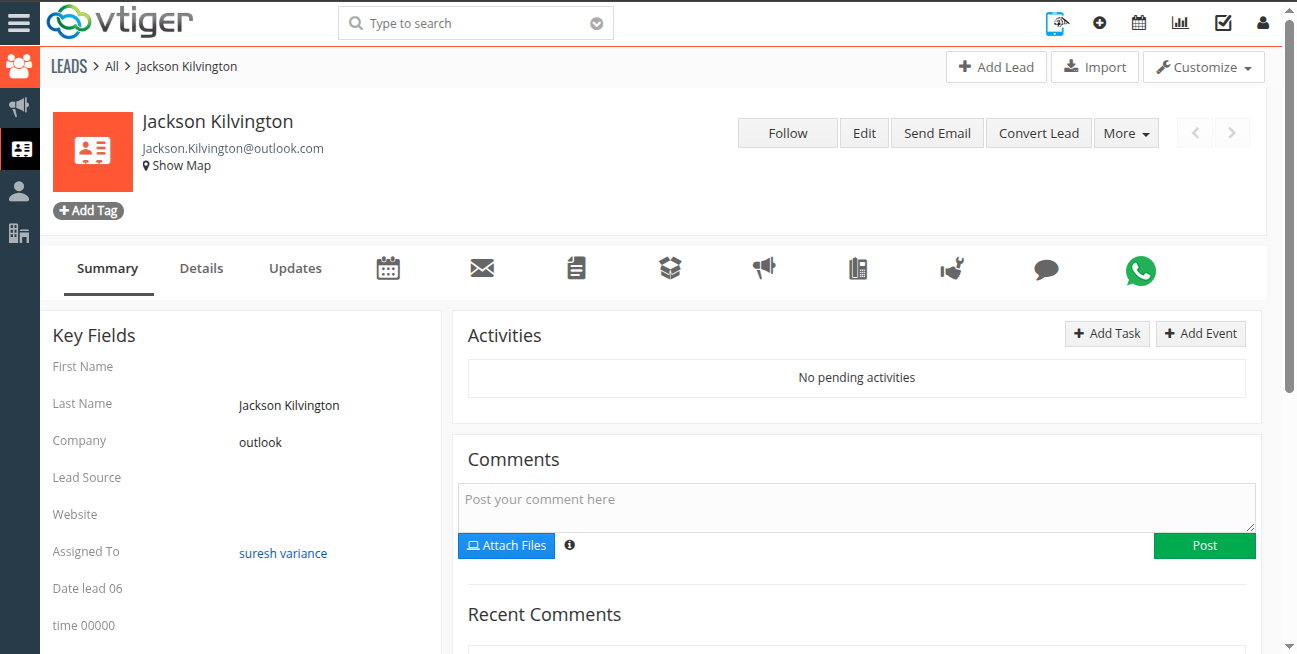
15. Click on the created lead to be redirected to the corresponding record in the Lead module.
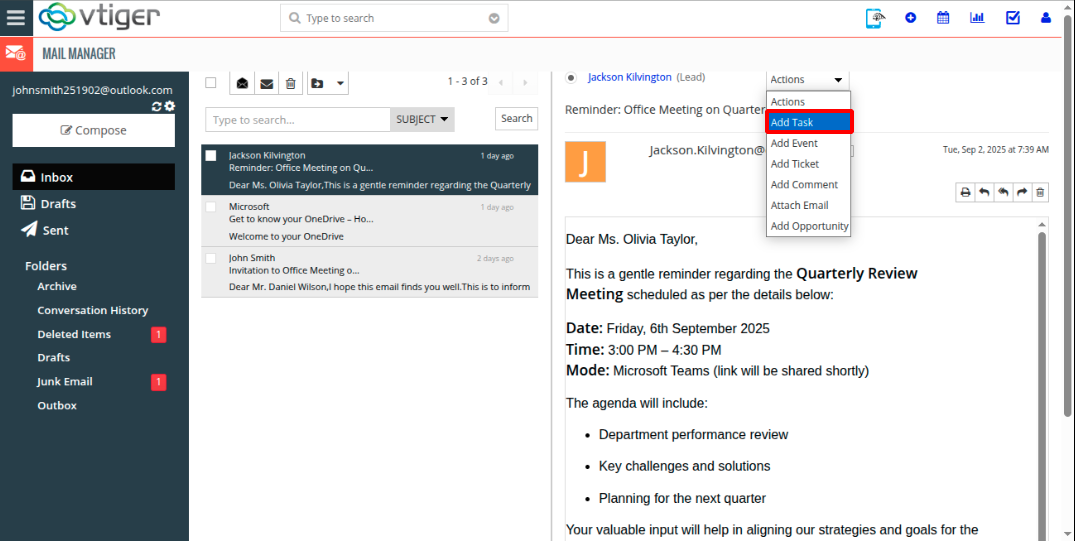
16. From the Actions menu, select an option such as Add Task to create a task related to the lead.
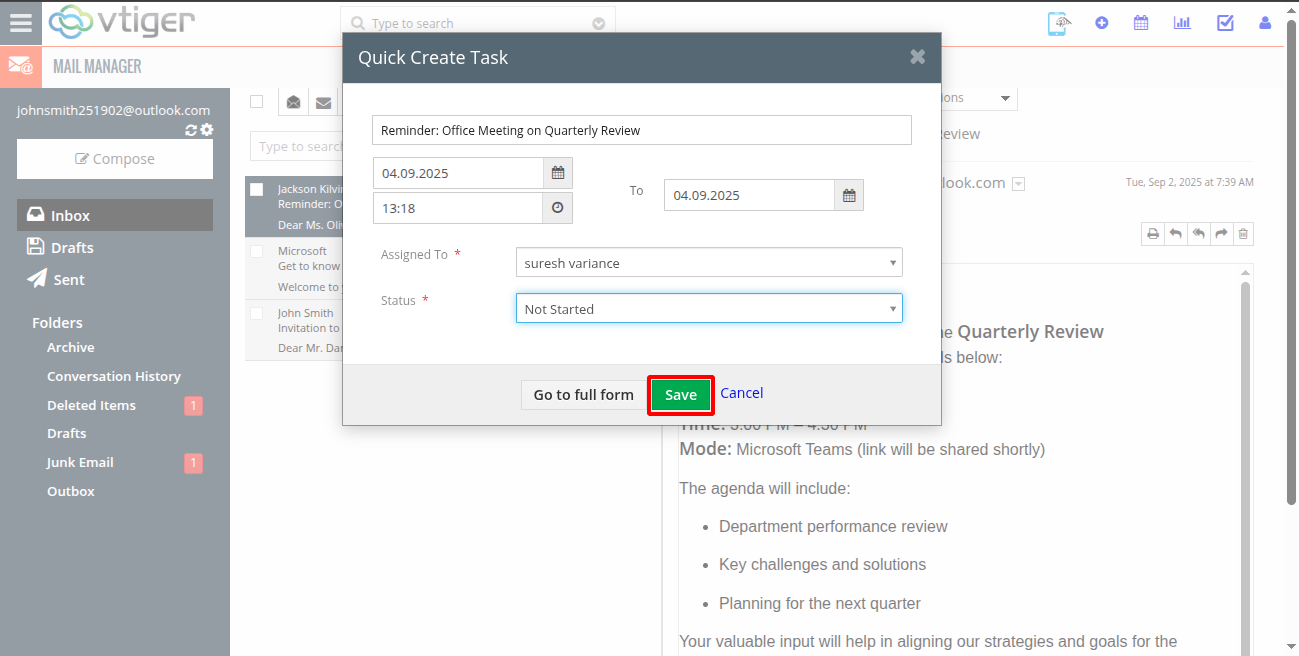
17. A Create Task popup opens. Enter the required details and click Save to add the task.
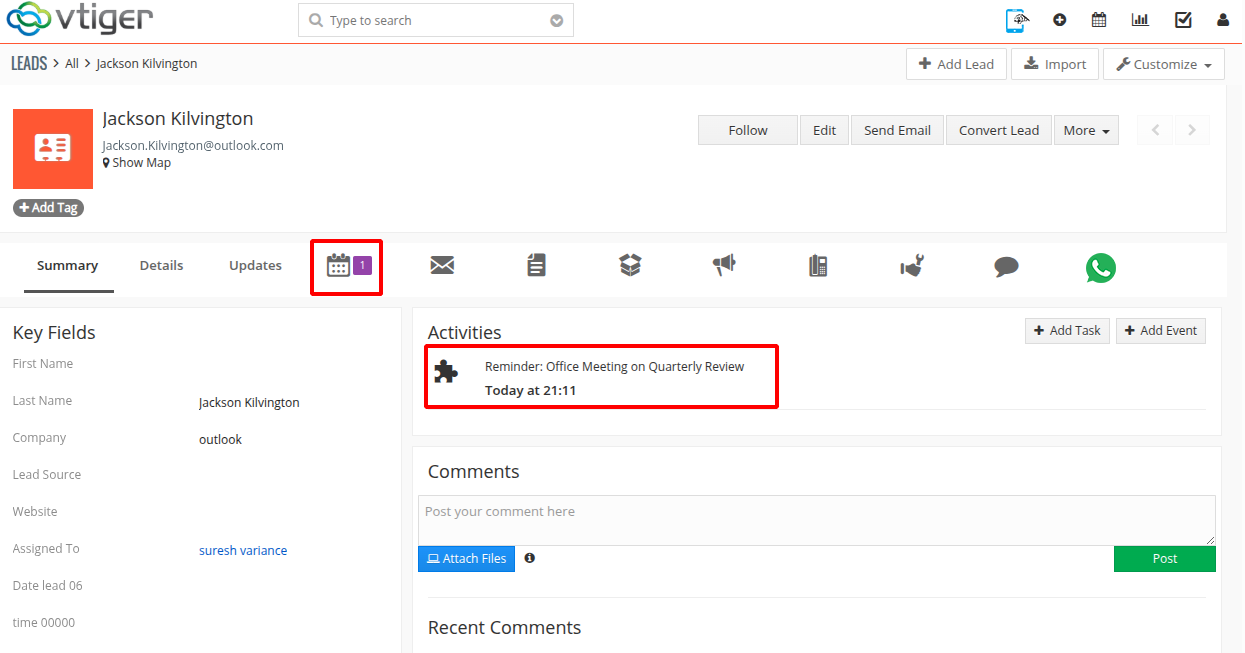
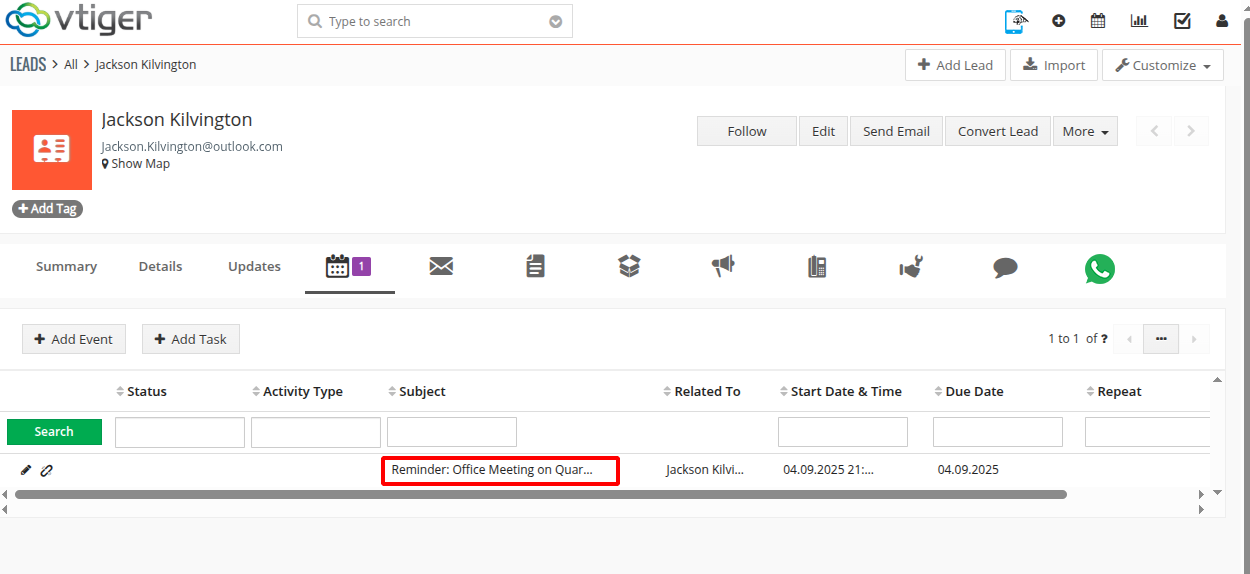
18. The task is created and linked to the lead that was generated from the mail.
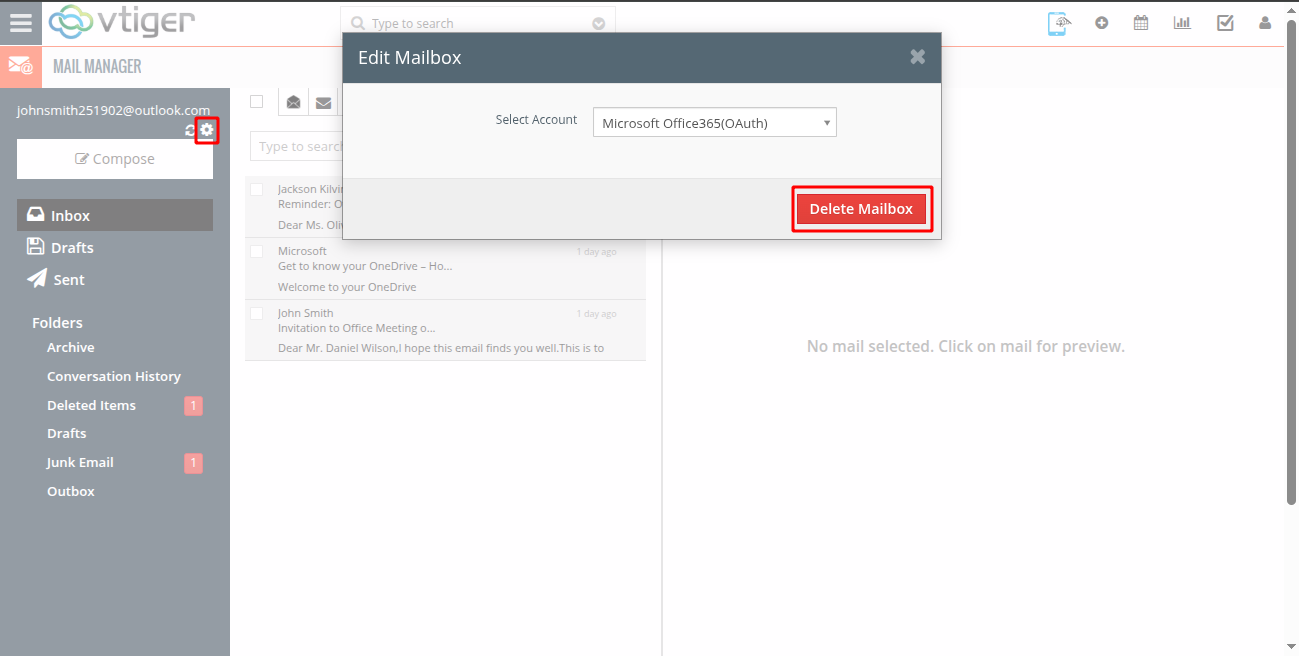
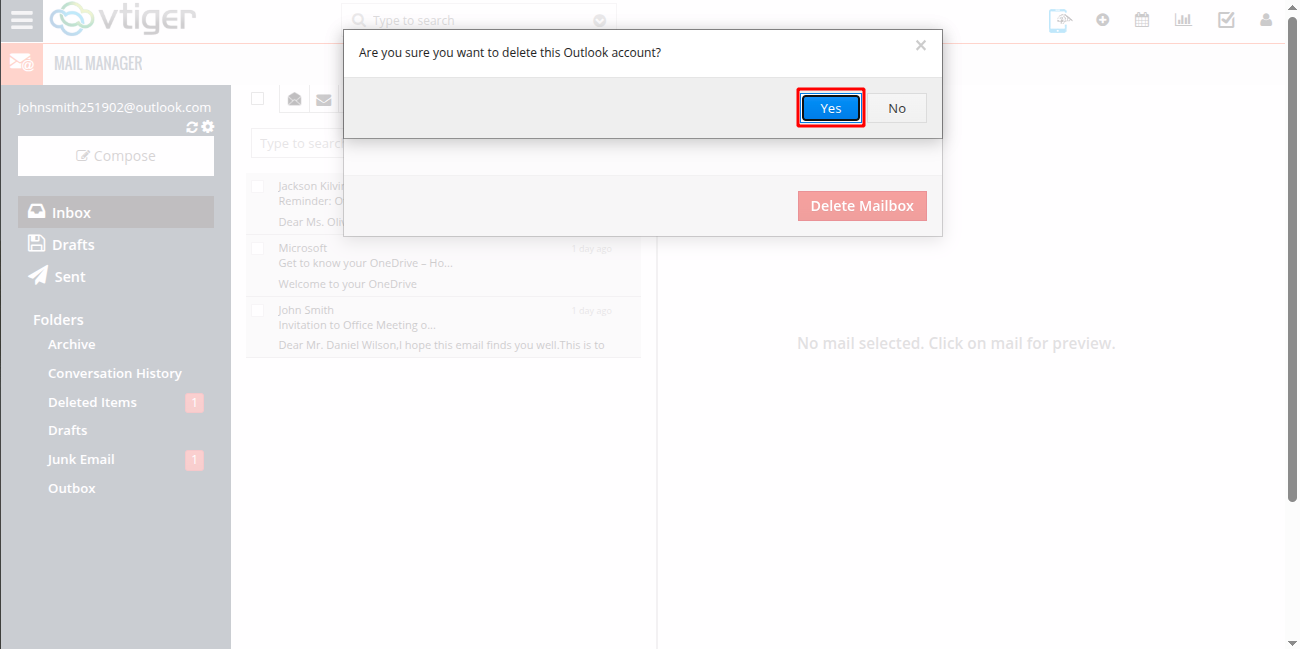
19. Click on the Gear icon to delete the mail account, then click on the Delete Mailbox button to confirm the action.
20. Click Yes to confirm and delete the account from MailManager.
Overview on How to Configure and Use MailManager with Microsoft OAuth in vTiger