
Outgoing Server using OAuth for vTiger
Step 1: Login to vTiger CRM
On successful login, you will be presented with the dashboard screen as shown below.
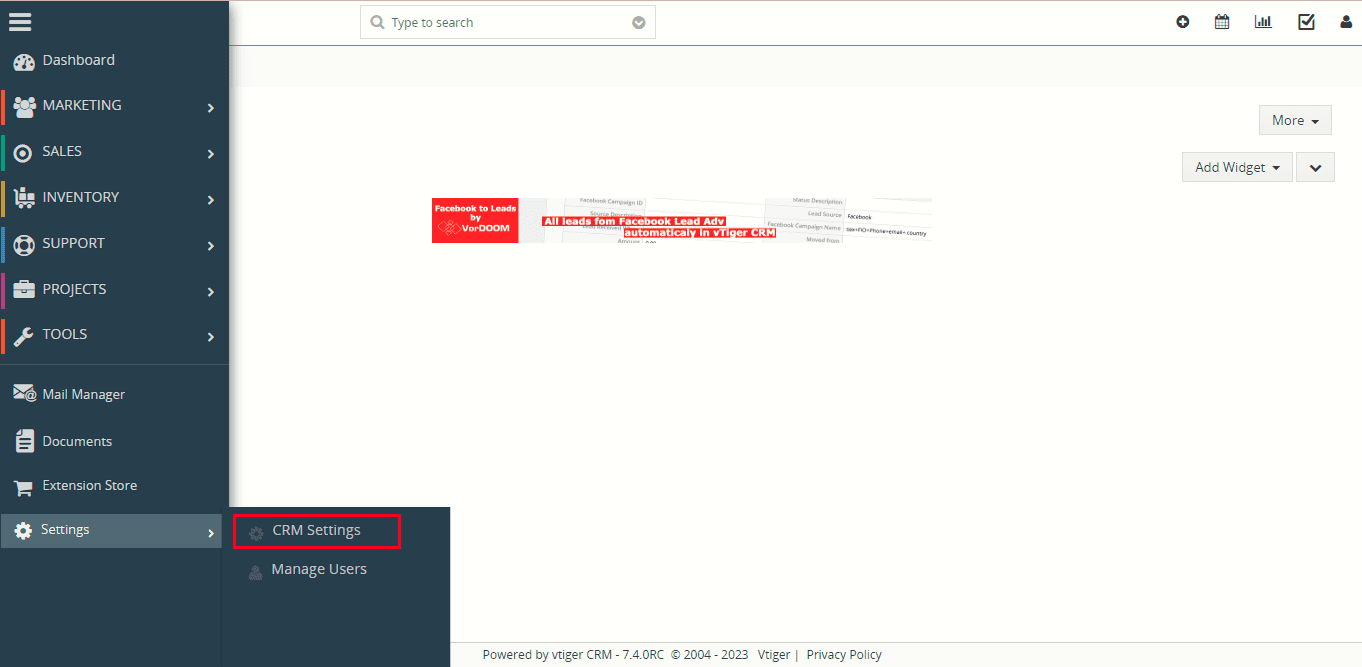
Step 2: Access CRM Settings
To open the “Settings” Page, click on the CRM Settings as shown in the screenshot below.
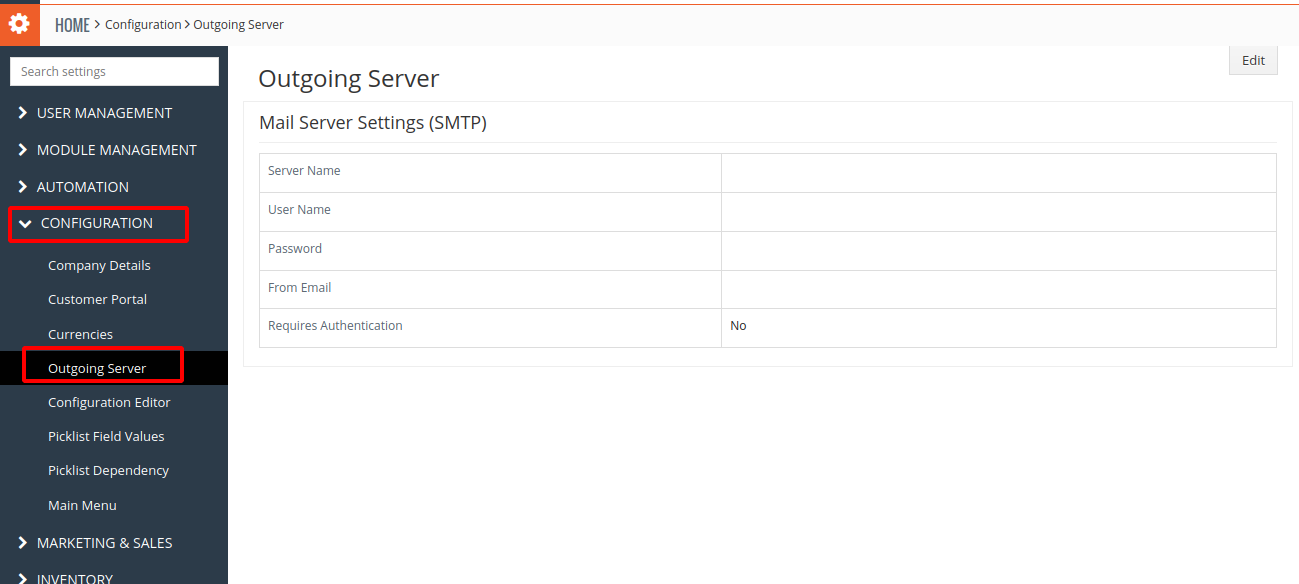
Step 3: Navigate to Outgoing Server Settings
- Open the CRM Settings page
- Go to Configuration
- Click on Outgoing Server to configure the outgoing mail server
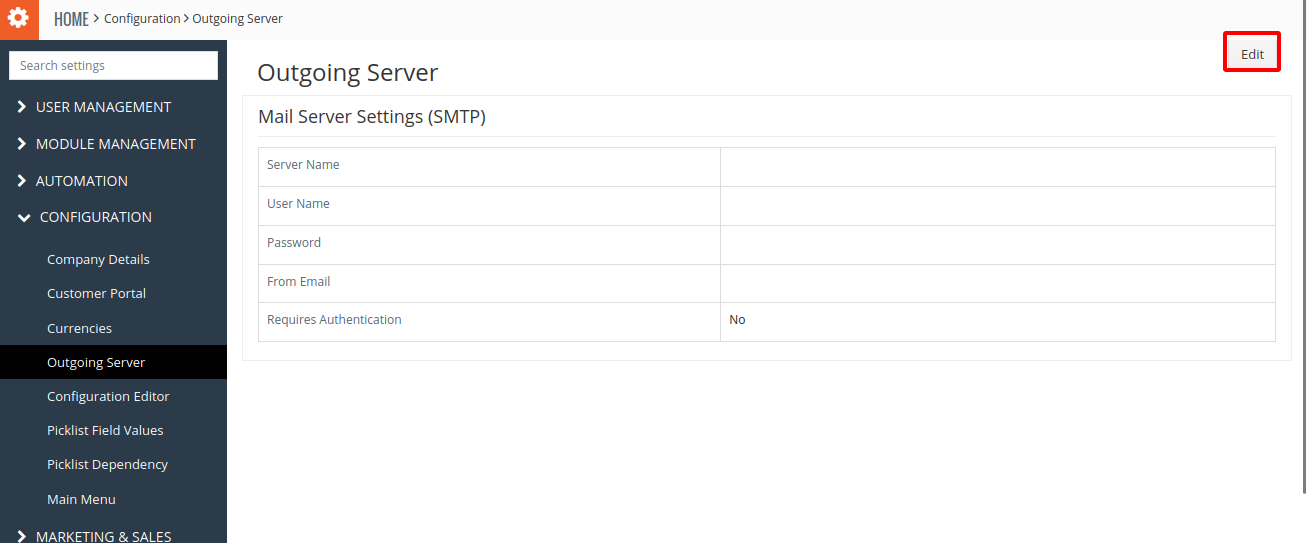
Step 4: Edit Outgoing Server Configuration
Click on the Edit button as shown in the screenshot.
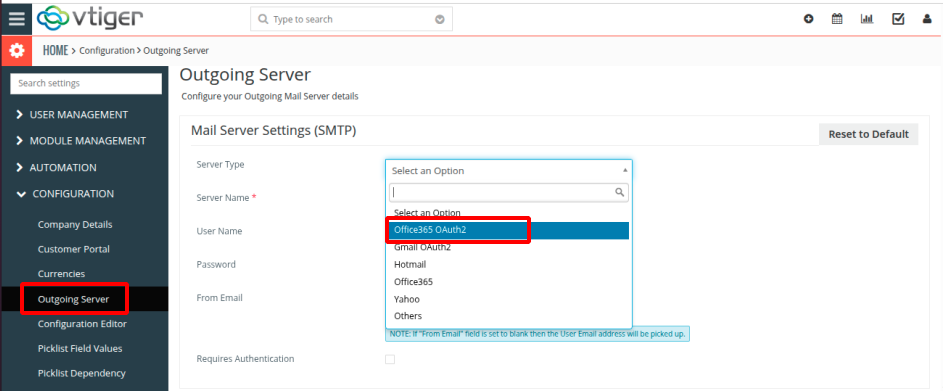
Step 5: Select Office 365 OAuth 2.0 Server Type
- In the Server Type field, you will see the newly added Office 365 OAuth 2.0 option
- Select Office 365 OAuth 2.0 from the dropdown menu
- The system will redirect you to the Microsoft Login Screen where user has to enter the username and password
- Successfully complete the Microsoft authentication process
- Once the configuration is complete, you will be redirected to the Outgoing Server list view page
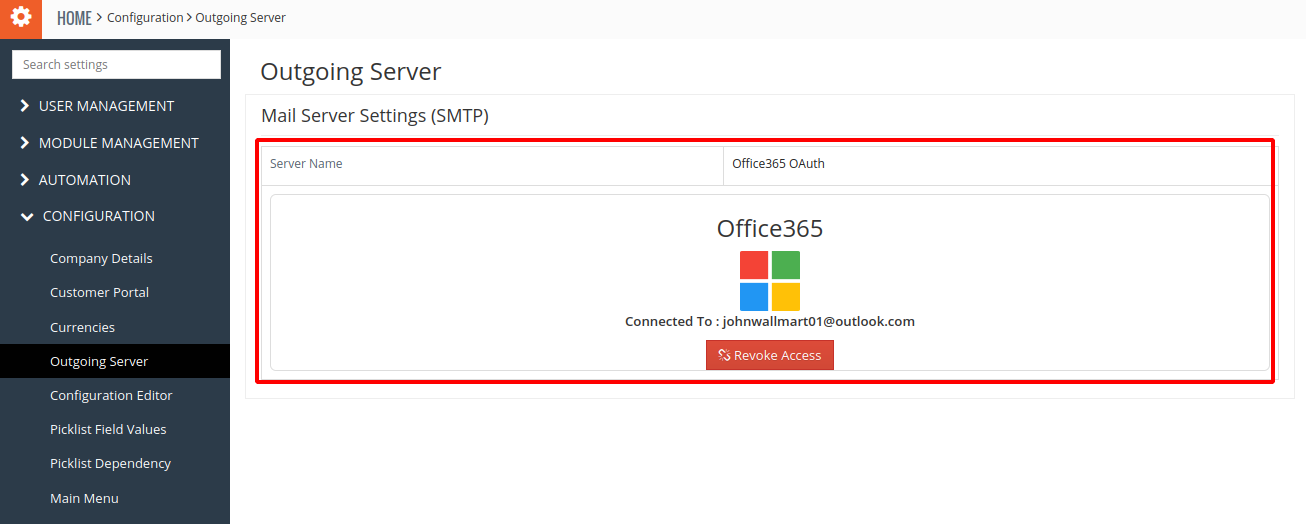
Step 6: Verify Configuration
On the Outgoing Server list view page, you can verify:
- The connected Outgoing Server Type (Office 365 OAuth 2.0)
- The configured Email ID
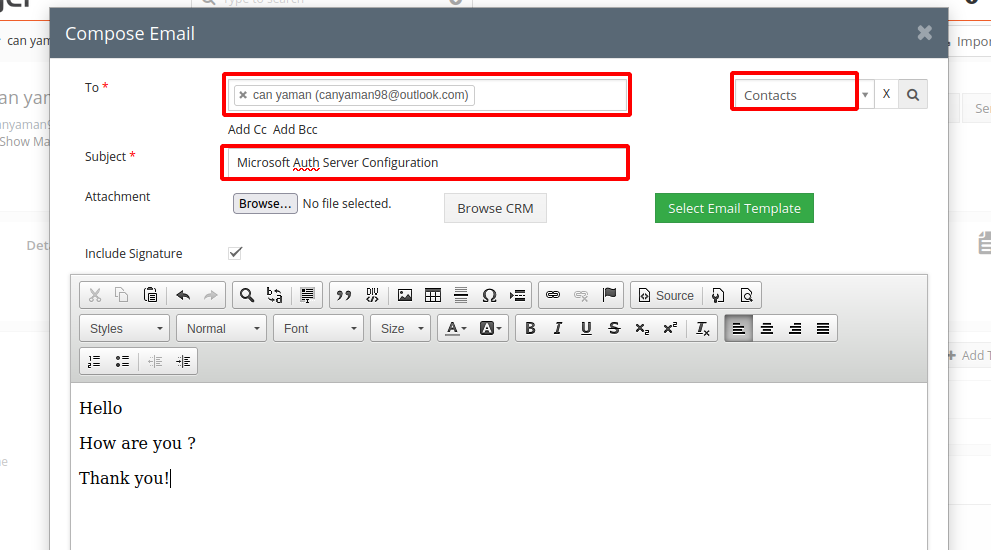
Step 7: Send a Test Email
- Navigate to the Contacts module
- Select a contact or create a new one with the email: hazel.crmtiger@gmail.com
- Send an email to this contact
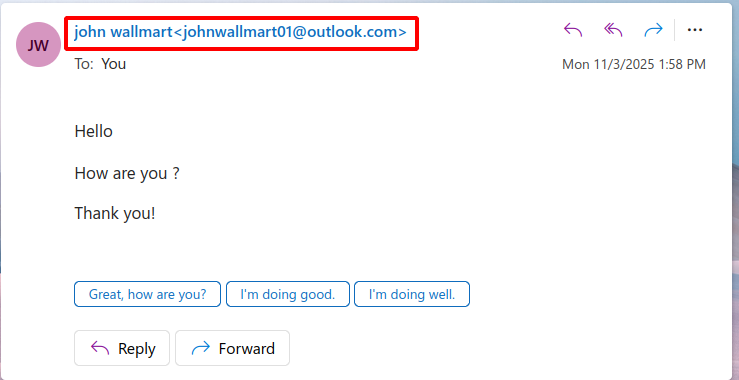
- Check the recipient’s email account
- Verify that the email was sent successfully
- Confirm that the From Email ID displays the configured Office 365 email address
Please review the following topic for more information about integration.
- How to Install Outgoing Server using OAuth for vTiger?
- How to Use Outgoing Server using OAuth for vTiger?