Overview
Google Calendar extensions allow each user to set up their own Google Calendar Configuration to Sync event from vTiger to Google and vice versa.
Features
- Admin can configure the Credentials, Add Settings for Sync Events and also be able to CTGoogleSuiteselect Users for which they want to allow Sync from vTiger to Google and vice versa.
- Users are able to see the Log of Sync Events.
How to use vTiger Google Calendar ?
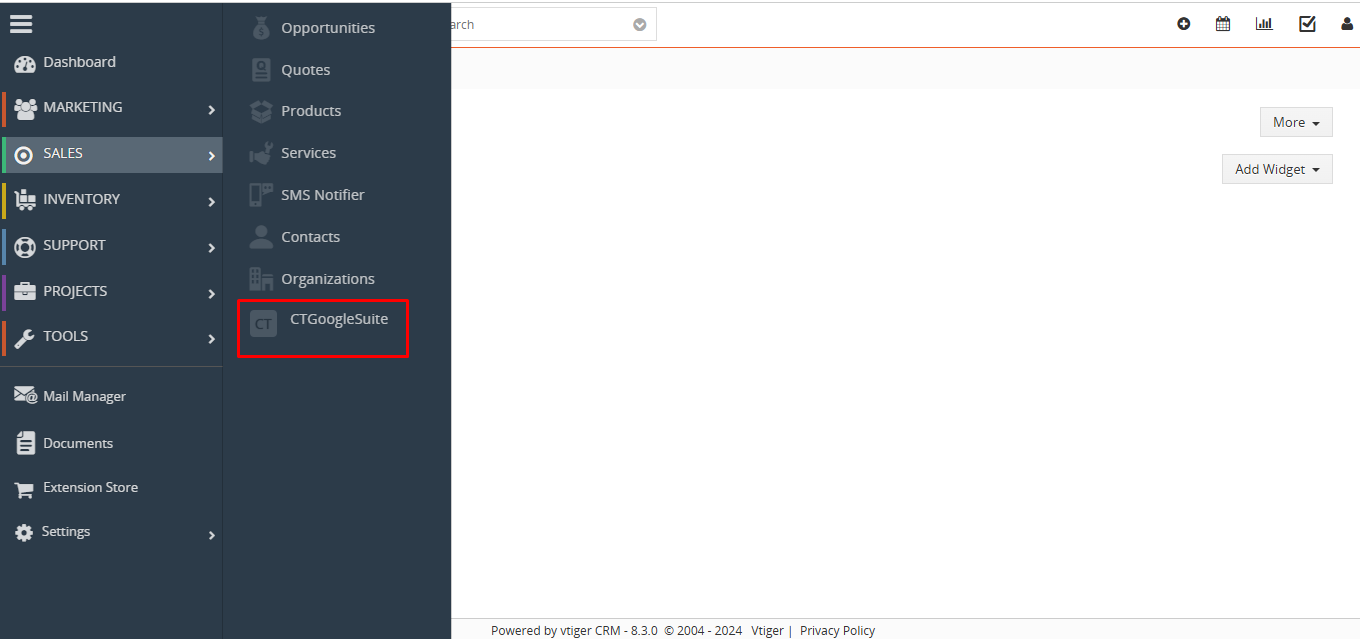
1. In the CRM Menu Page → Click on Sales → Click CTGoogleSuite Link.
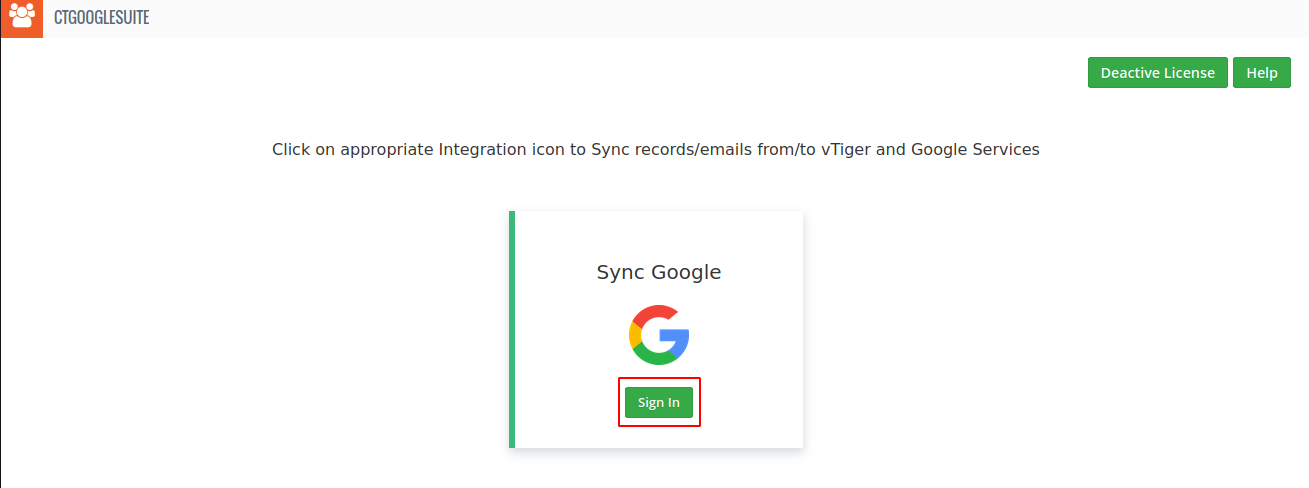
 2. Once the Google SuitePage opens, It’ll look as shown in the below screenshot. If users want to use Google then need to click on the Google Sign In Button.
3. Once a user clicks on the “Sign In” Button, it’ll redirect to the Google Login Page.
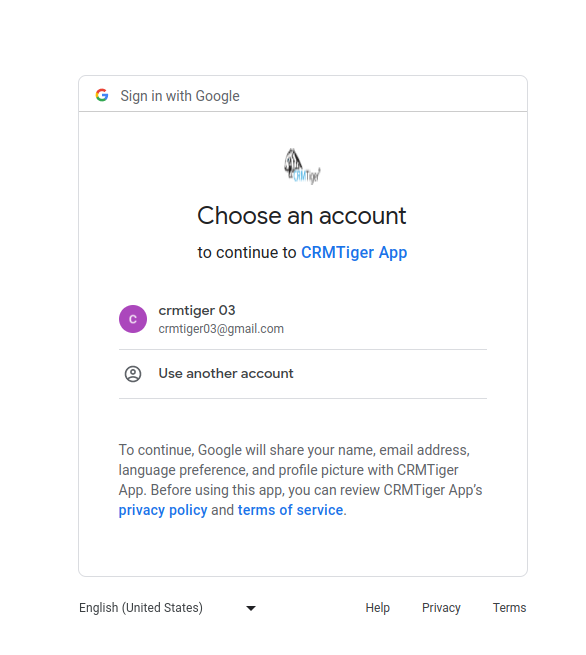
4. It’ll ask permission to allow sync Contacts/Events from vTiger to Google and vice versa.
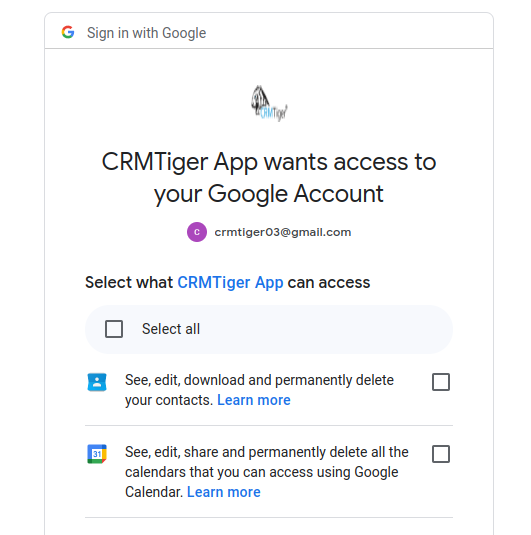
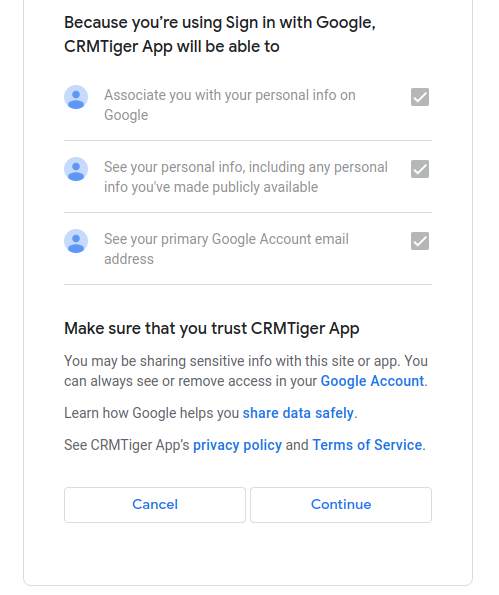 5. After allowing Google Contact/Calendar to sync and click on continue, It’ll look like the below screenshot.
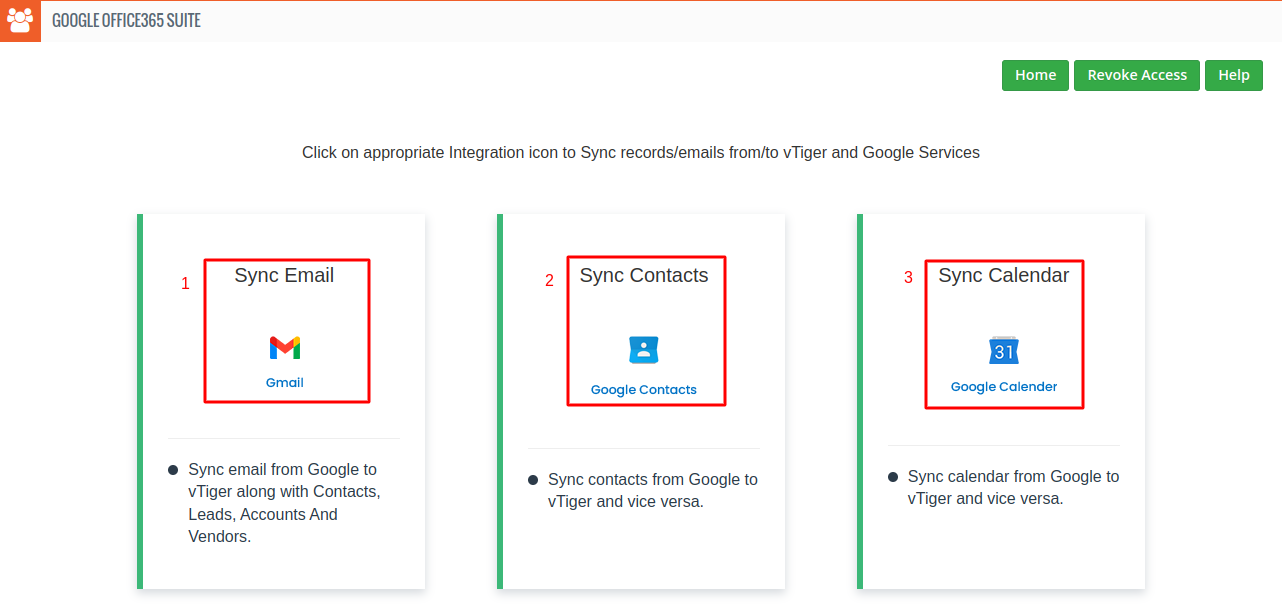
Sync Calendar
After Login Process, You have to click on Sync Calendar Link as shown in below Screenshot.
 Once the user clicks on Google Calendar, It’ll look as shown in the screenshot below.
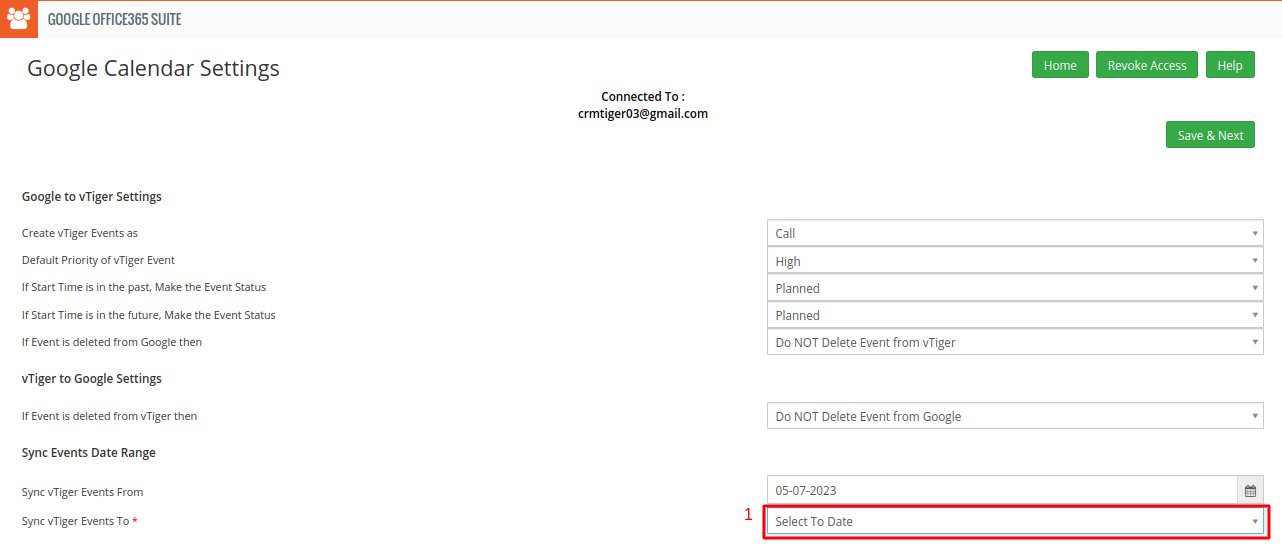
- Here ‘To Date’ has dropdown of current date + 1 to 4 weeks

- It shows Calendar Groups (labels) which are getting from Google Calendar.
- It shows the default selected Calendar Group.
- It shows the default selected user which is CRM Login User.
- It shows all CRM Users and Groups.
After Configuring all details in Google Calendar Settings, it’ll redirect to the below screenshot where you can see the Manual and auto sync for Calendar vTiger to Google and vice versa.
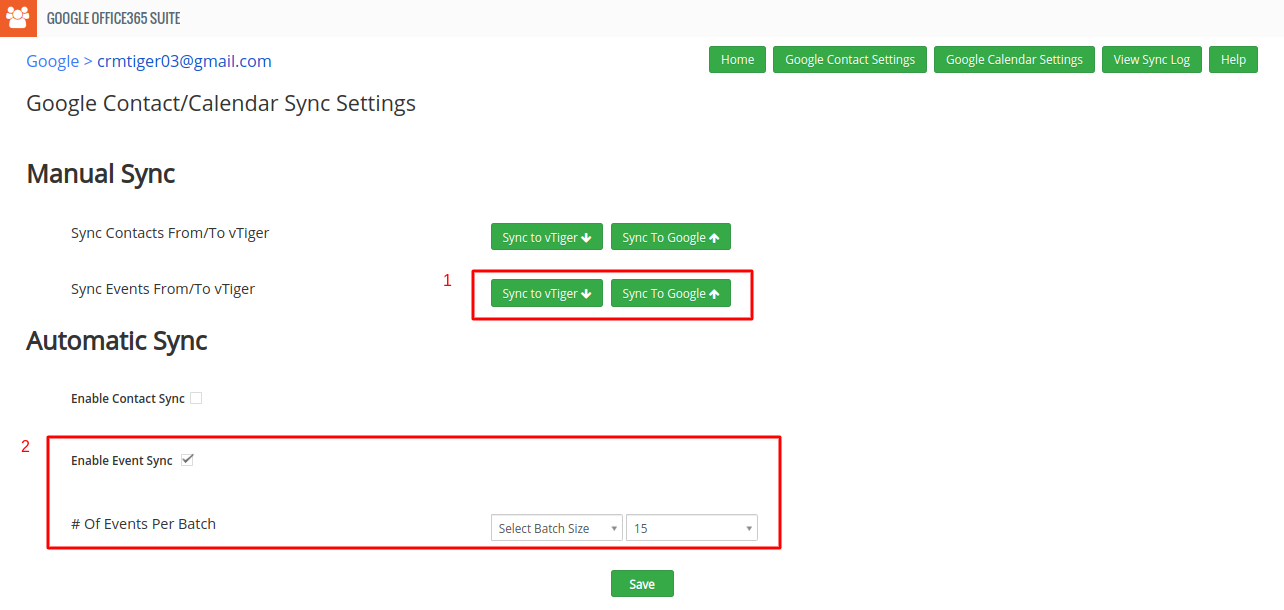
- It shows Sync Buttons for Google Calendar Manual Sync.
- When you click on ‘Enable Calendar Sync’, it enables the auto-sync process for Calendar and also shows Batch Size and Minutes dropdown.
- Batch Size: Select the size of the Batch means it’ll sync the amount/size of the data mentioned in the Batch Size at a single time.
- Minutes: Select the Minutes used for the Scheduler for the trigger.Minutes Interval allows schedulers to process data from/to the vTiger/Google system bidirectional to avoid performance issues in your vTiger System.
vTiger Calendar Sync to Google Calendar
Create an Event in the vTiger Calendar like the below screenshot.
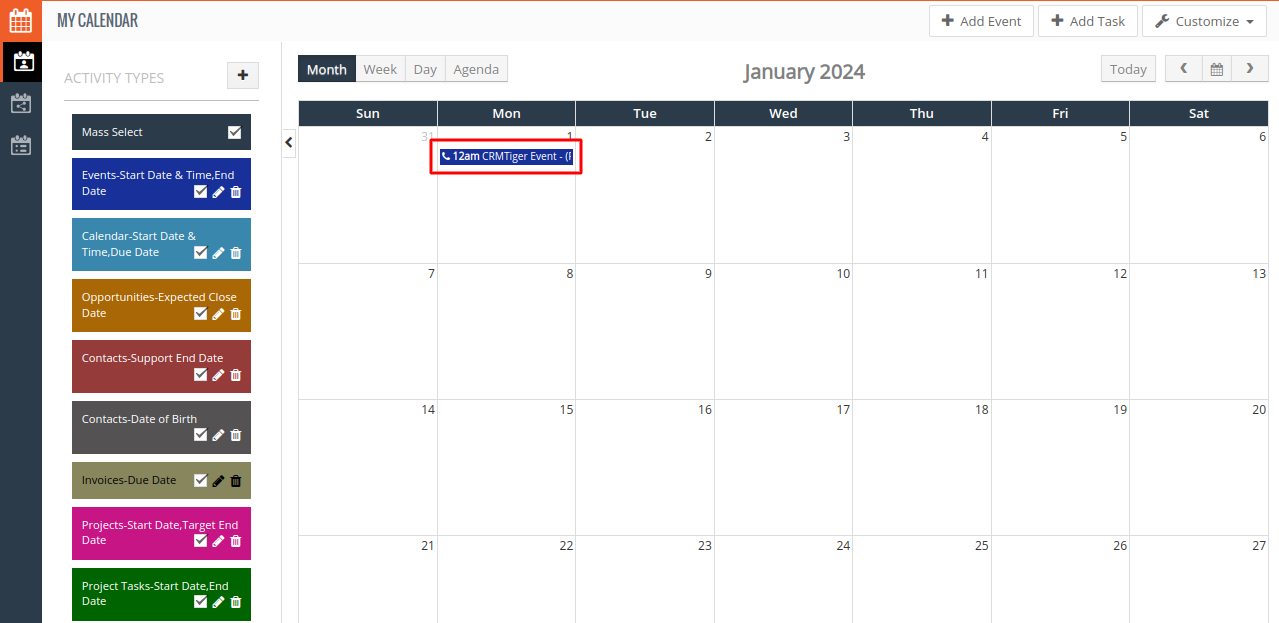 After creating an Event in vTiger, you have to click on Sync To Google
 After syncing data, you can see in Google Calendar the Calendar is synced successfully.
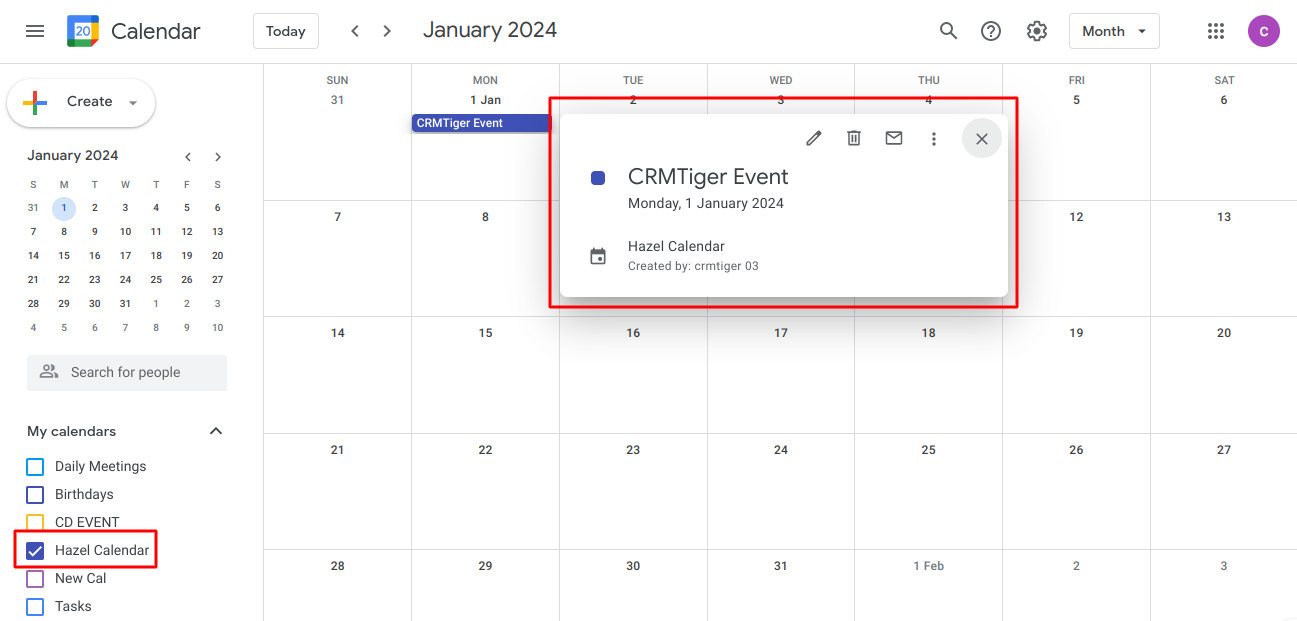 Once Sync Process is Completed, you can see the log table & It looks like the screenshot below.
 Also, you can see sync records in GoogleSuiteLog “Sync Log” where you can see the number of records Created and Updated & Deleted.

Google Event Sync to vTiger Event Module
Create an Event in the Google Calendar like the below screenshot.
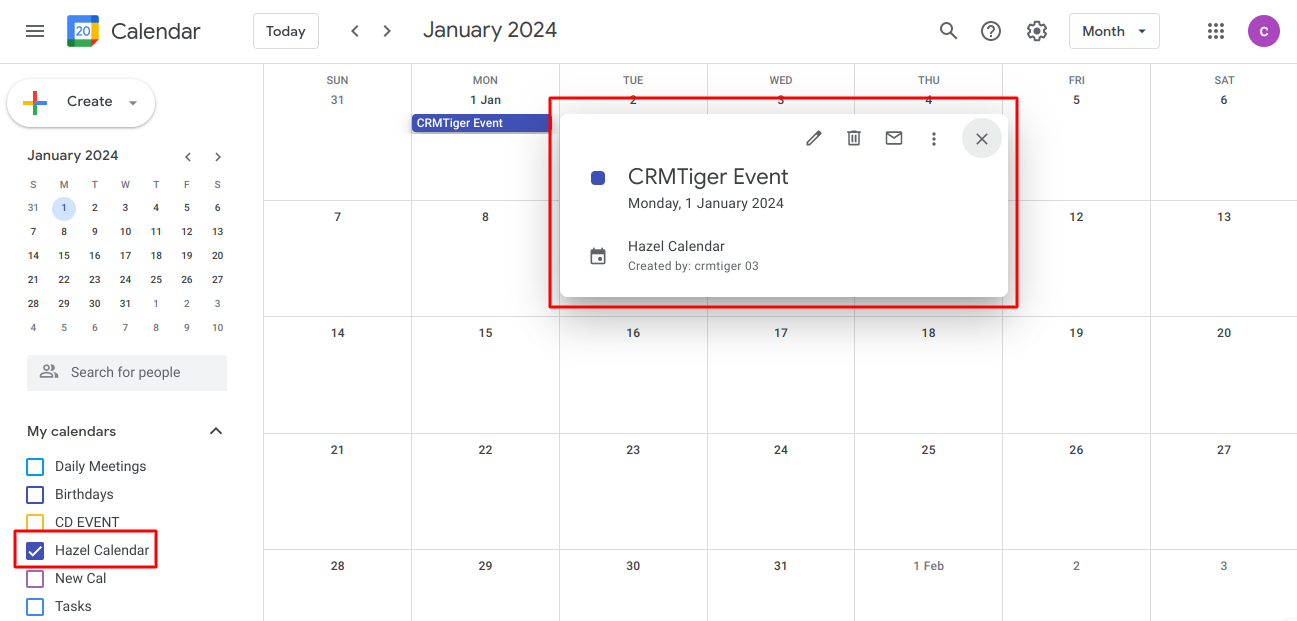 Once the Event is created in Google Calendar, Go to the Google Calendar sync settings page for sync Calendar. Once a user clicks on “Sync To vTiger”, it will look like the below screenshot where you can see the number of records Created, Updated & Deleted.
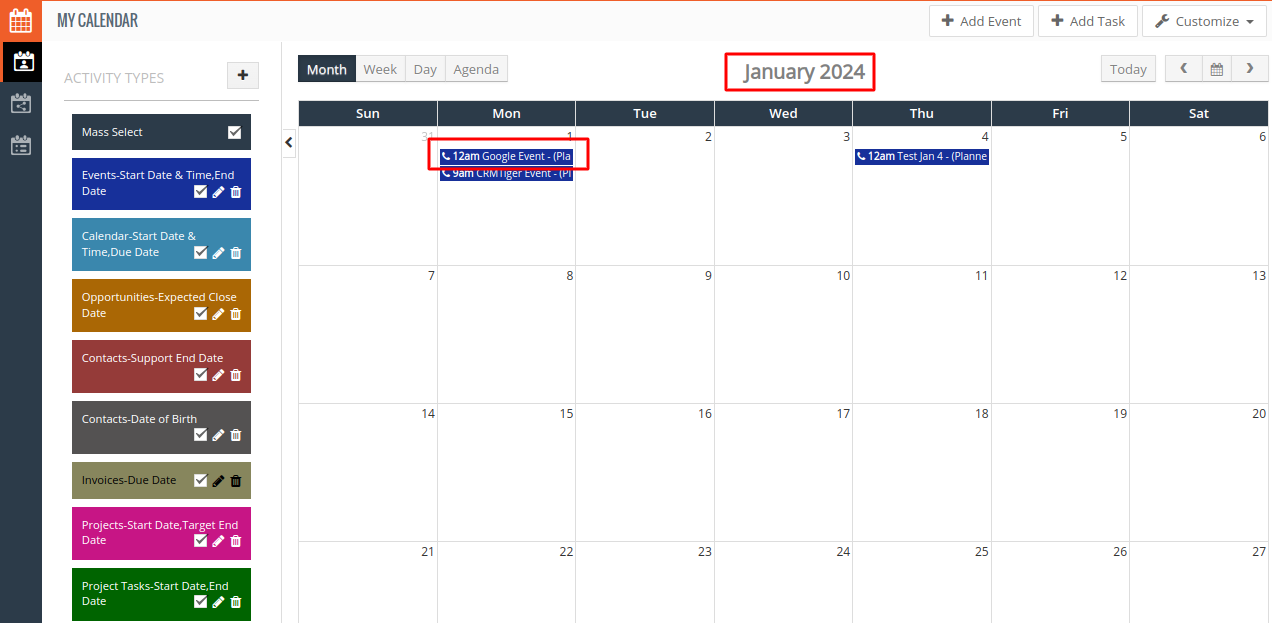
 Once the record is synced, you can see that record in vTiger Calendar Module like in the below screenshot.
 Also, you can see sync records in the Log table & GoogleOffice365Suite “Sync Log”.

 Event Automatic Sync:-
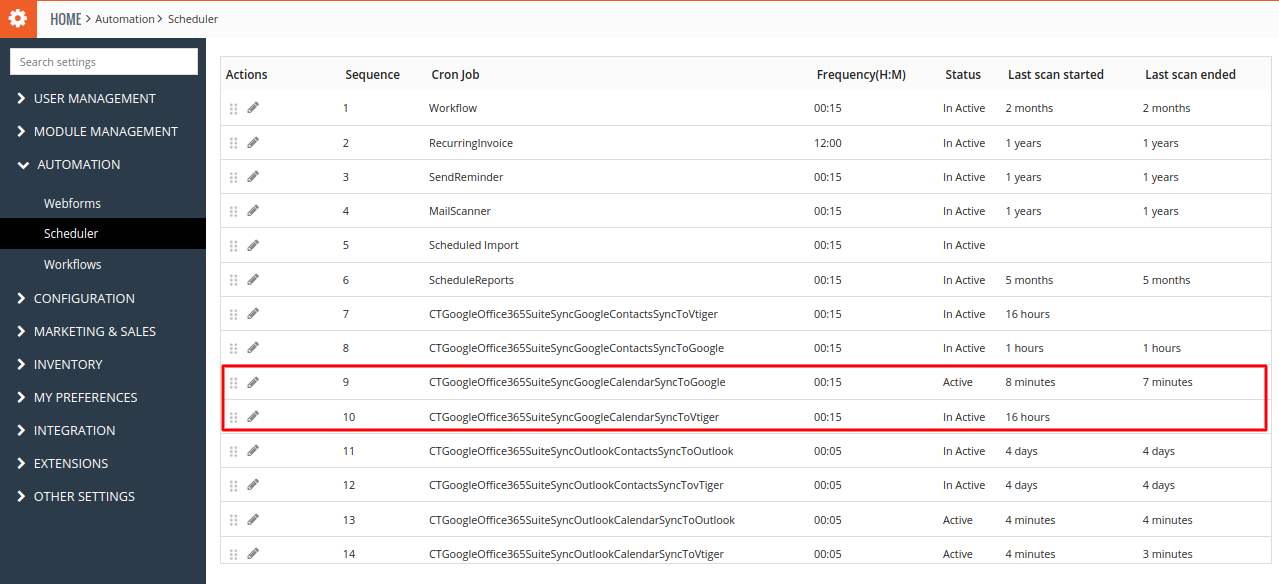
For Automatic Sync of Events, 2 Schedulers are available in the CRM Settings->AUTOMATION->Scheduler as shown below screenshot once the GoogleSuite Plugin installs.
Note: For Sync Events automatically using Scheduler, you need to set up vTiger Cron on Server.
