1. Home
2. CRM Settings
3. Selection of other Settings
4. Choose Record Lock settings
5. Configure changes of Time e Period
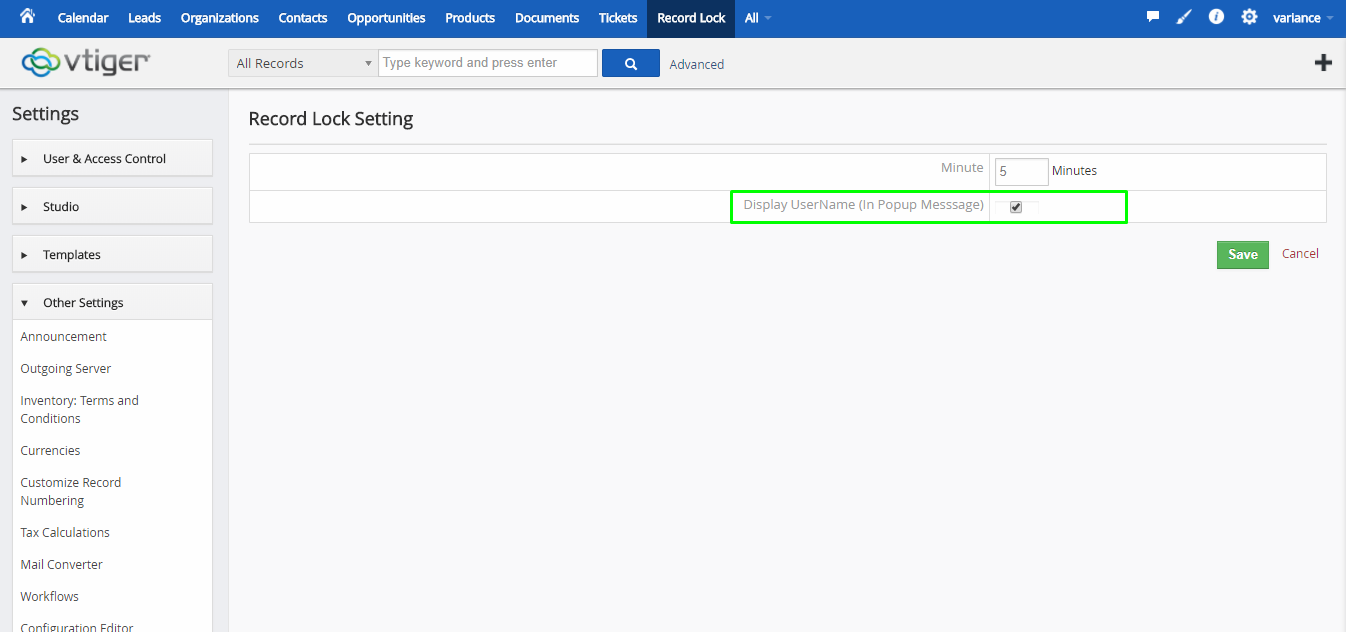
6. Configure changes of Data display
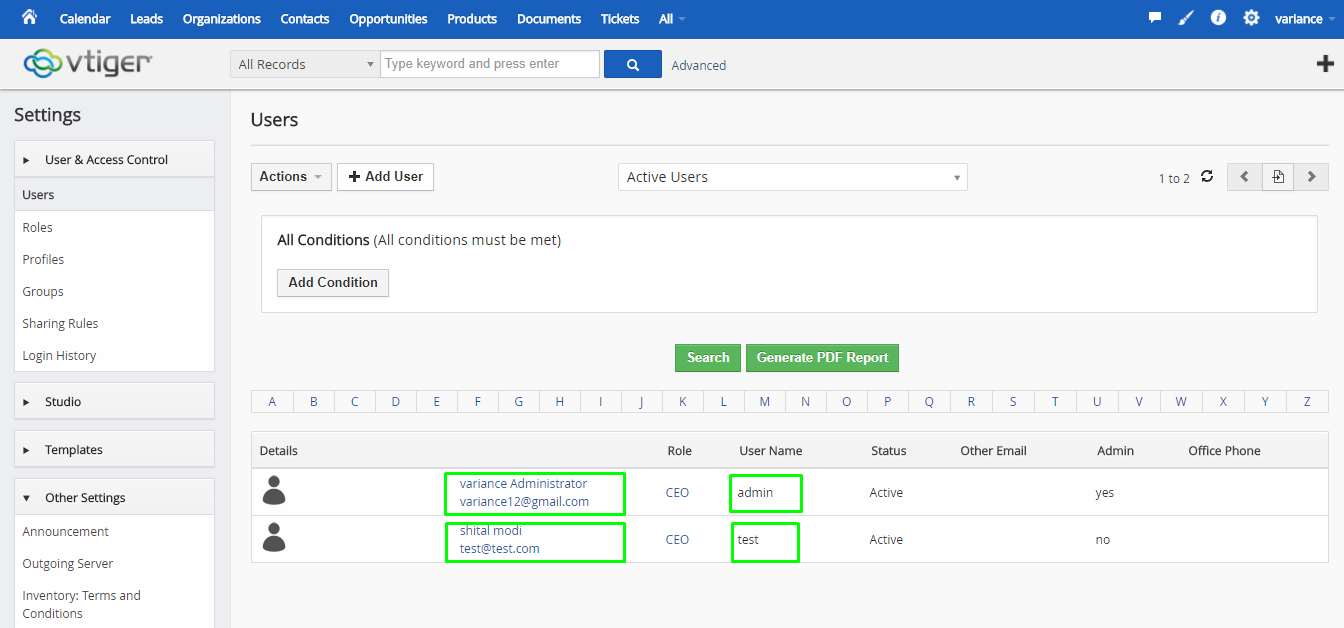
8. Create Multiple user account
11. Open the same record on both account
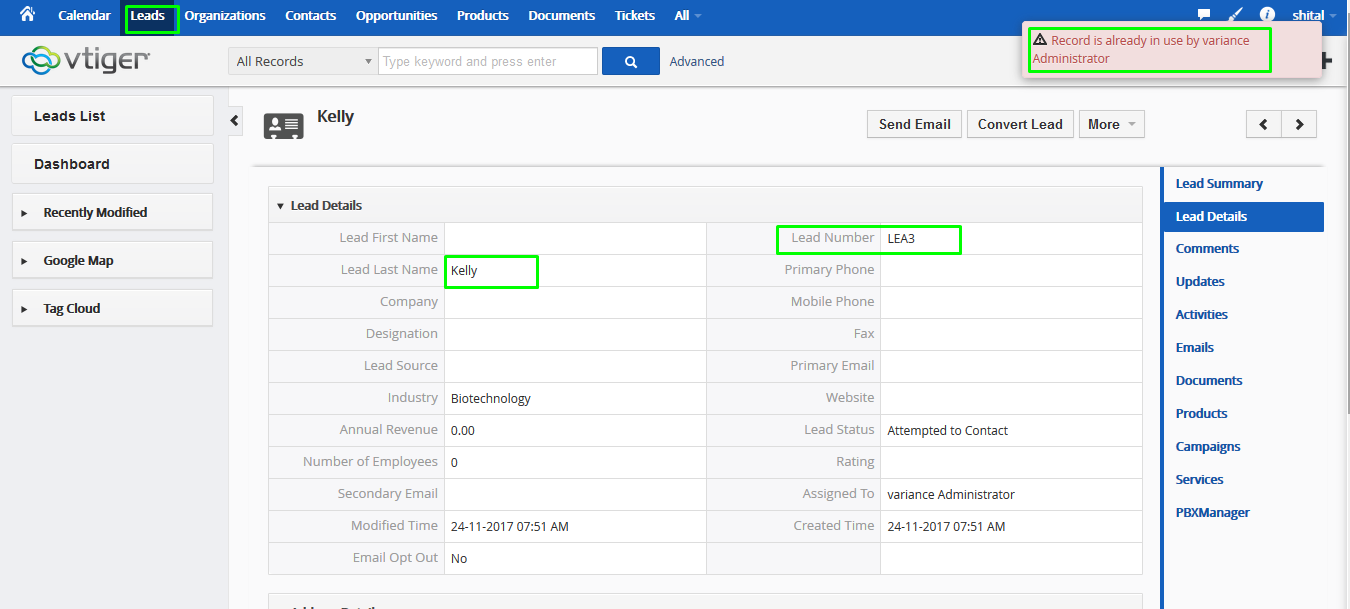
12. Display Record Lock Functionality Result
ABOUT CRMTiger
We are Technology Consulting company with expertise on Enterprise Softwares offering Development, Integration, Business Process Management and Implementation with Training.
CRMTiger team is expert to provide different types of the service related to vTiger® CRM. following is the services we offered to the trusted customers.
CRM Tiger offers
● Customization for vTiger®
● Migration for vTiger®
● Support
● Implementation/Deployment of vTiger®
● Integration of vTiger® with Telephony,Accounting,E-Marketing etc.. applications
We passionately enjoy helping Startups and MSMEs to Market leaders and Large Corporates in making them Tech Enabled
Record Lock
I) Introduction :
Record Lock is designed for CRM tiger. This module is extensively developed for locking a record for another user within time period. If user want to lock a record for another user then use Record Lock extension. Recordlock functionality means Multiple users not able to update same record for same time. If user want to lock a record on particular time period
then set time from settings page as per needs.
II) Requirements :
vTigerCRM version
III ) Assumptions:
Multiple users not able to update same record for same time. If user want to lock a record on particular time period then set time from settings page as per needs.
IV ) Features :
● Functional Restriction
● Access Permission denied on Edit
● Only View when opened from another place
1. On successfully login you will be presented with a screen as below.

2. Click CRM Settings from right hand side top menu and choose CRM Settings option
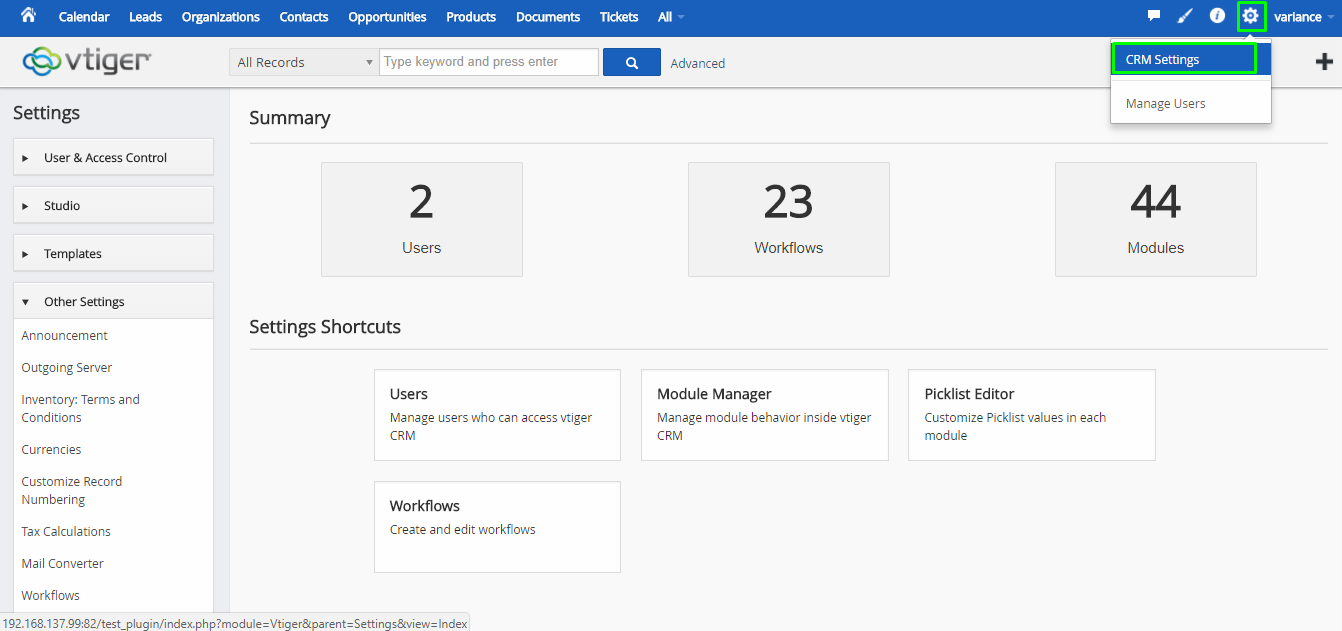
3. Open the CRM Settings page and available of multiple setting option.
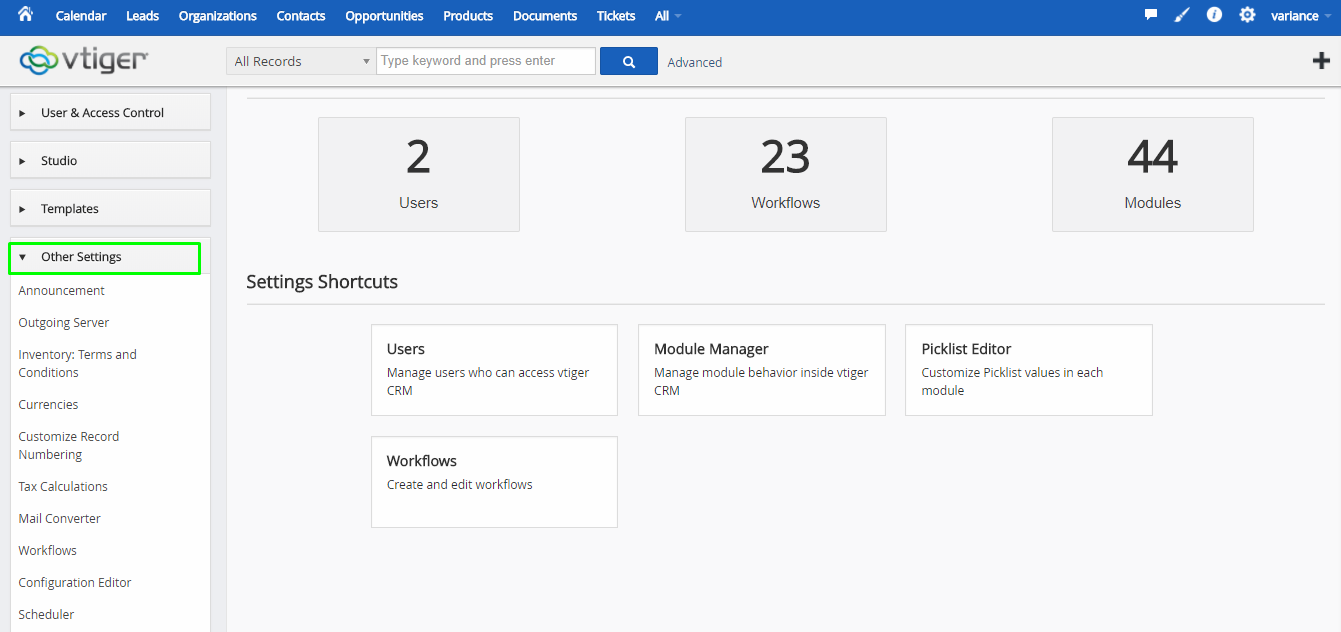
4. Select RecordLock setting option under section of other settings from CRM settings page.
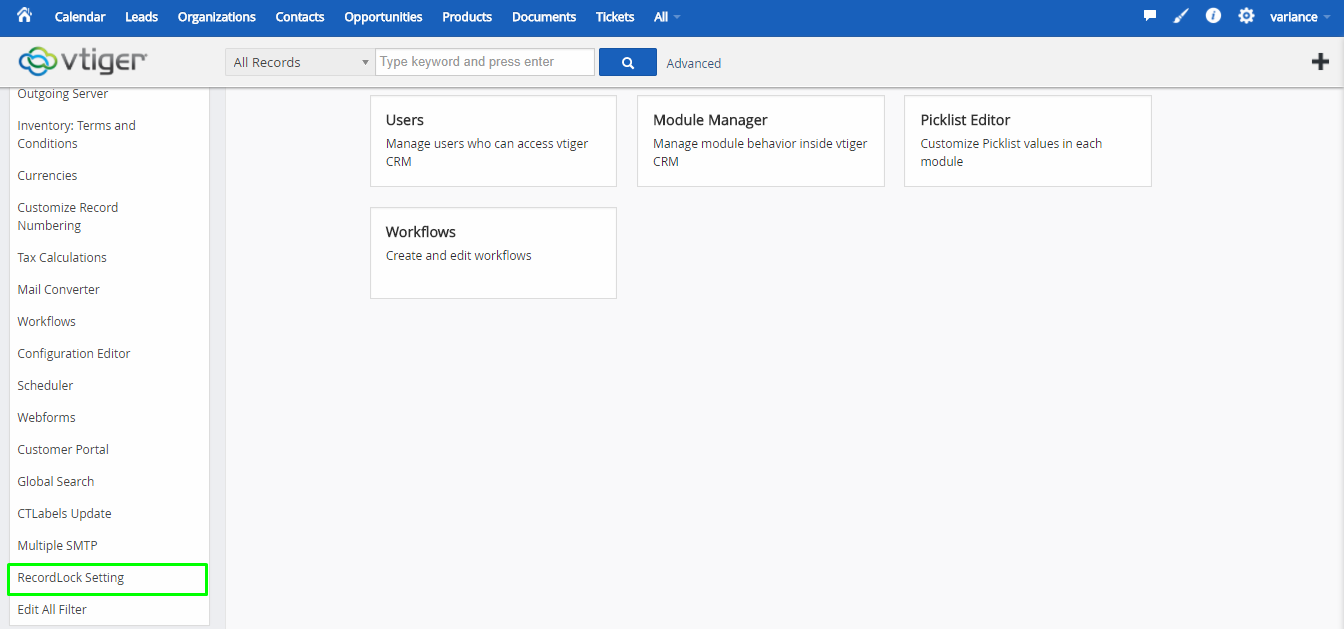
4. Select RecordLock setting option under section of other settings from CRM settings page
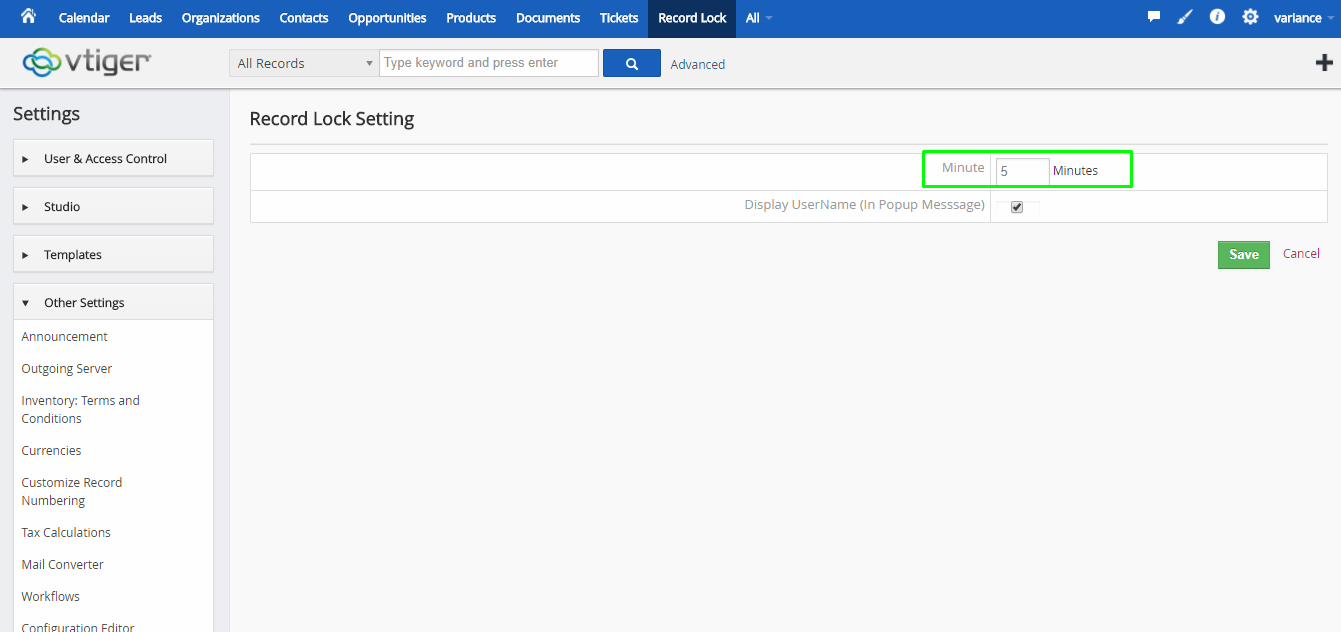
5. User can lock a record within particular time period then enter value on Minutes field on Record Lock setting page.

6. User want to display Own name on validation of pop up message then Enable check box on Record Lock Settings page.
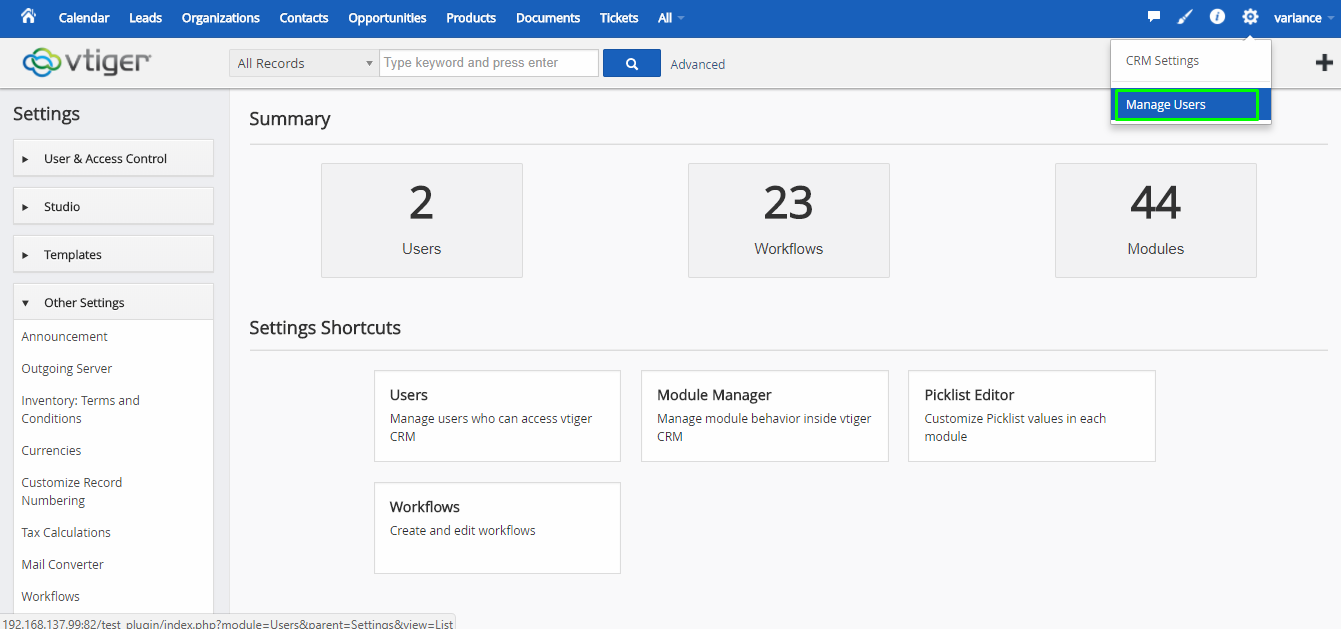
7. Click CRM Settings from right hand side top menu and choose Manage Users option.
8. Here, we are checking Record Lock functionality so we have to need multiple user in crm instance.
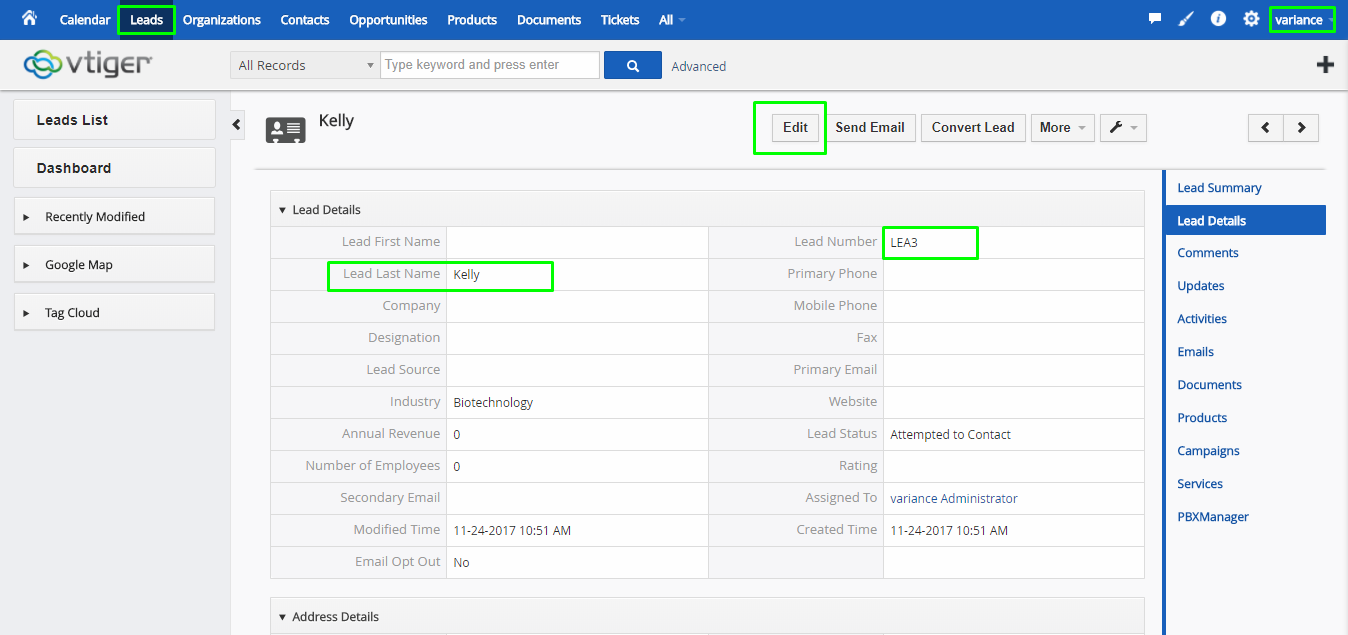
9. First we are Login to “variance” user with open the record details page and displaying EDIT button.
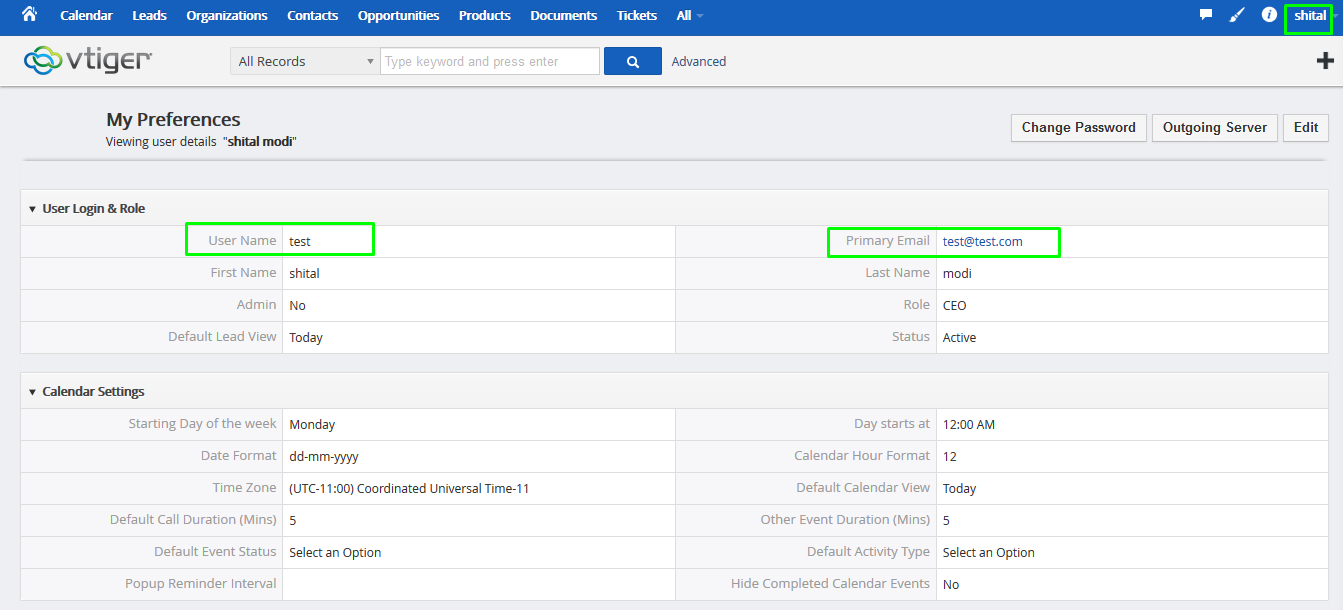
10. We are login to another User(test) from different browser
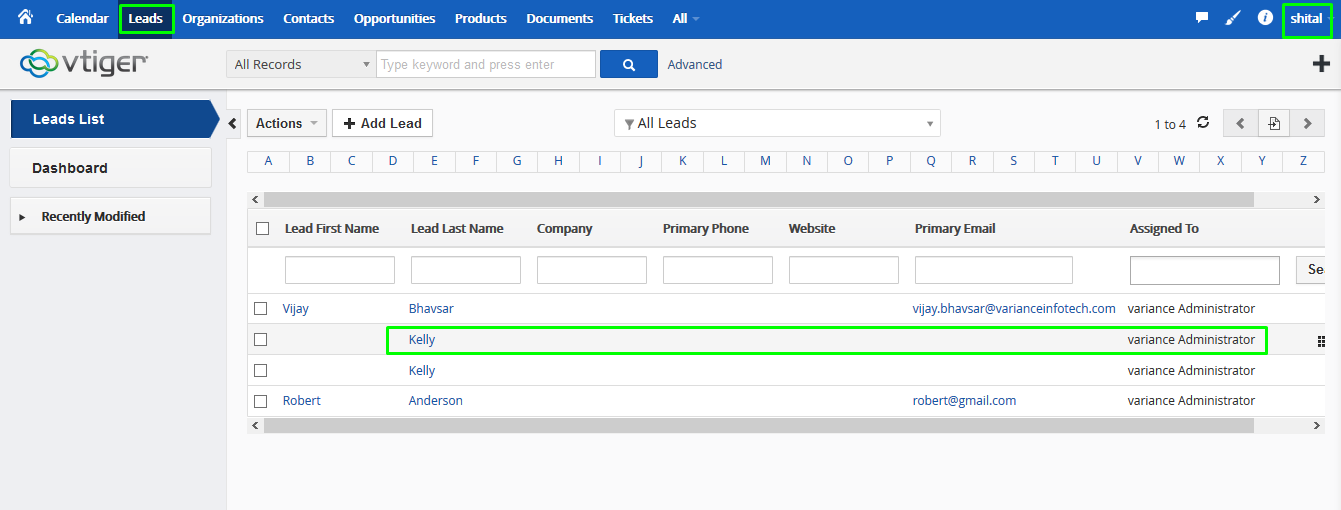
11. Open the Same record on test user account, which is already opened from variance user account.
12. When open the same record on another account then displayed validation message as below and Edit button not available on details view.