Steps For Installing Facebook Messenger Integration Plugin :
Notes: Before Installing Facebook Messenger Integration Plugin, Please take your vTigerCRM and Database Backup first.
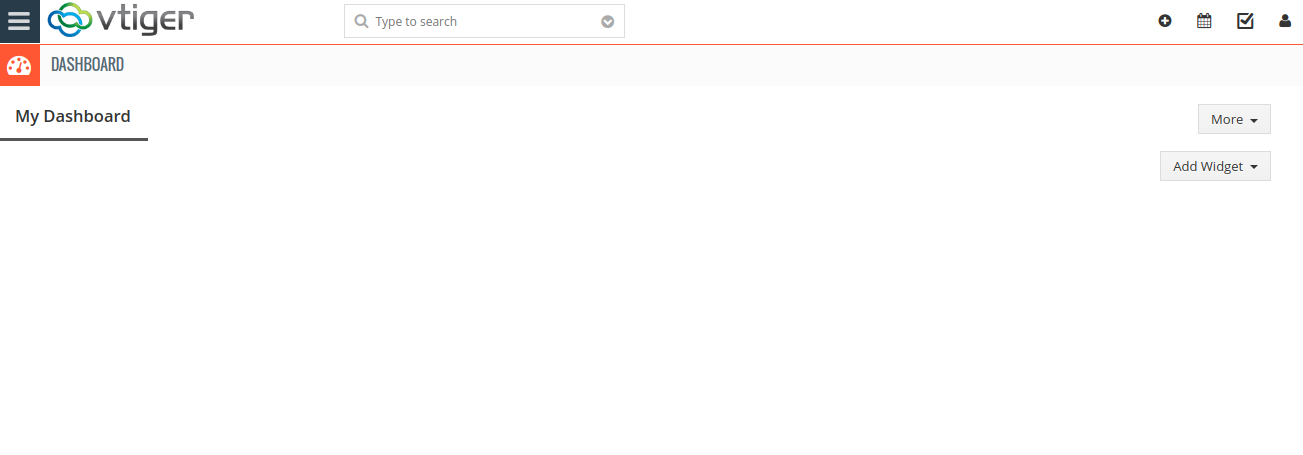
- Go to the Dashboard page, Click on the Menu as shown in the screenshot below.
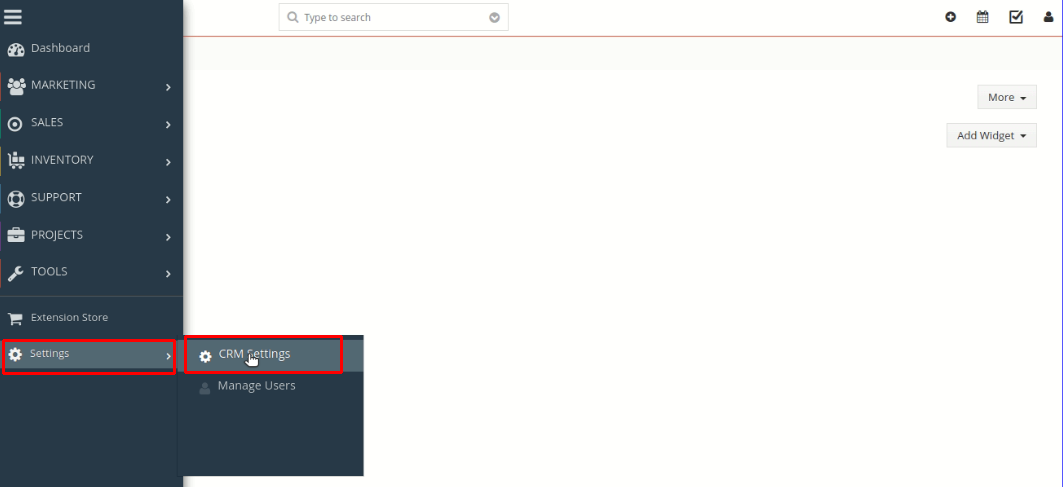
- To open the “Settings” Page, Click on the CRMSettings as shown in the screenshot below.
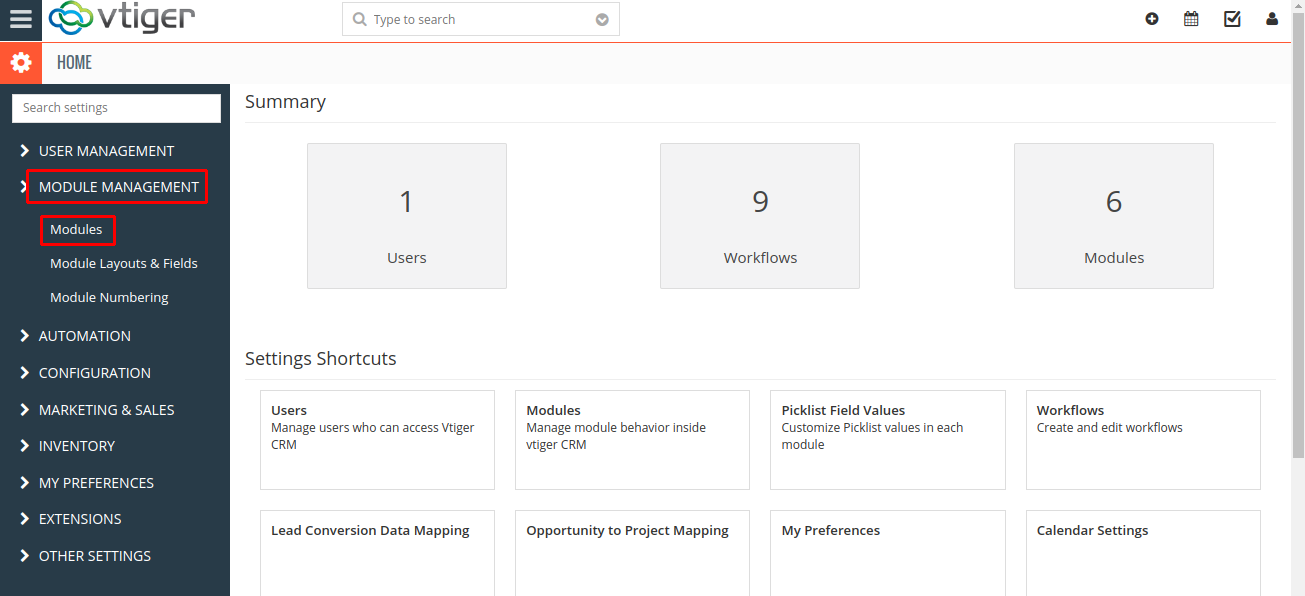
- In the CRM Settings, Open Module Management Menu → Click the Modules as shown in the screenshot below.
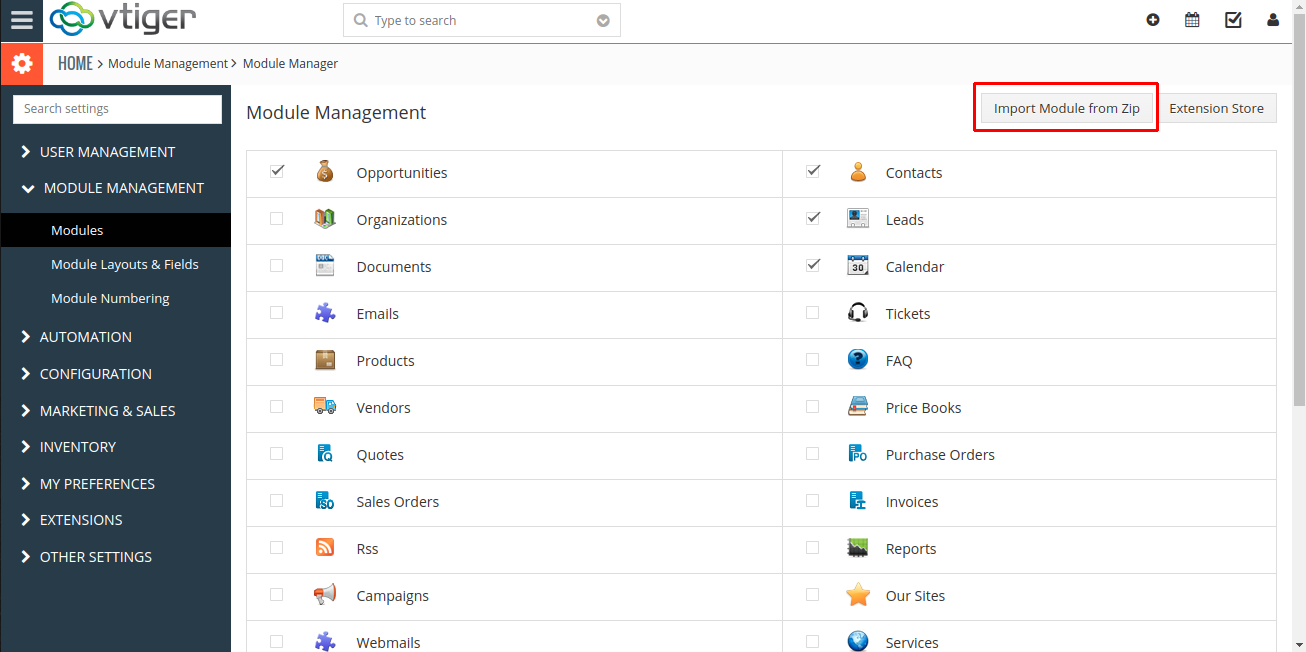
- In the Module Management Page → Click on the Import Module From Zip Button
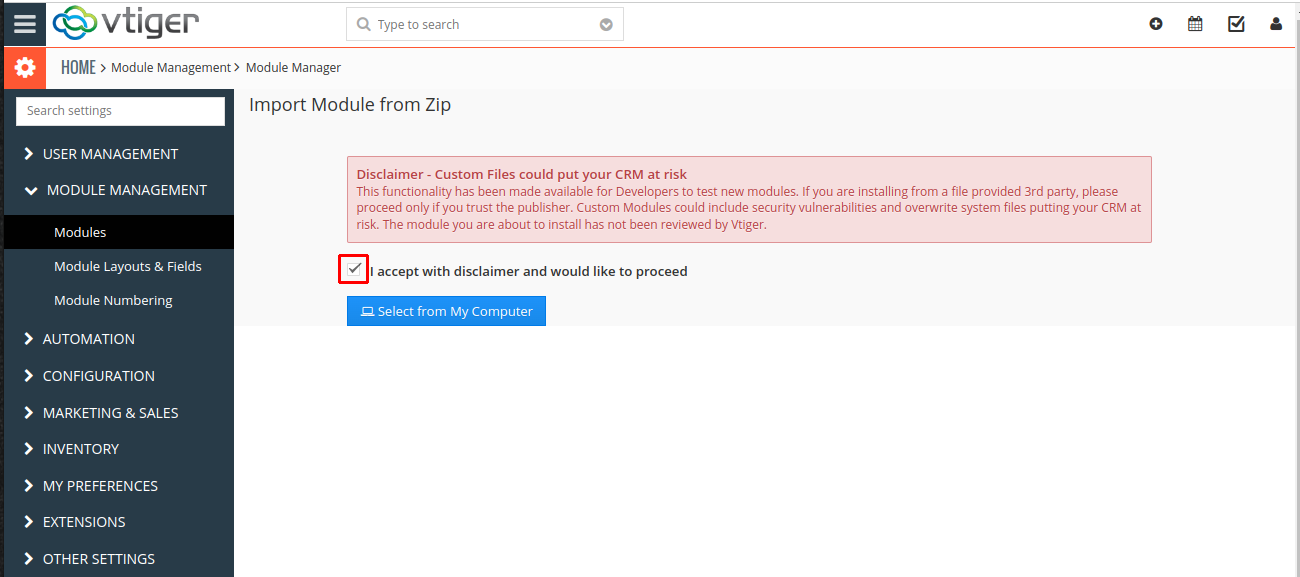
- Once click on the Import Module From Zip, you will see the below screen. Check the Checkbox Button for Terms and Conditions.
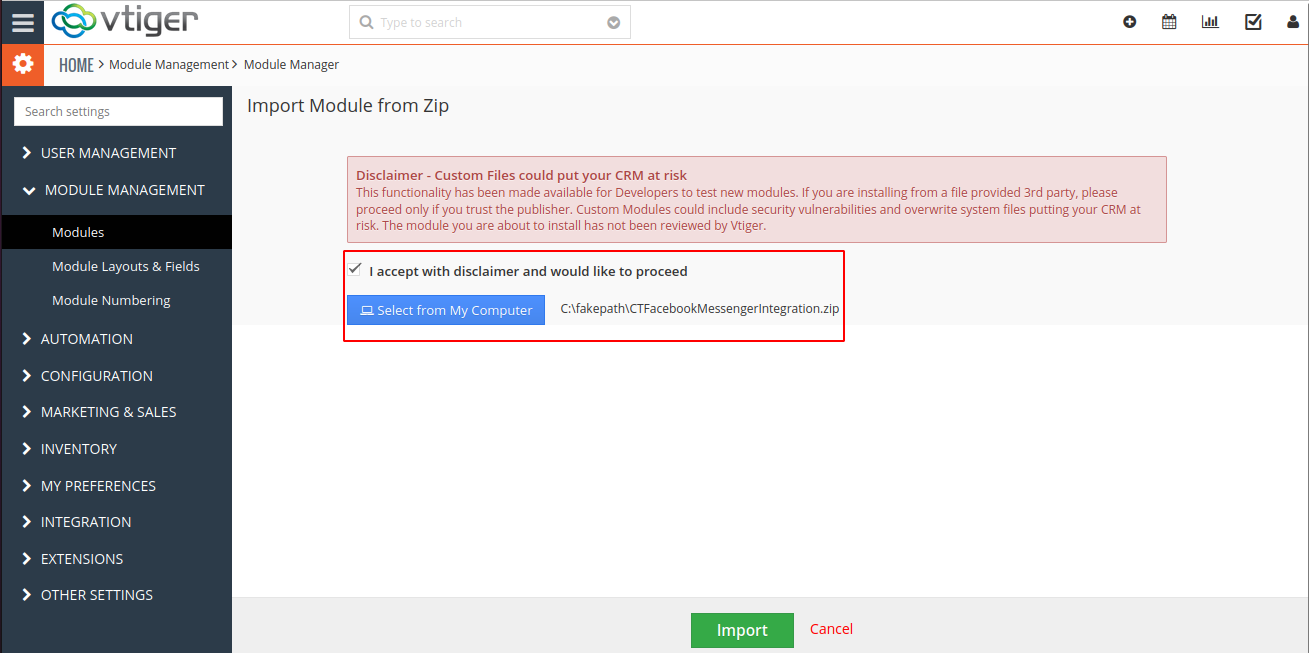
- In the Module Manager Page → Click on the Select From My Computer Button to select zip file → Click on Select From My Computer Button to upload the Facebook Messenger Integration Plugin(zip file).
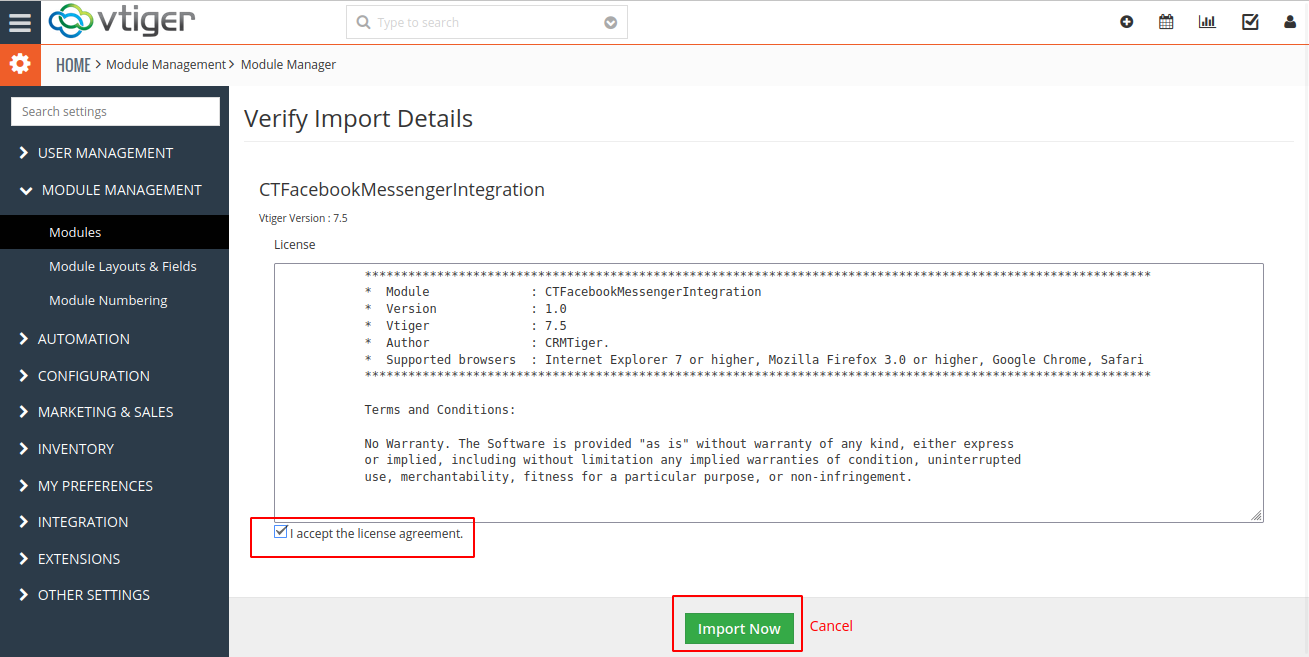
- To accept the Terms and Conditions, Check the Checkbox Button → Click on the Import Now Button.
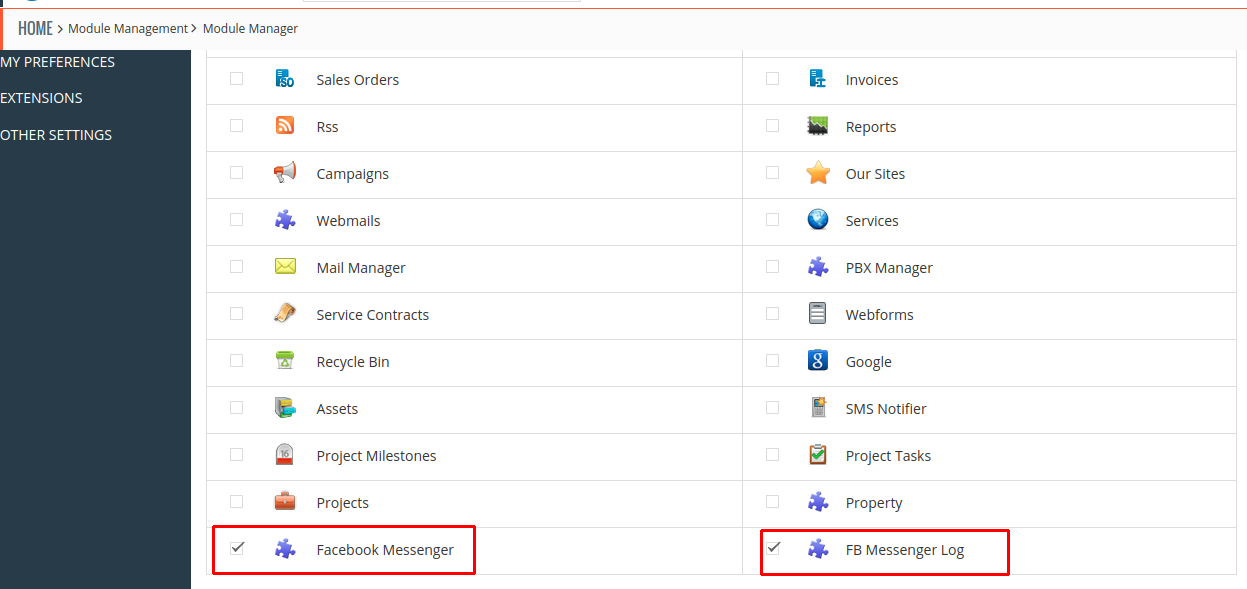
- After Successful Installation → It redirects you to Module Manager and Now You can see Facebook Messenger Integration Plugins are installed.
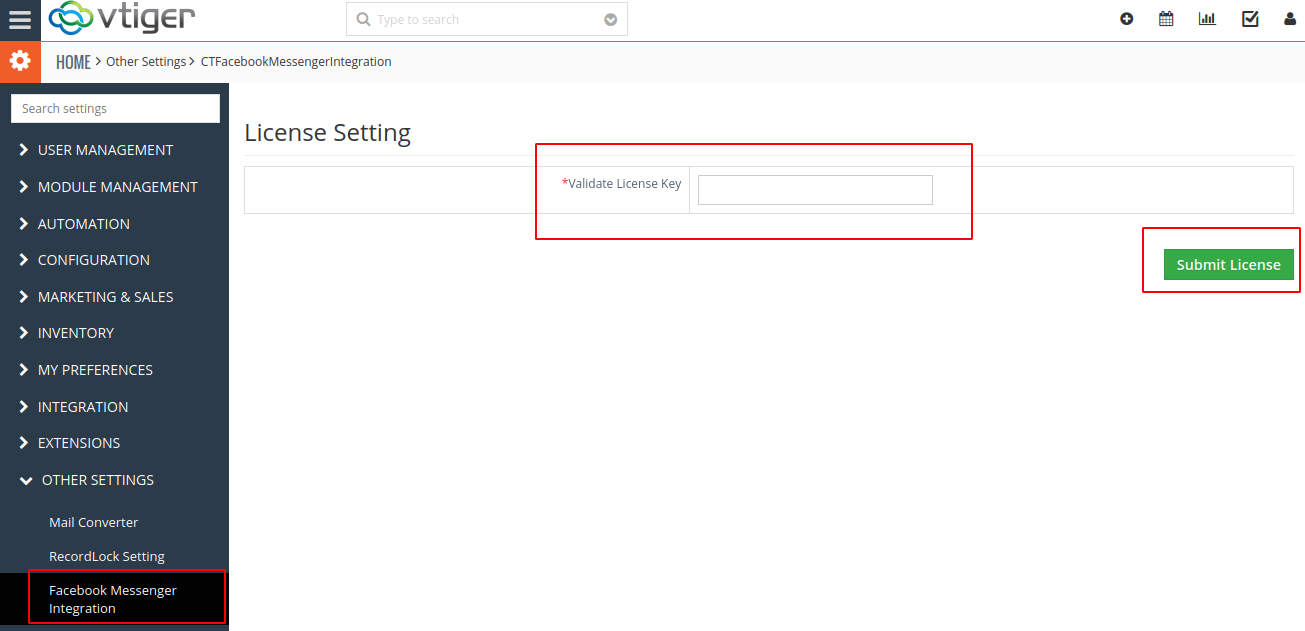
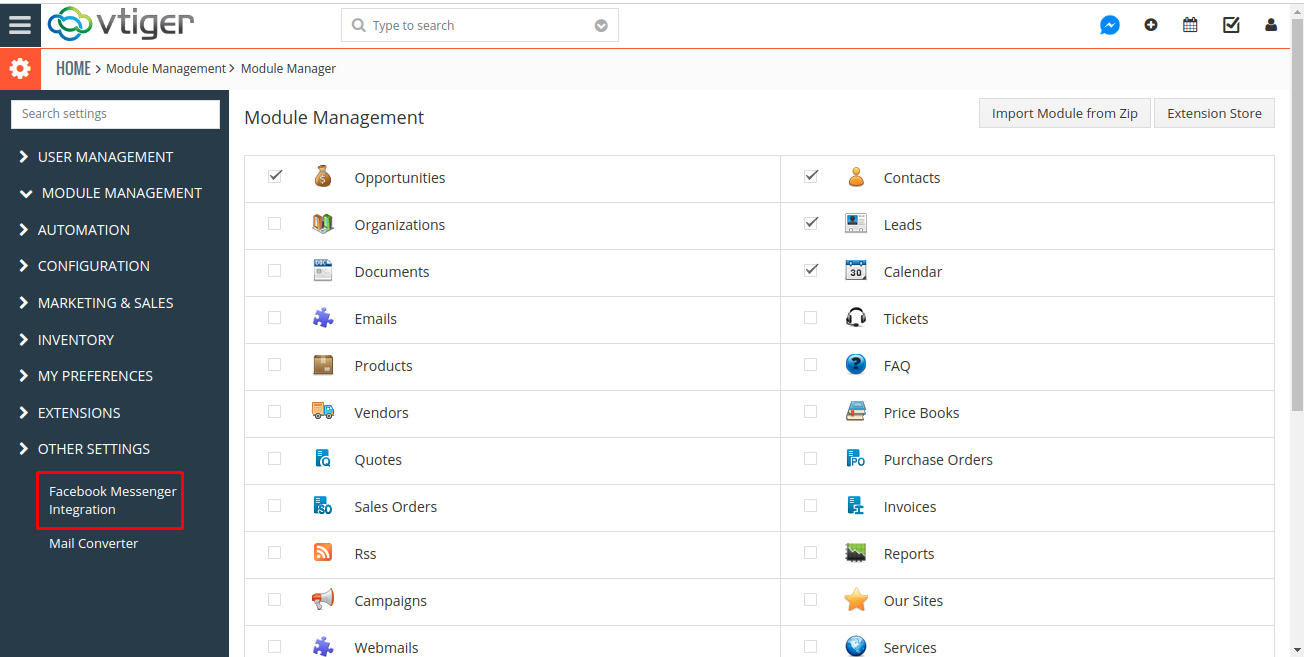
- After Successful Installation you can see the link “Facebook Messenger Integration” under OTHER SETTINGS as shown in the below screenshot.
- Click on Facebook Messenger Integration Link → It asks you to validate License Key → enter valid License Key and click on Submit License Button.