
Mass CampaignNavigate to the top navigation bar and click on the “Campaign” button from Timeline view, as highlighted in the screenshot below.
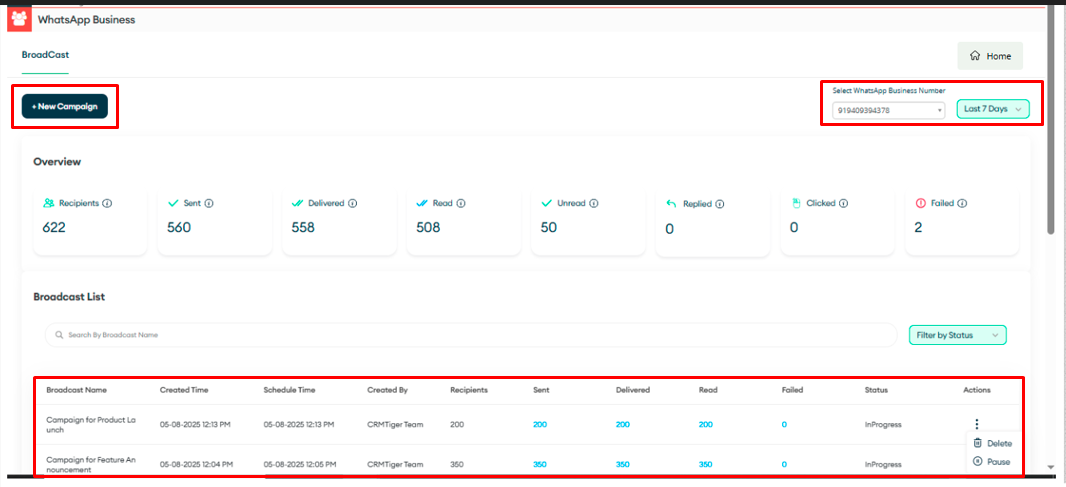
 Upon clicking, the system will redirect you to the Campaign Dashboard, where you can view, create, and manage all your messaging campaigns.
 From the Campaign Dashboard, you will be able to:
- Start campaign: Define your campaign name.
- Select template: Select a message template to send
- Select Audience: Choose the audience to send campaign message
- Review and Run: Preview, Schedule, or send the campaign immediately.
As shown in the screenshot below. Start campaignBy clicking on the New Campaign button, a pop-up will open where the user can enter the desired campaign name.
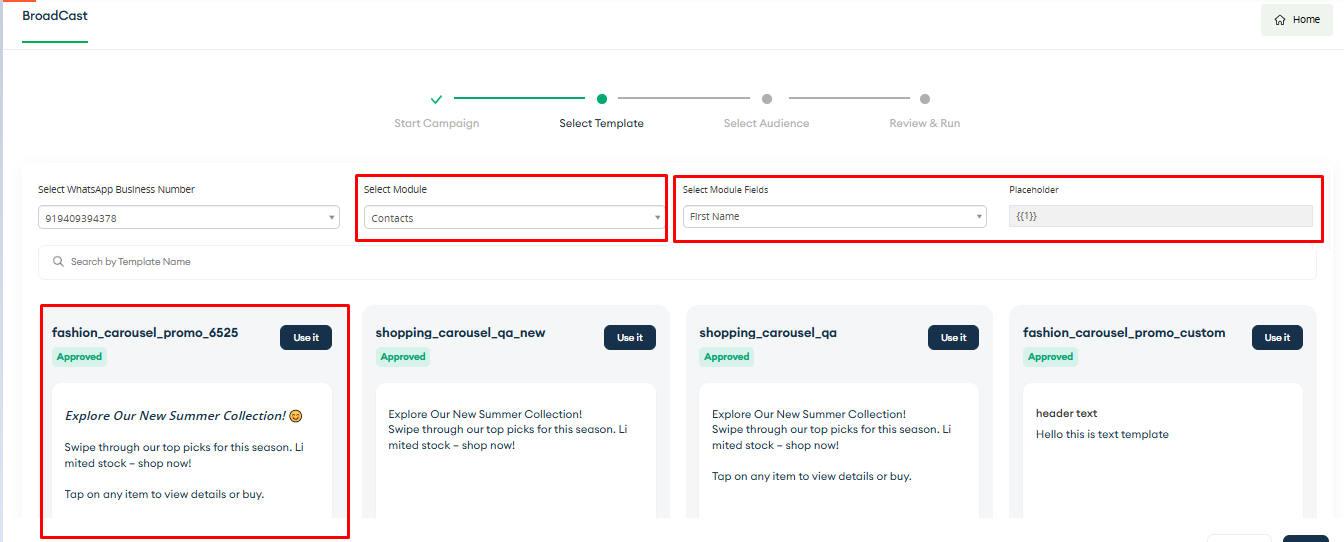
 Select templateOnce the user enters the campaign name and clicks on the Save button, the system will redirect the user to the next page to select the module and template, as shown in the screenshot below.
The user must select the WhatsApp Business number from which they want to send the campaign message.
The user must select the module that contains the records to which the mass campaign message will be sent.
While selecting the template, if the chosen template contains variables, it will display all the variables to set the values for each placeholder accordingly, to personalize the message before sending the campaign.
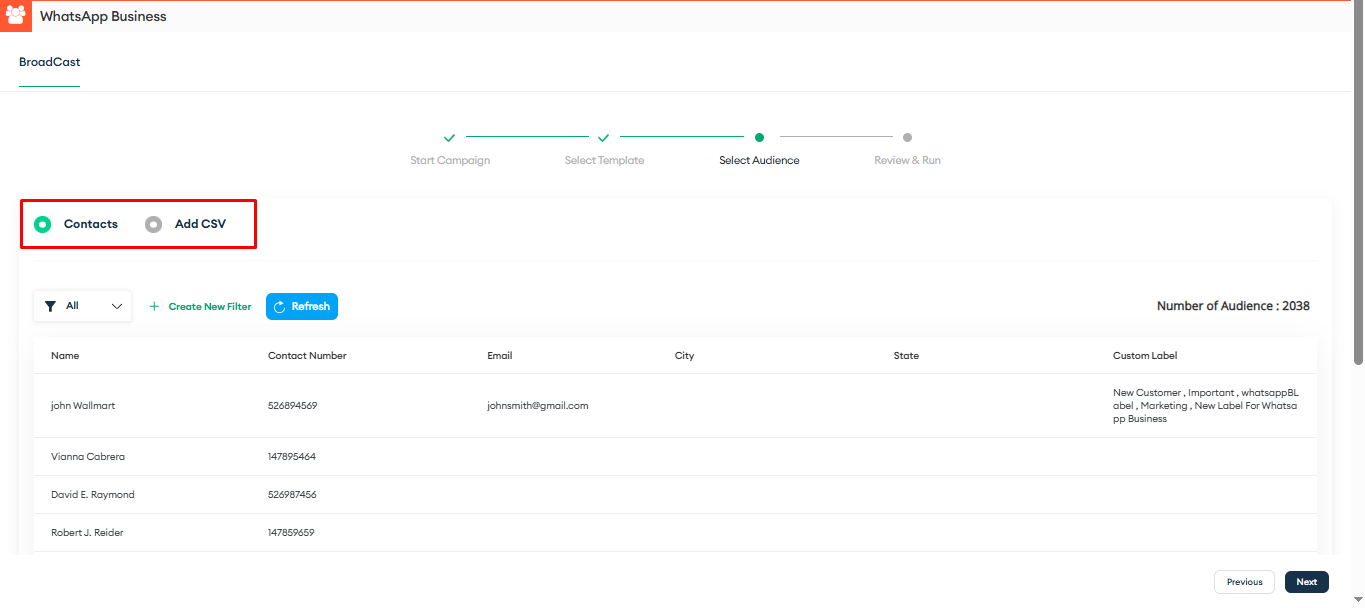
 Select AudienceThere are two ways to select the audience
- Module (Selected in the previous page)
- Add CSV file
 Module (Selected in the previous page)
To send a mass campaign, users can select a module and apply a filter to target relevant records, as shown in the screenshot below.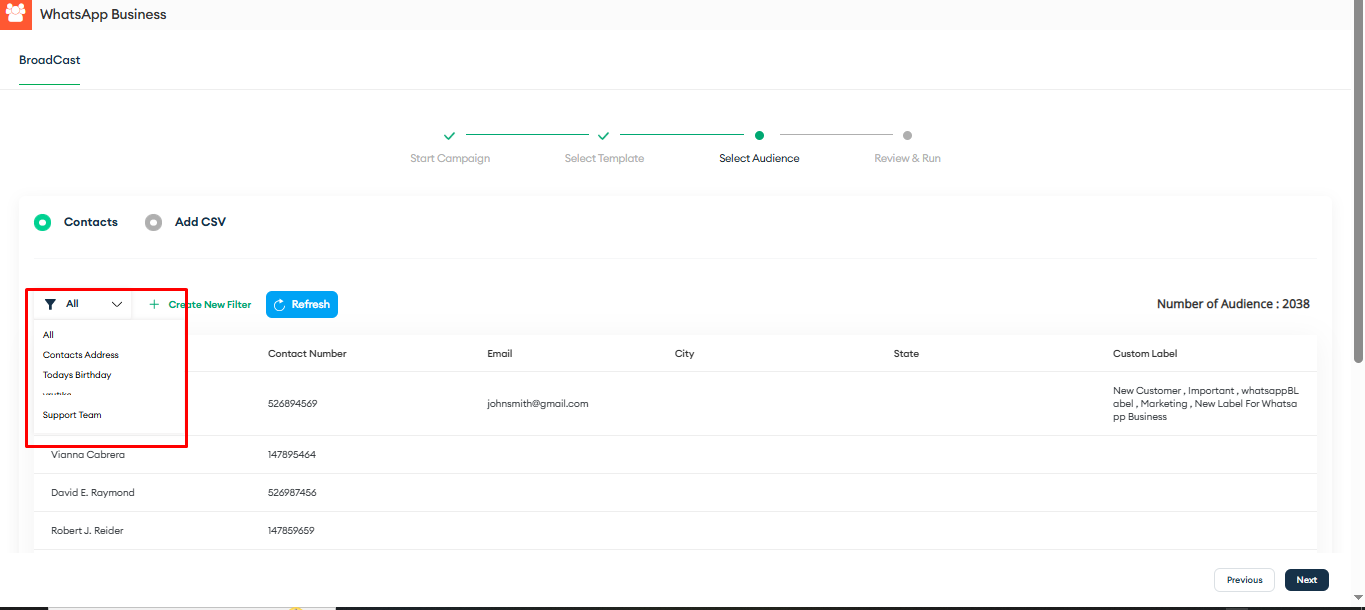 The user can also add a new filter by clicking on the “Create New Filter” button, as shown in the screenshot below.
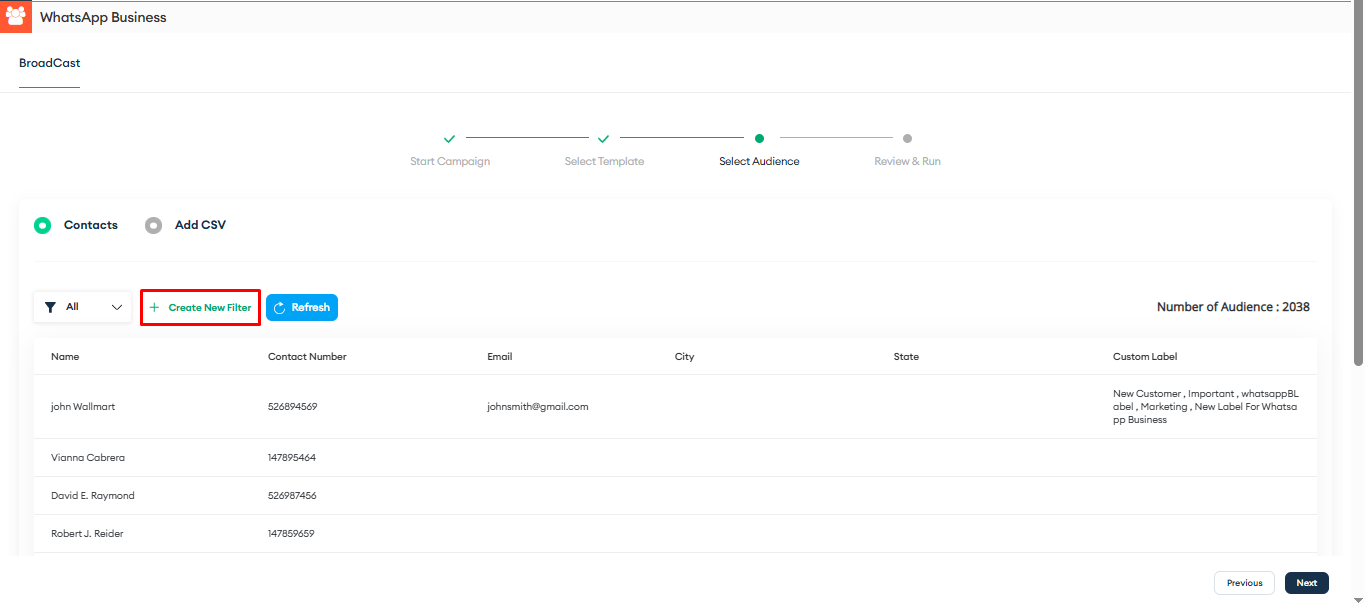 After making any updates to the records or filters, the user simply needs to click the “Refresh” button (as shown above) to reflect the changes for sending the mass campaign accordingly.
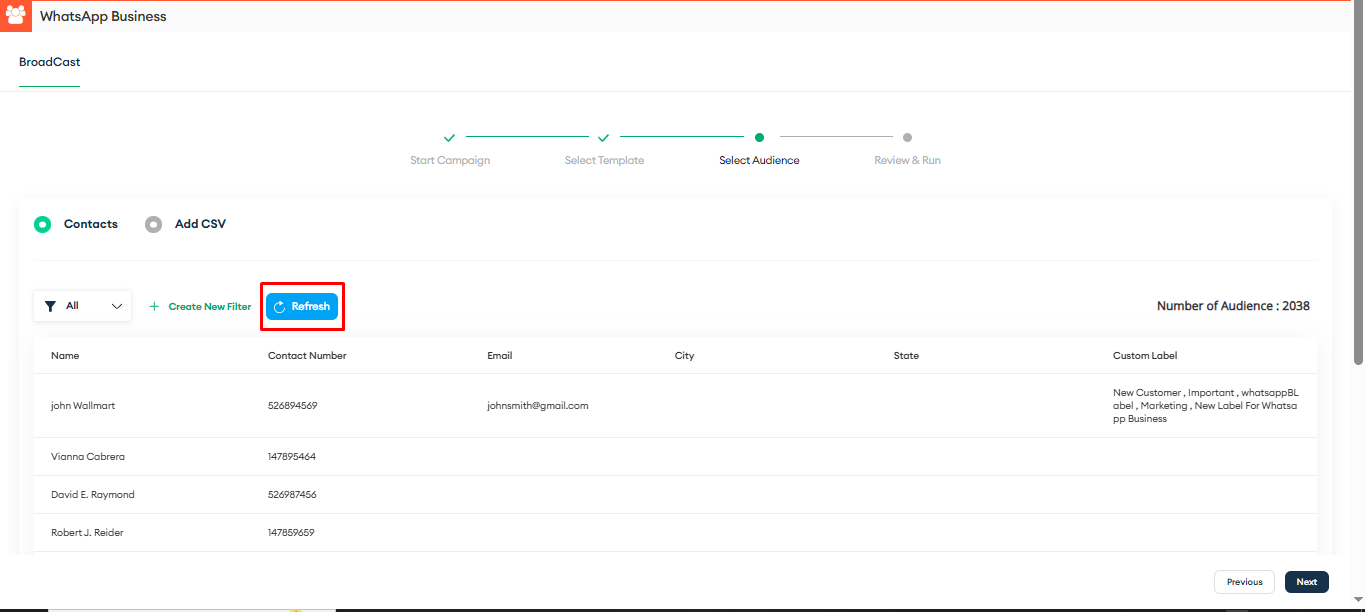 After selecting the filter, the user will see the Number of Audience (representing the total number of records in the selected filter for the campaign), along with a list displaying the basic details of those records, as shown below.
Note: The contact number displayed will be based on the Phone field configured in the WhatsApp Business Settings page for the specific module, as shown above. Add CSV file
If the user selects the CSV option, the page will display as shown in the screenshot below. The user can download the sample CSV file format and upload a CSV file containing records in that specified format.
By click on next button user will be redirect to the last page of review and run the campaign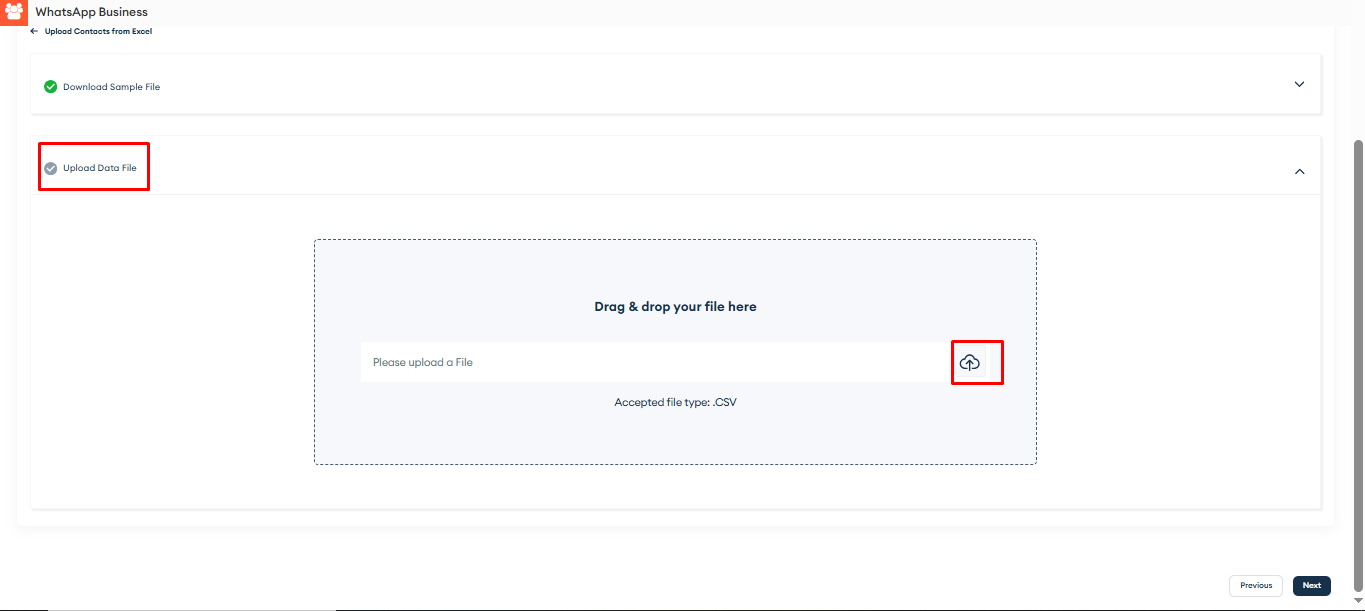 Review and RunAs shown in the screenshot below, the user can schedule the campaign to be sent immediately or at a later time.
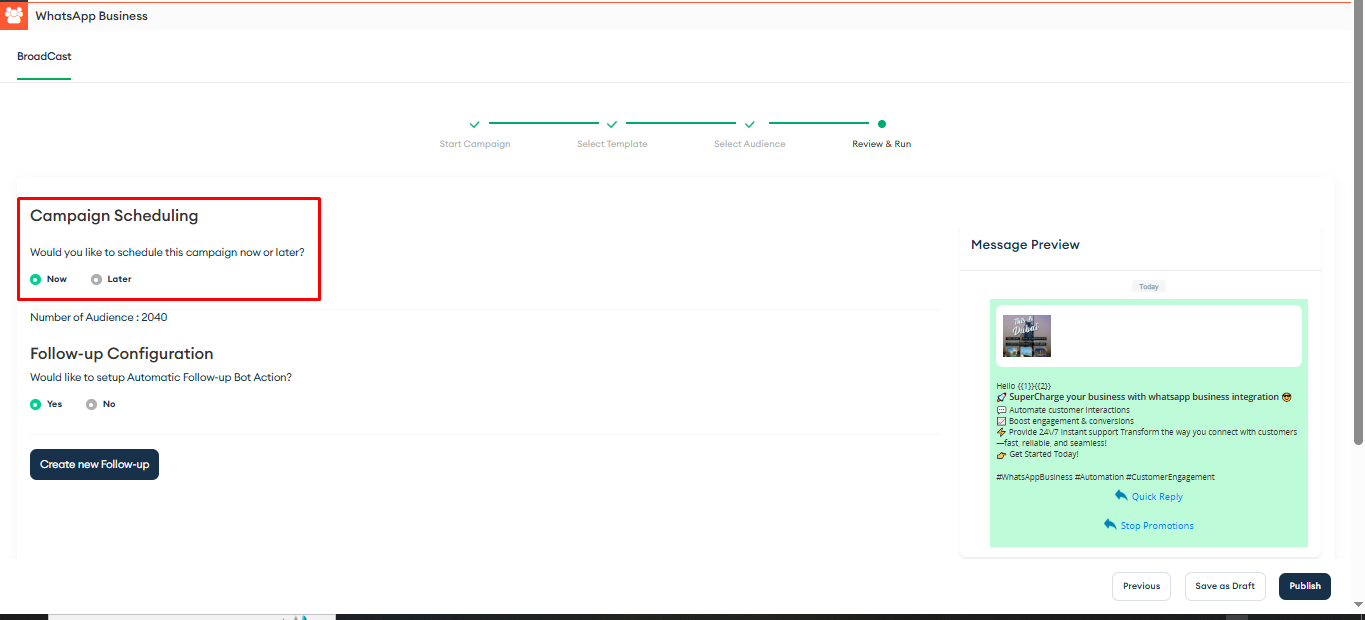
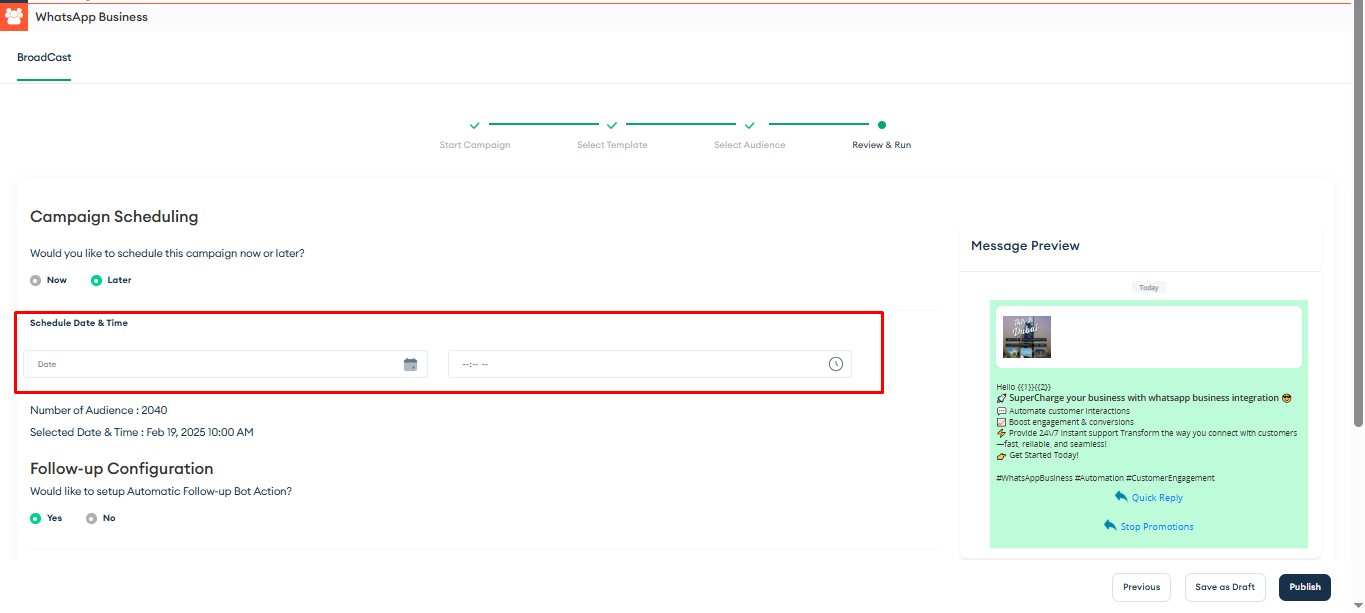 User can see the preview of the selected template on the right side of the page
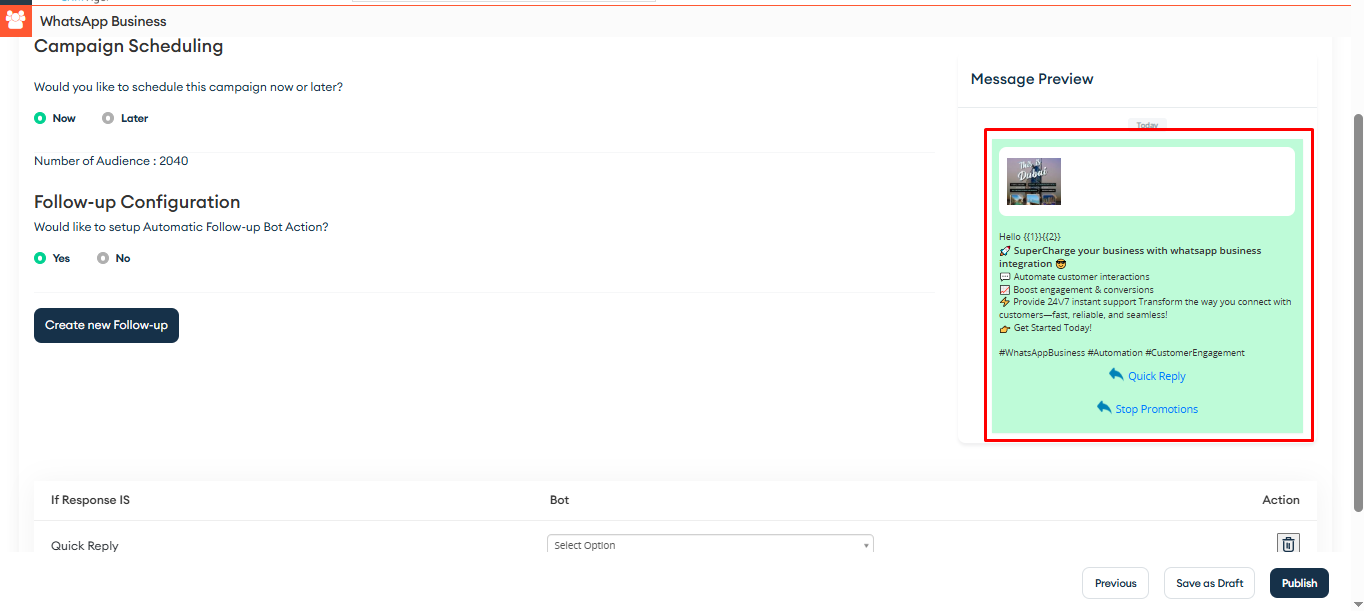 Users can choose Yes or No to enable or disable the Automatic Follow-up Bot Action.
If Yes is selected:
- The user can define a reply trigger (e.g., template button click or specific keyword reply).
- After the template is sent, and the specified reply is received, the chatbot conversation will start automatically.
This process is demonstrated in the screenshot below.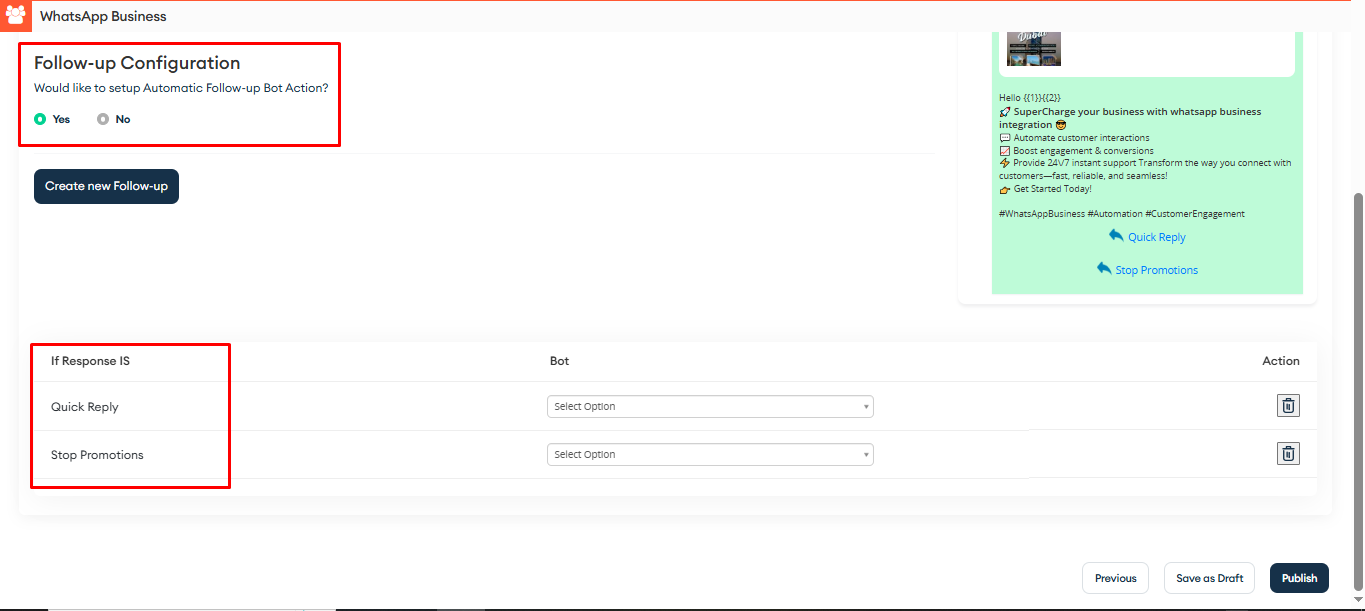 The user can also select a specific chatbot to handle the reply, as shown in the screenshot below.
 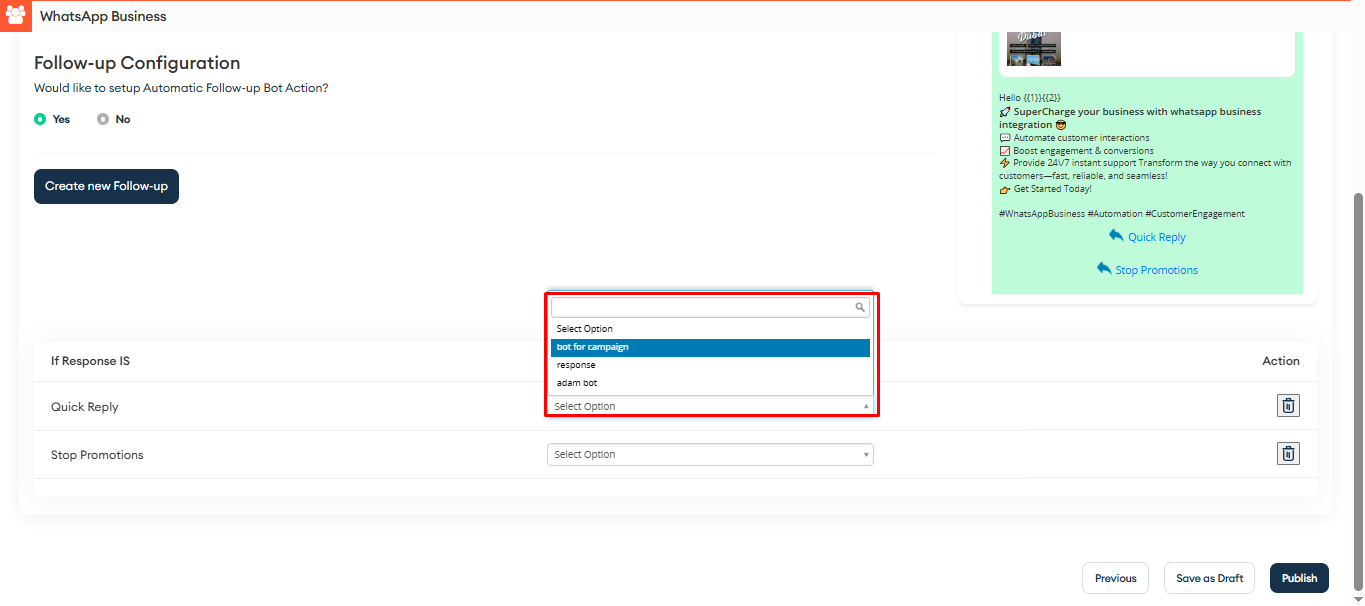 Clicking “Save to Draft,” the campaign will be saved in its current state and will appear in the Broadcast List.
Clicking the Publish button will immediately run the campaign, as shown below.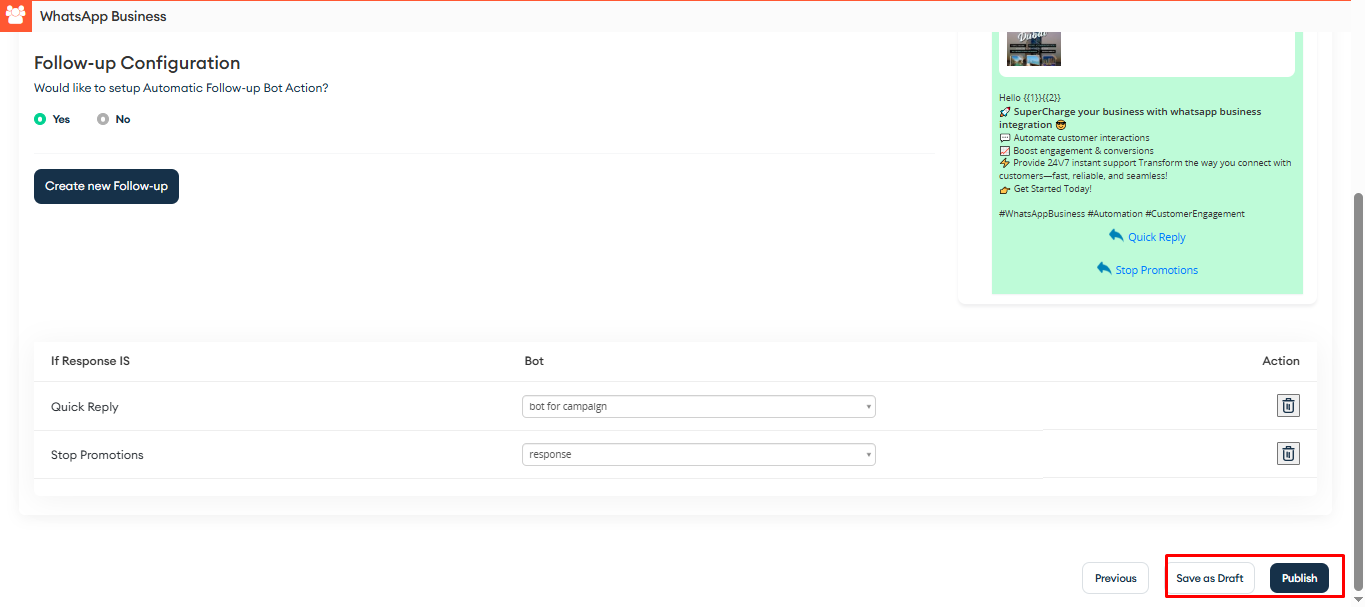 Broadcast ListTo view the Broadcast List, the user must first select the number, as shown in the screenshot below.
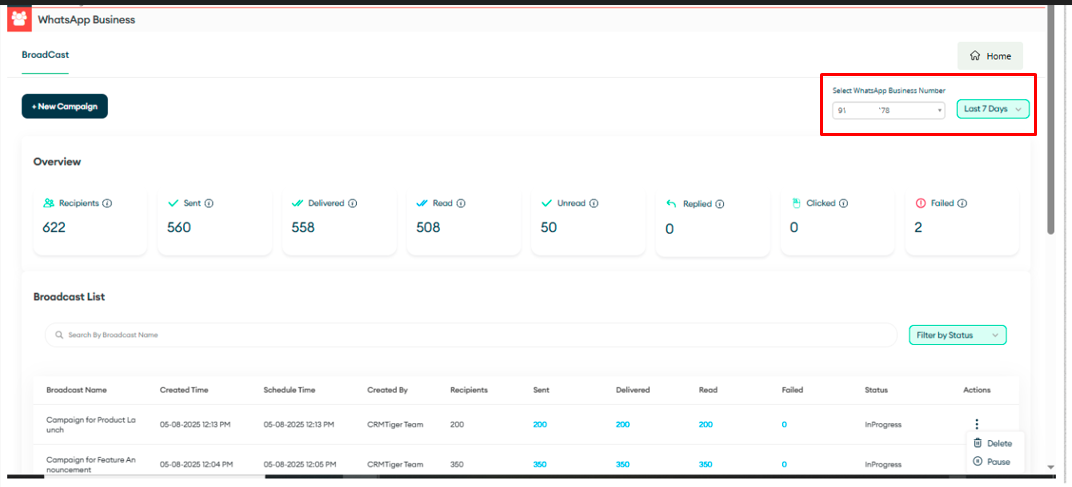 The user can select a filter to view the Broadcast List based on the selected filter, as shown in the screenshot below.
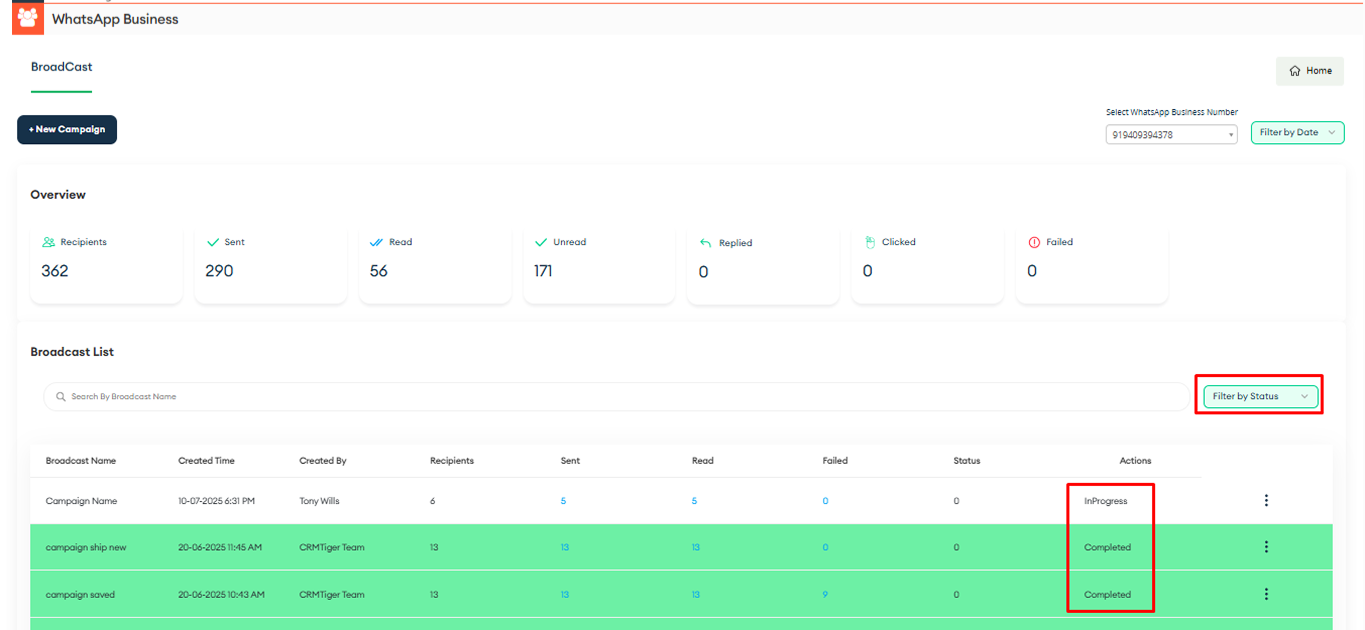 The user can Run, Pause, or Delete a campaign directly from the Broadcast List, as shown in the screenshot below.
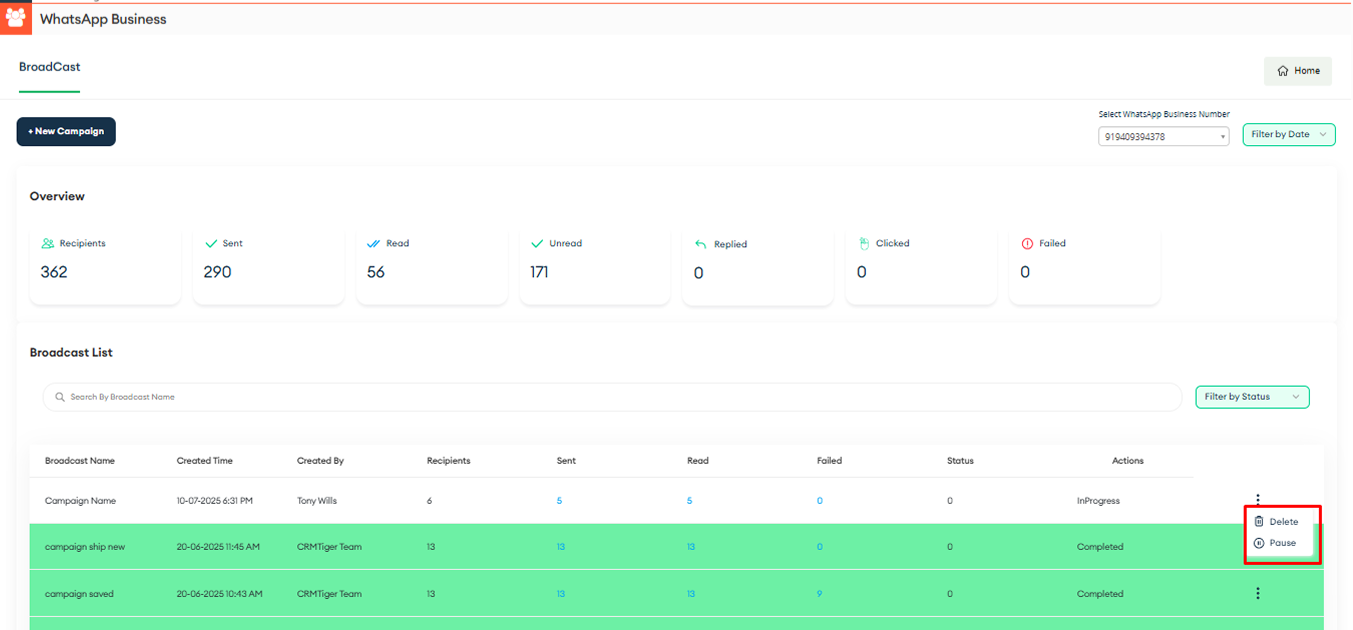 The user can also search for a campaign by entering its name in the Search bar, as shown in the screenshot below.
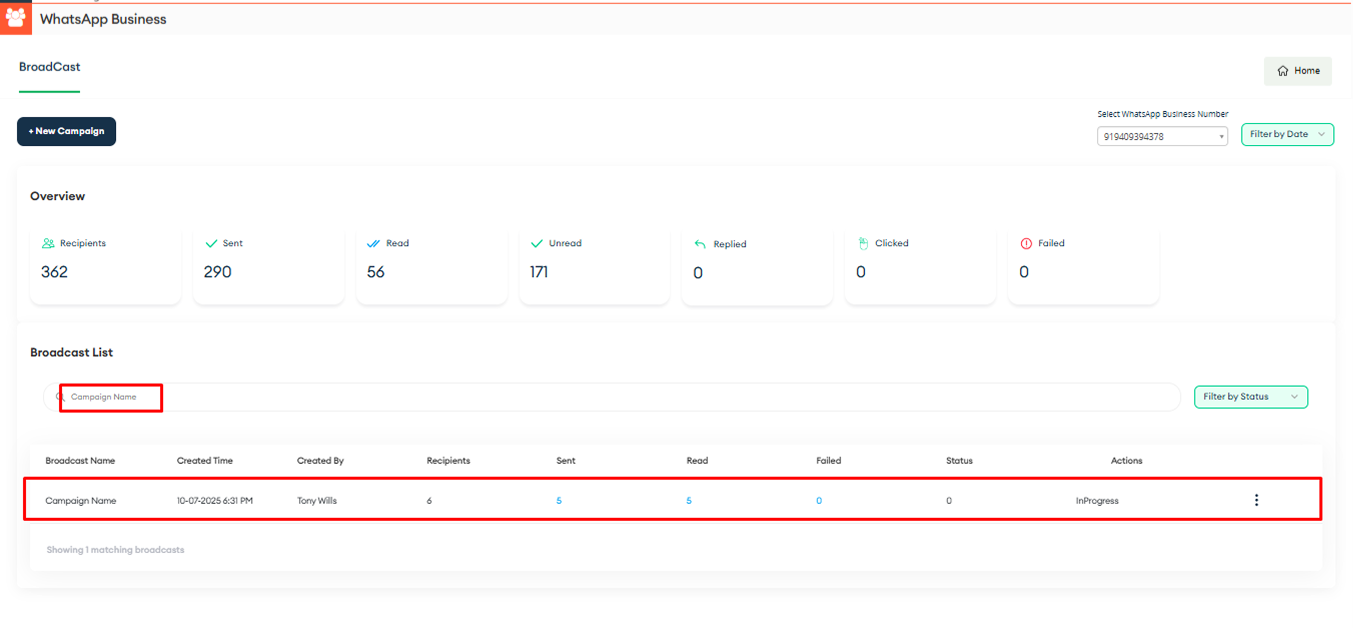
Interested to Try WhatsApp Business Integration ? Click Here