
In order to install Chatbot extension for vTiger Please follow steps below.
- Place an online order from here, You could choose trial and paid option as per your choice.
- Once you place an order you will receive an email or page to download Extension ZIP to install in your vTiger Instance.
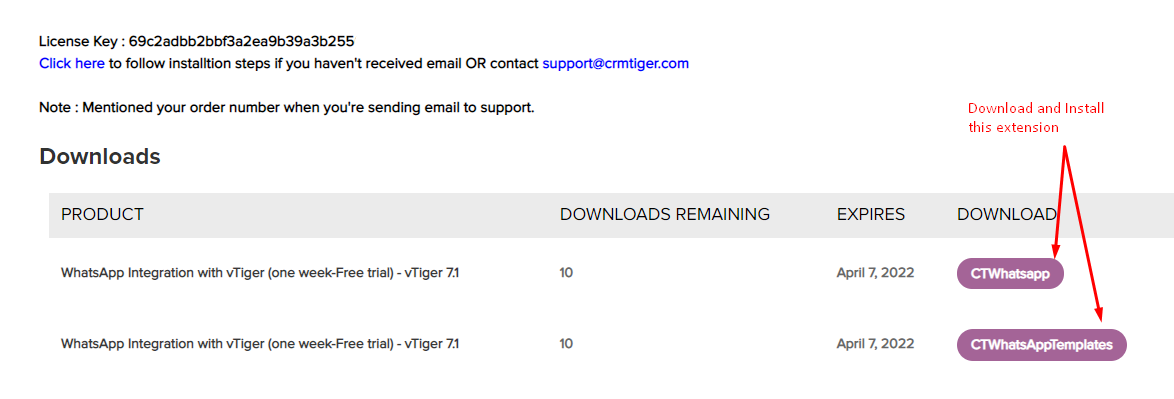
- Login to your vTiger CRM system using admin credential then GoTo Settings > CRM Settings > Module Management >Modules > Import from Zip > check checkbox & Select zip file > Click Import > Import Now
- Once License Key has been registered it will Redirect to the WhatsApp configuration page. Please follow the instructions below to configure and setup WhatsApp Integration for vTiger.
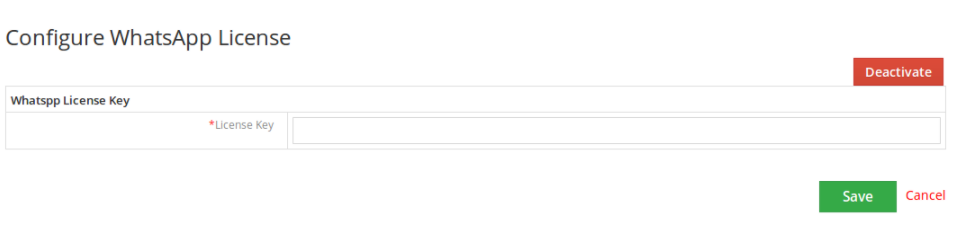
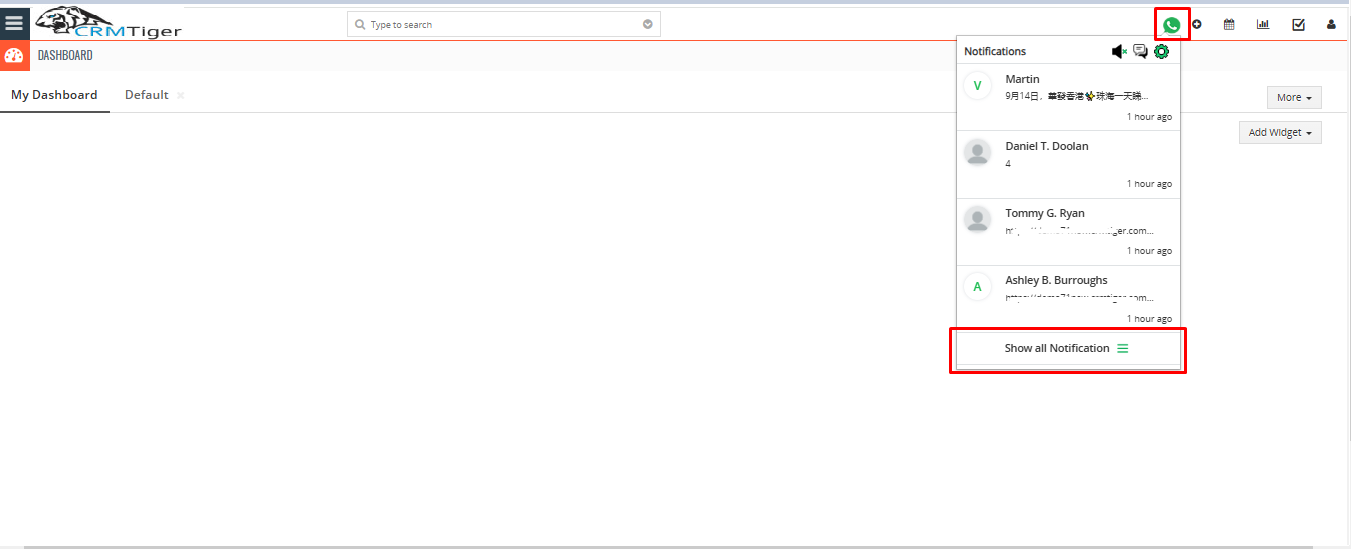
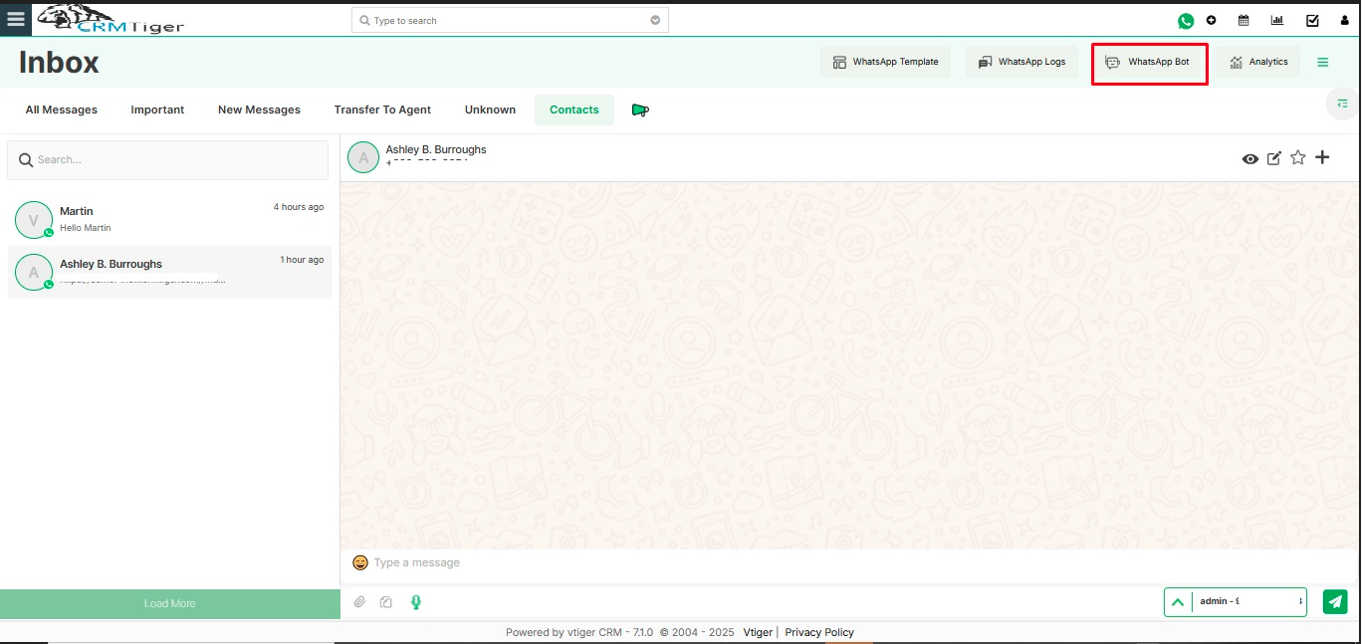
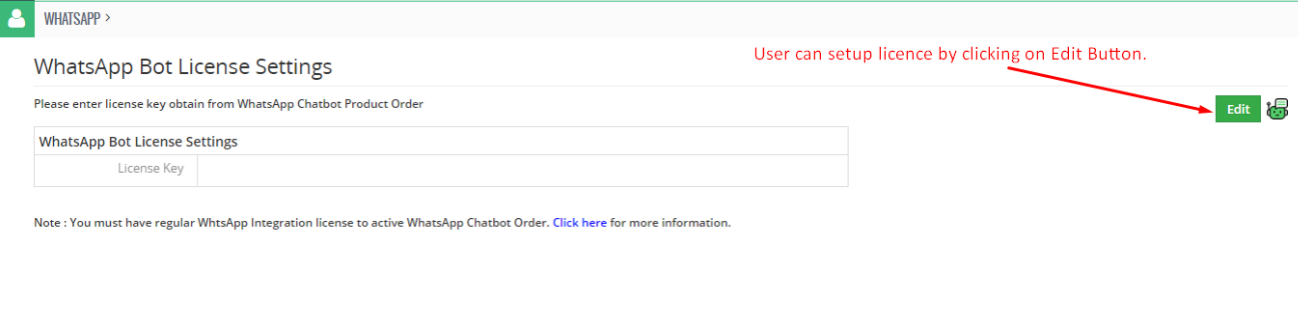
- To Setup License Key for WhatsApp Bot, Login to your vTiger CRM system using admin credential – Click on Whatsapp Icon > Go to Whatsapp timeline page >Click on Whatsapp bot add the license key received in the email.
- Users can set up a license key by clicking on the Edit Button.
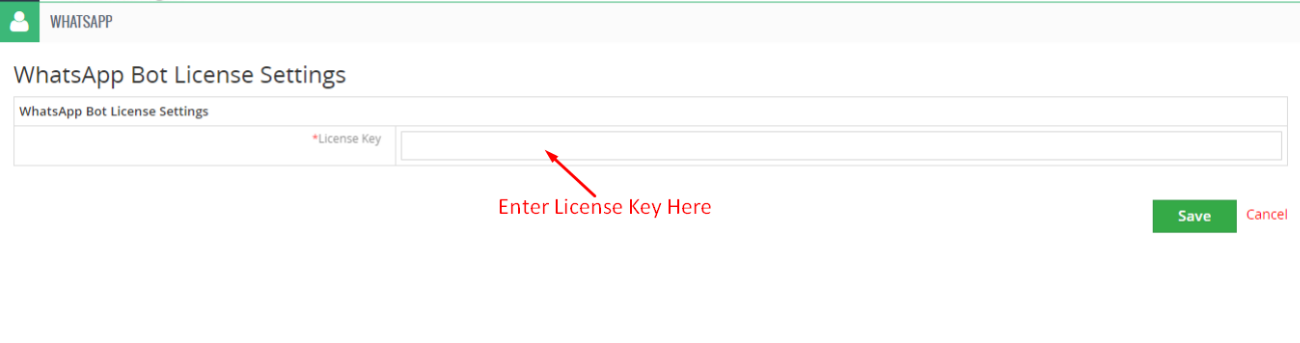 – After the Setup License key, the message will be displayed like Activated.
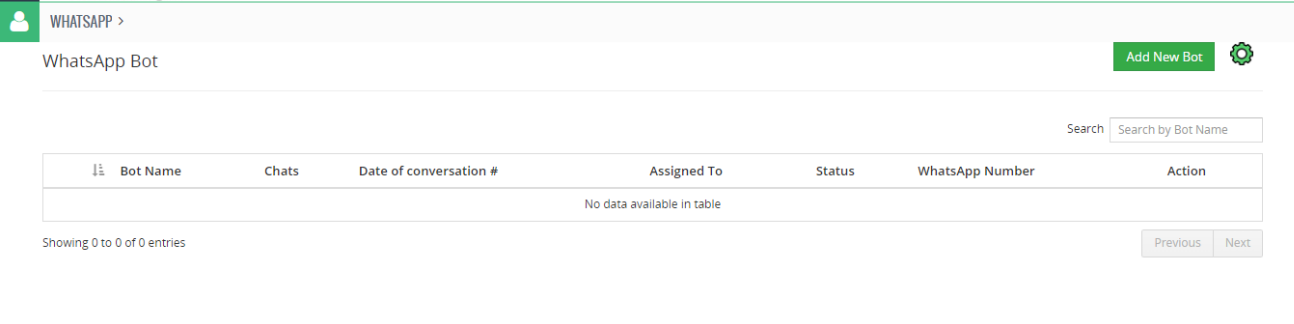
 – Once the License key is registered successfully, it will redirect to the WhatsApp Bot Listing page.
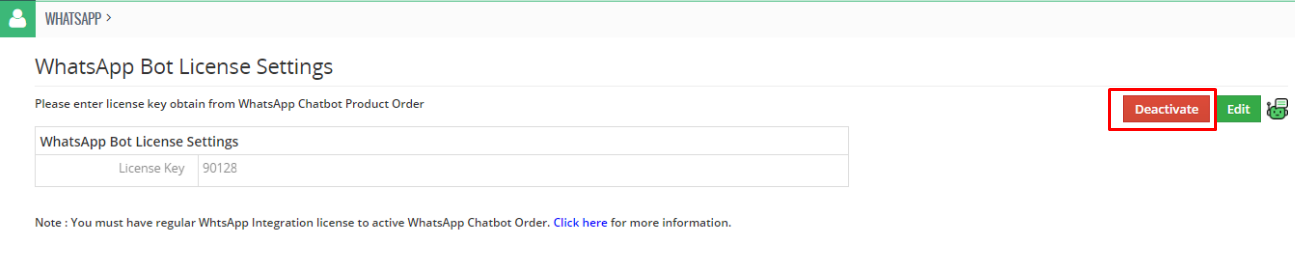
 – Users can edit or deactivate the license key from the Chatbot License Settings page by clicking on the “License Setting” button.

 – Once the License key is deactivated, Message will display like Deactivated.
 – When the license key is already activated somewhere in another CRM, it will show “Already activated in another domain”.
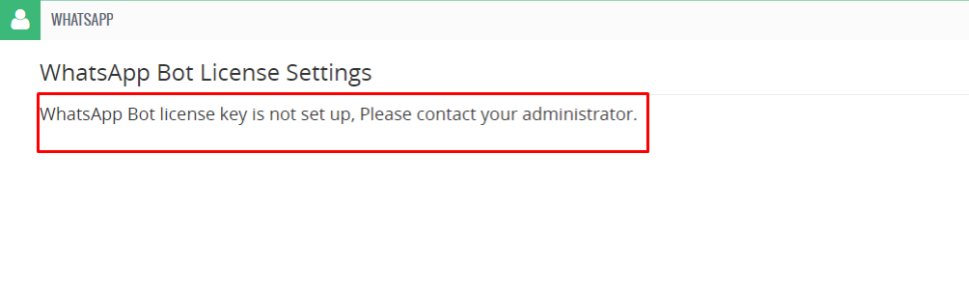
 – After Deactivated License key, Message will display to other users except system admin like “WhatsApp Bot license key is not set up, Please contact your administrator.”
 – Once the License key has expired, Message will be displayed like “Your License Key has expired”.
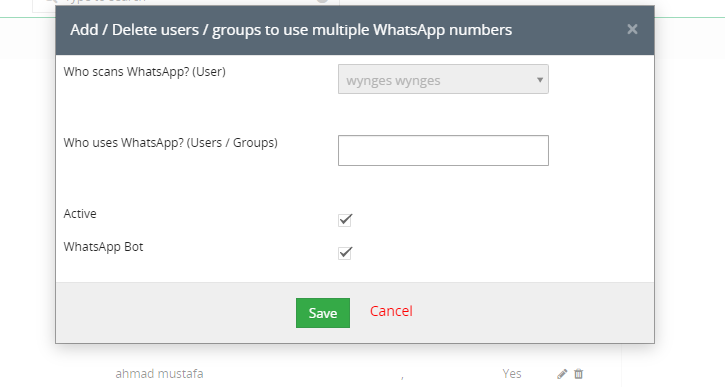
 – Once you follow above steps, Please Go To Other Settings > WhatsApp configuration > Gear Icon> WhatsApp # Management > “Multiple WhatsApp number for CRM” and Activate “WhatsApp Bot” for the specific number as per the picture below.
Interested to Try WhatsApp Chatbot with vTiger ? Click Here